

The Upsell Order Bump module is a highly effective strategy for increasing your store’s Average Order Value (AOV).
It allows you to present relevant, one-click add-on offers directly on the checkout page.
Because the offer is presented at the moment of highest purchase intent, it encourages impulse buys without interrupting the customer’s checkout flow, leading to increased revenue and a better shopping experience.
Activating the Upsell Order Bump Module
To begin creating order bumps, you must first activate the module.
- Navigate to StoreGrowth » Modules from your WordPress dashboard.
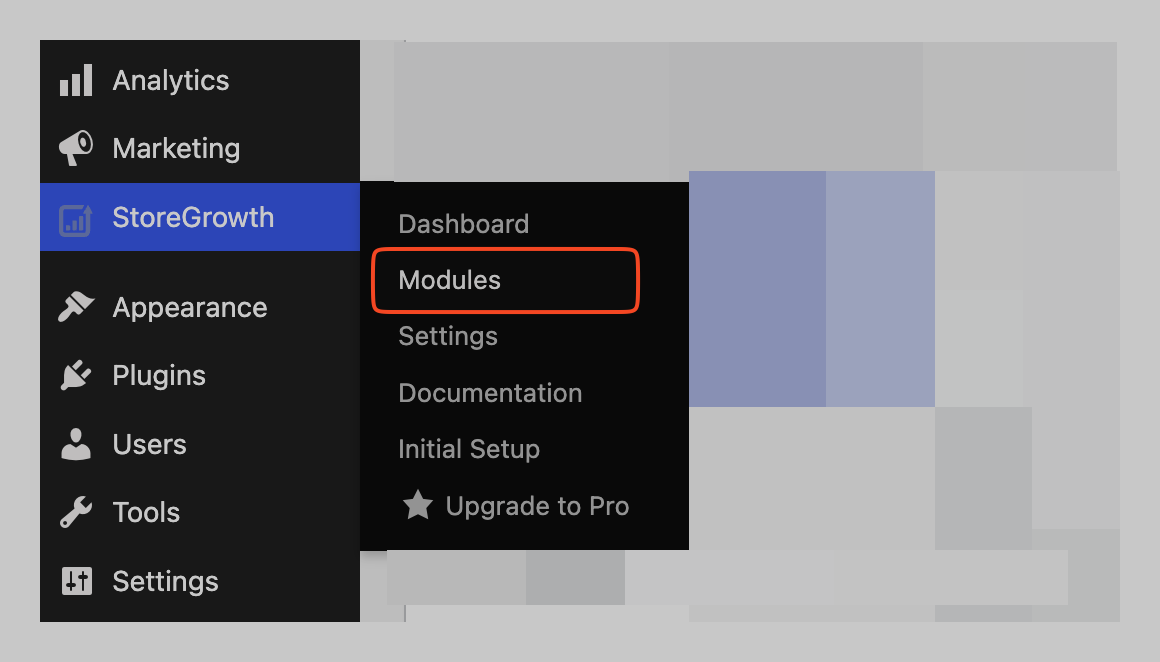
- Find the Upsell Order Bump module card in the list.
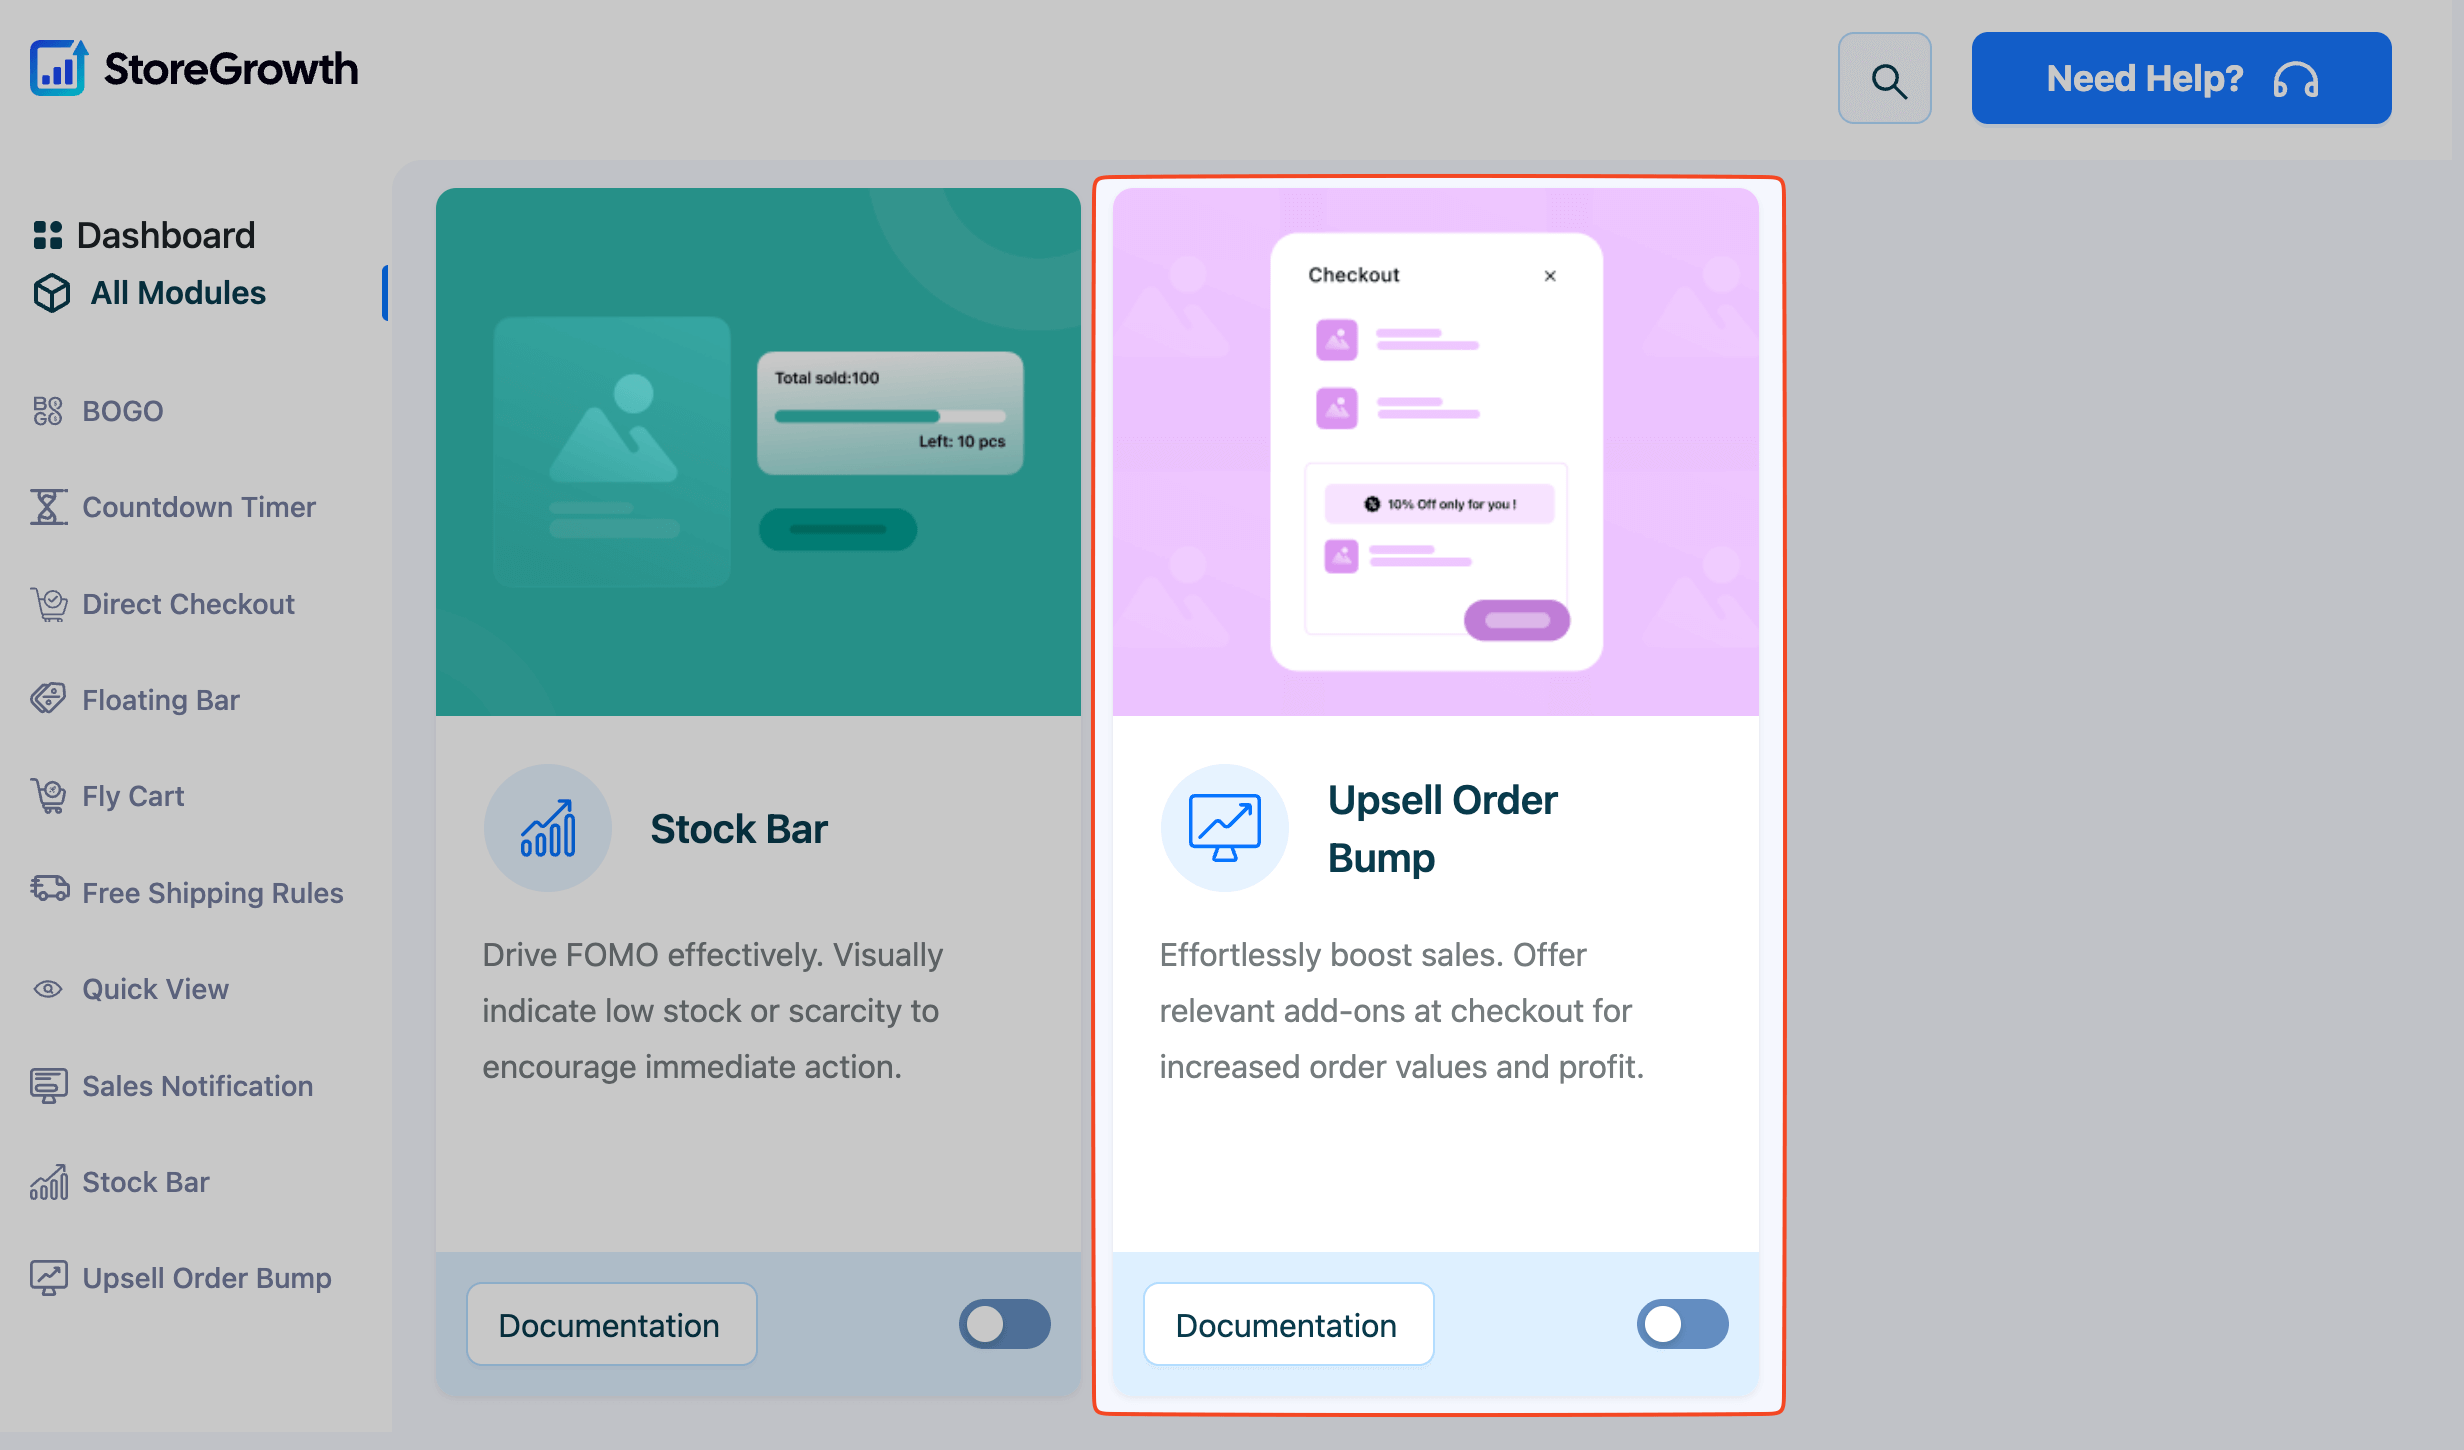
- Click the toggle switch to the “On” position to activate it.

Once enabled, an “Upsell Order Bump” menu item will appear in the main StoreGrowth sidebar, giving you access to all its settings.
Managing Your Order Bumps
After activating the module, navigate to StoreGrowth » Modules » Upsell Order Bump. This will take you to the Order Bumps List, which serves as your central dashboard for all created offers.
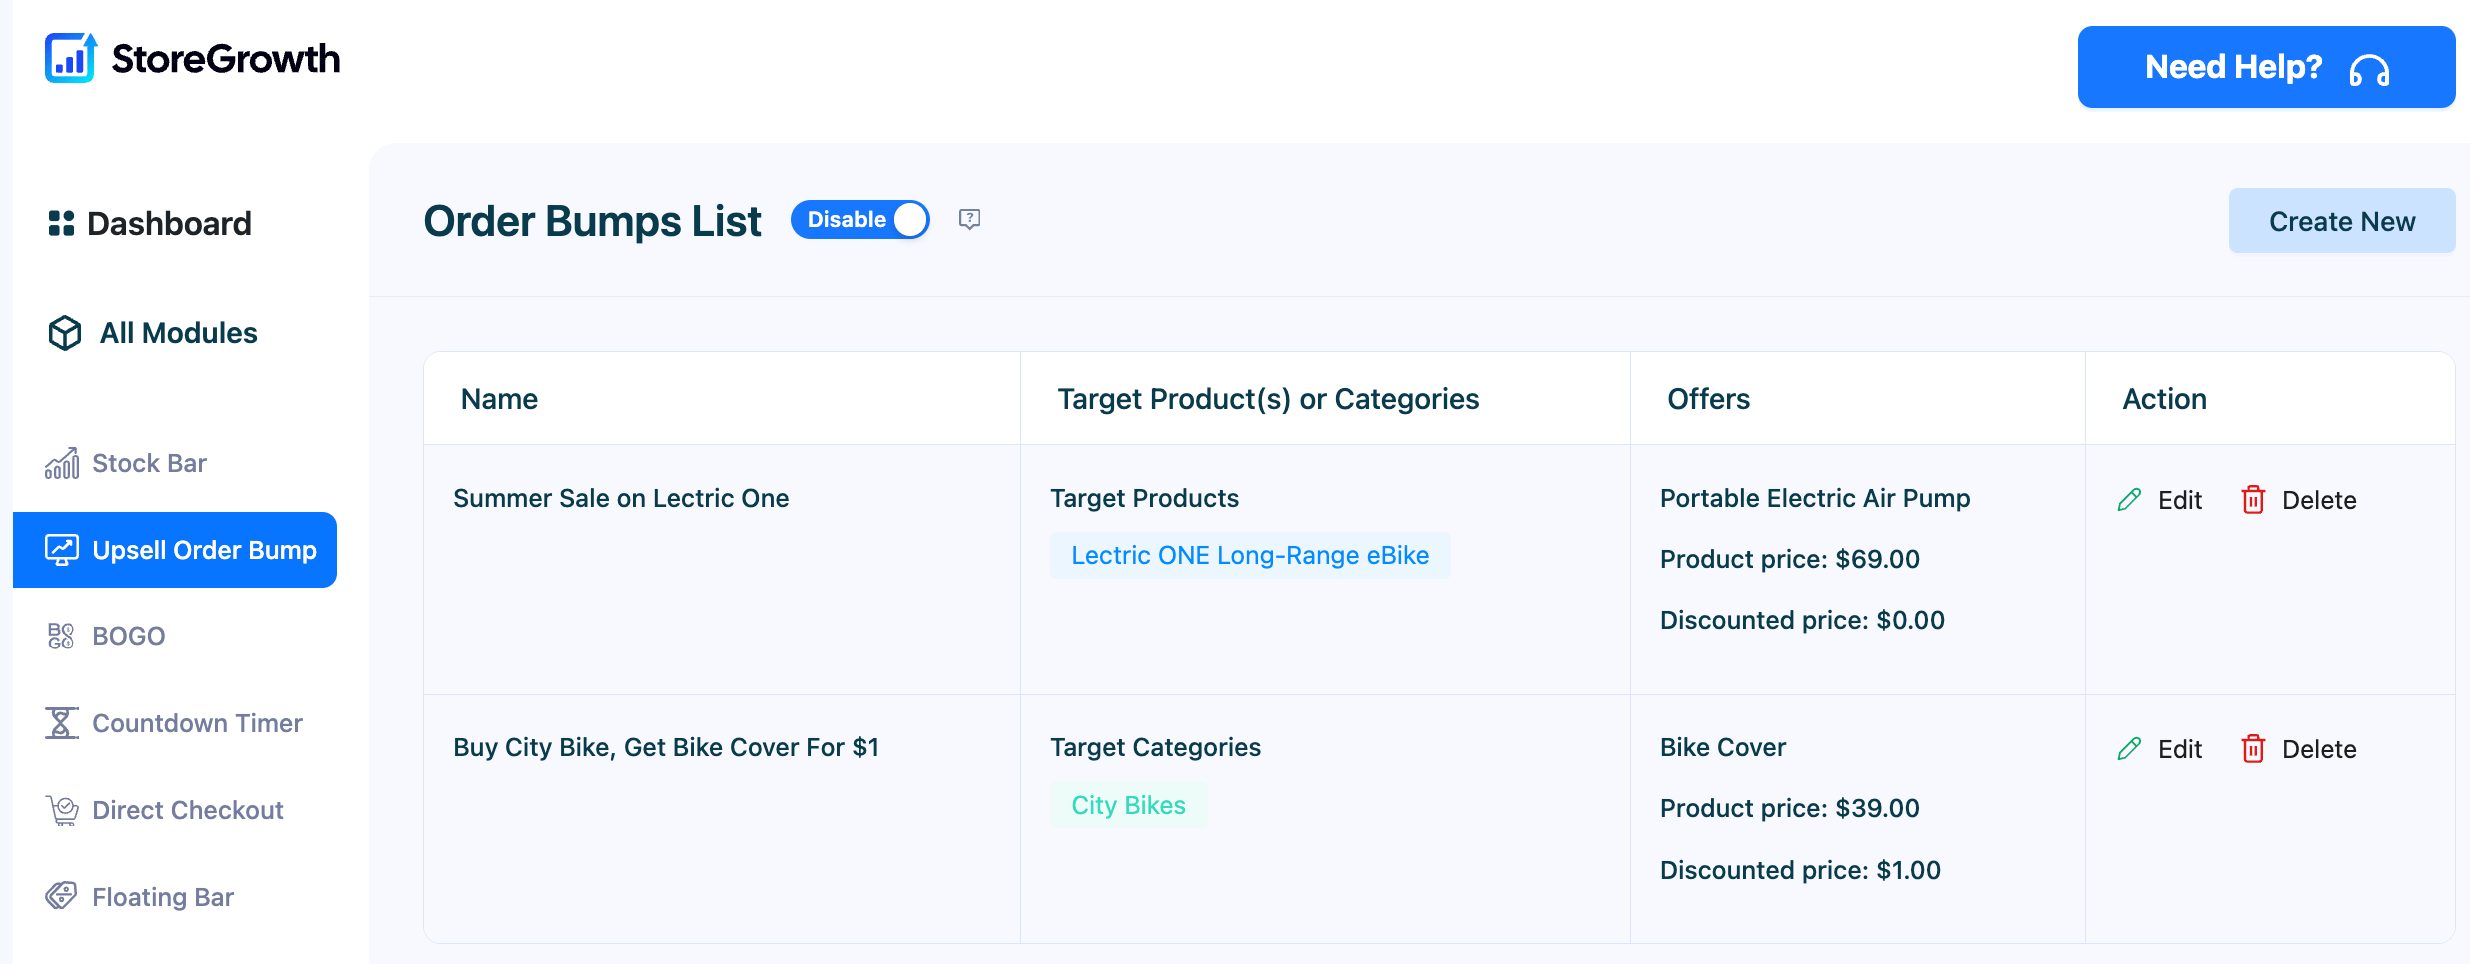
From this screen, you can see all your campaigns at a glance. The list will display:
- Name: The internal name of your order bump campaign.
- Target Product(s) or Categories: The products or categories that will trigger the offer.
- Offers: A summary of the product being offered in the bump.
- Action: Options to Edit or Delete your existing order bumps.
How to Create an Upsell Order Bump Deal
To create your first offer, click the Create New button from the main Order Bumps List page.
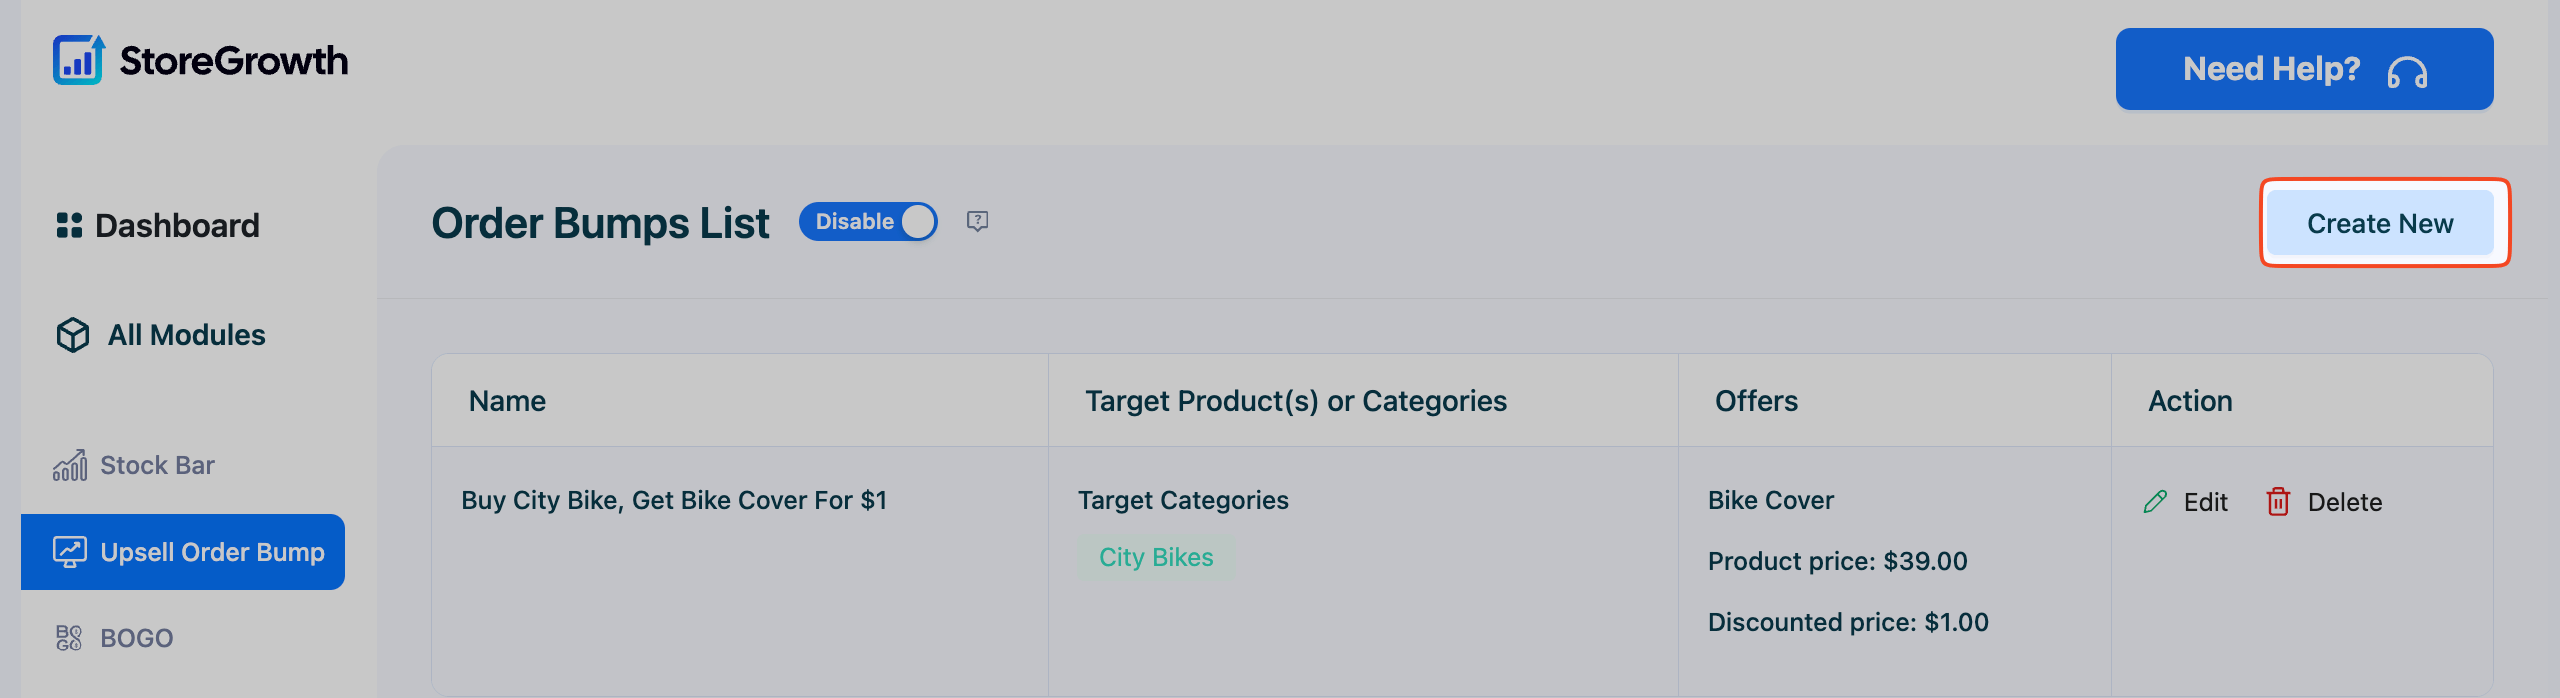
This will open the configuration screen, which is divided into two tabs:
- Basic Information
- Design
Step 1: Configure the Basic Information
This tab controls the core logic of your order bump: what triggers the offer and what product is presented to the customer.
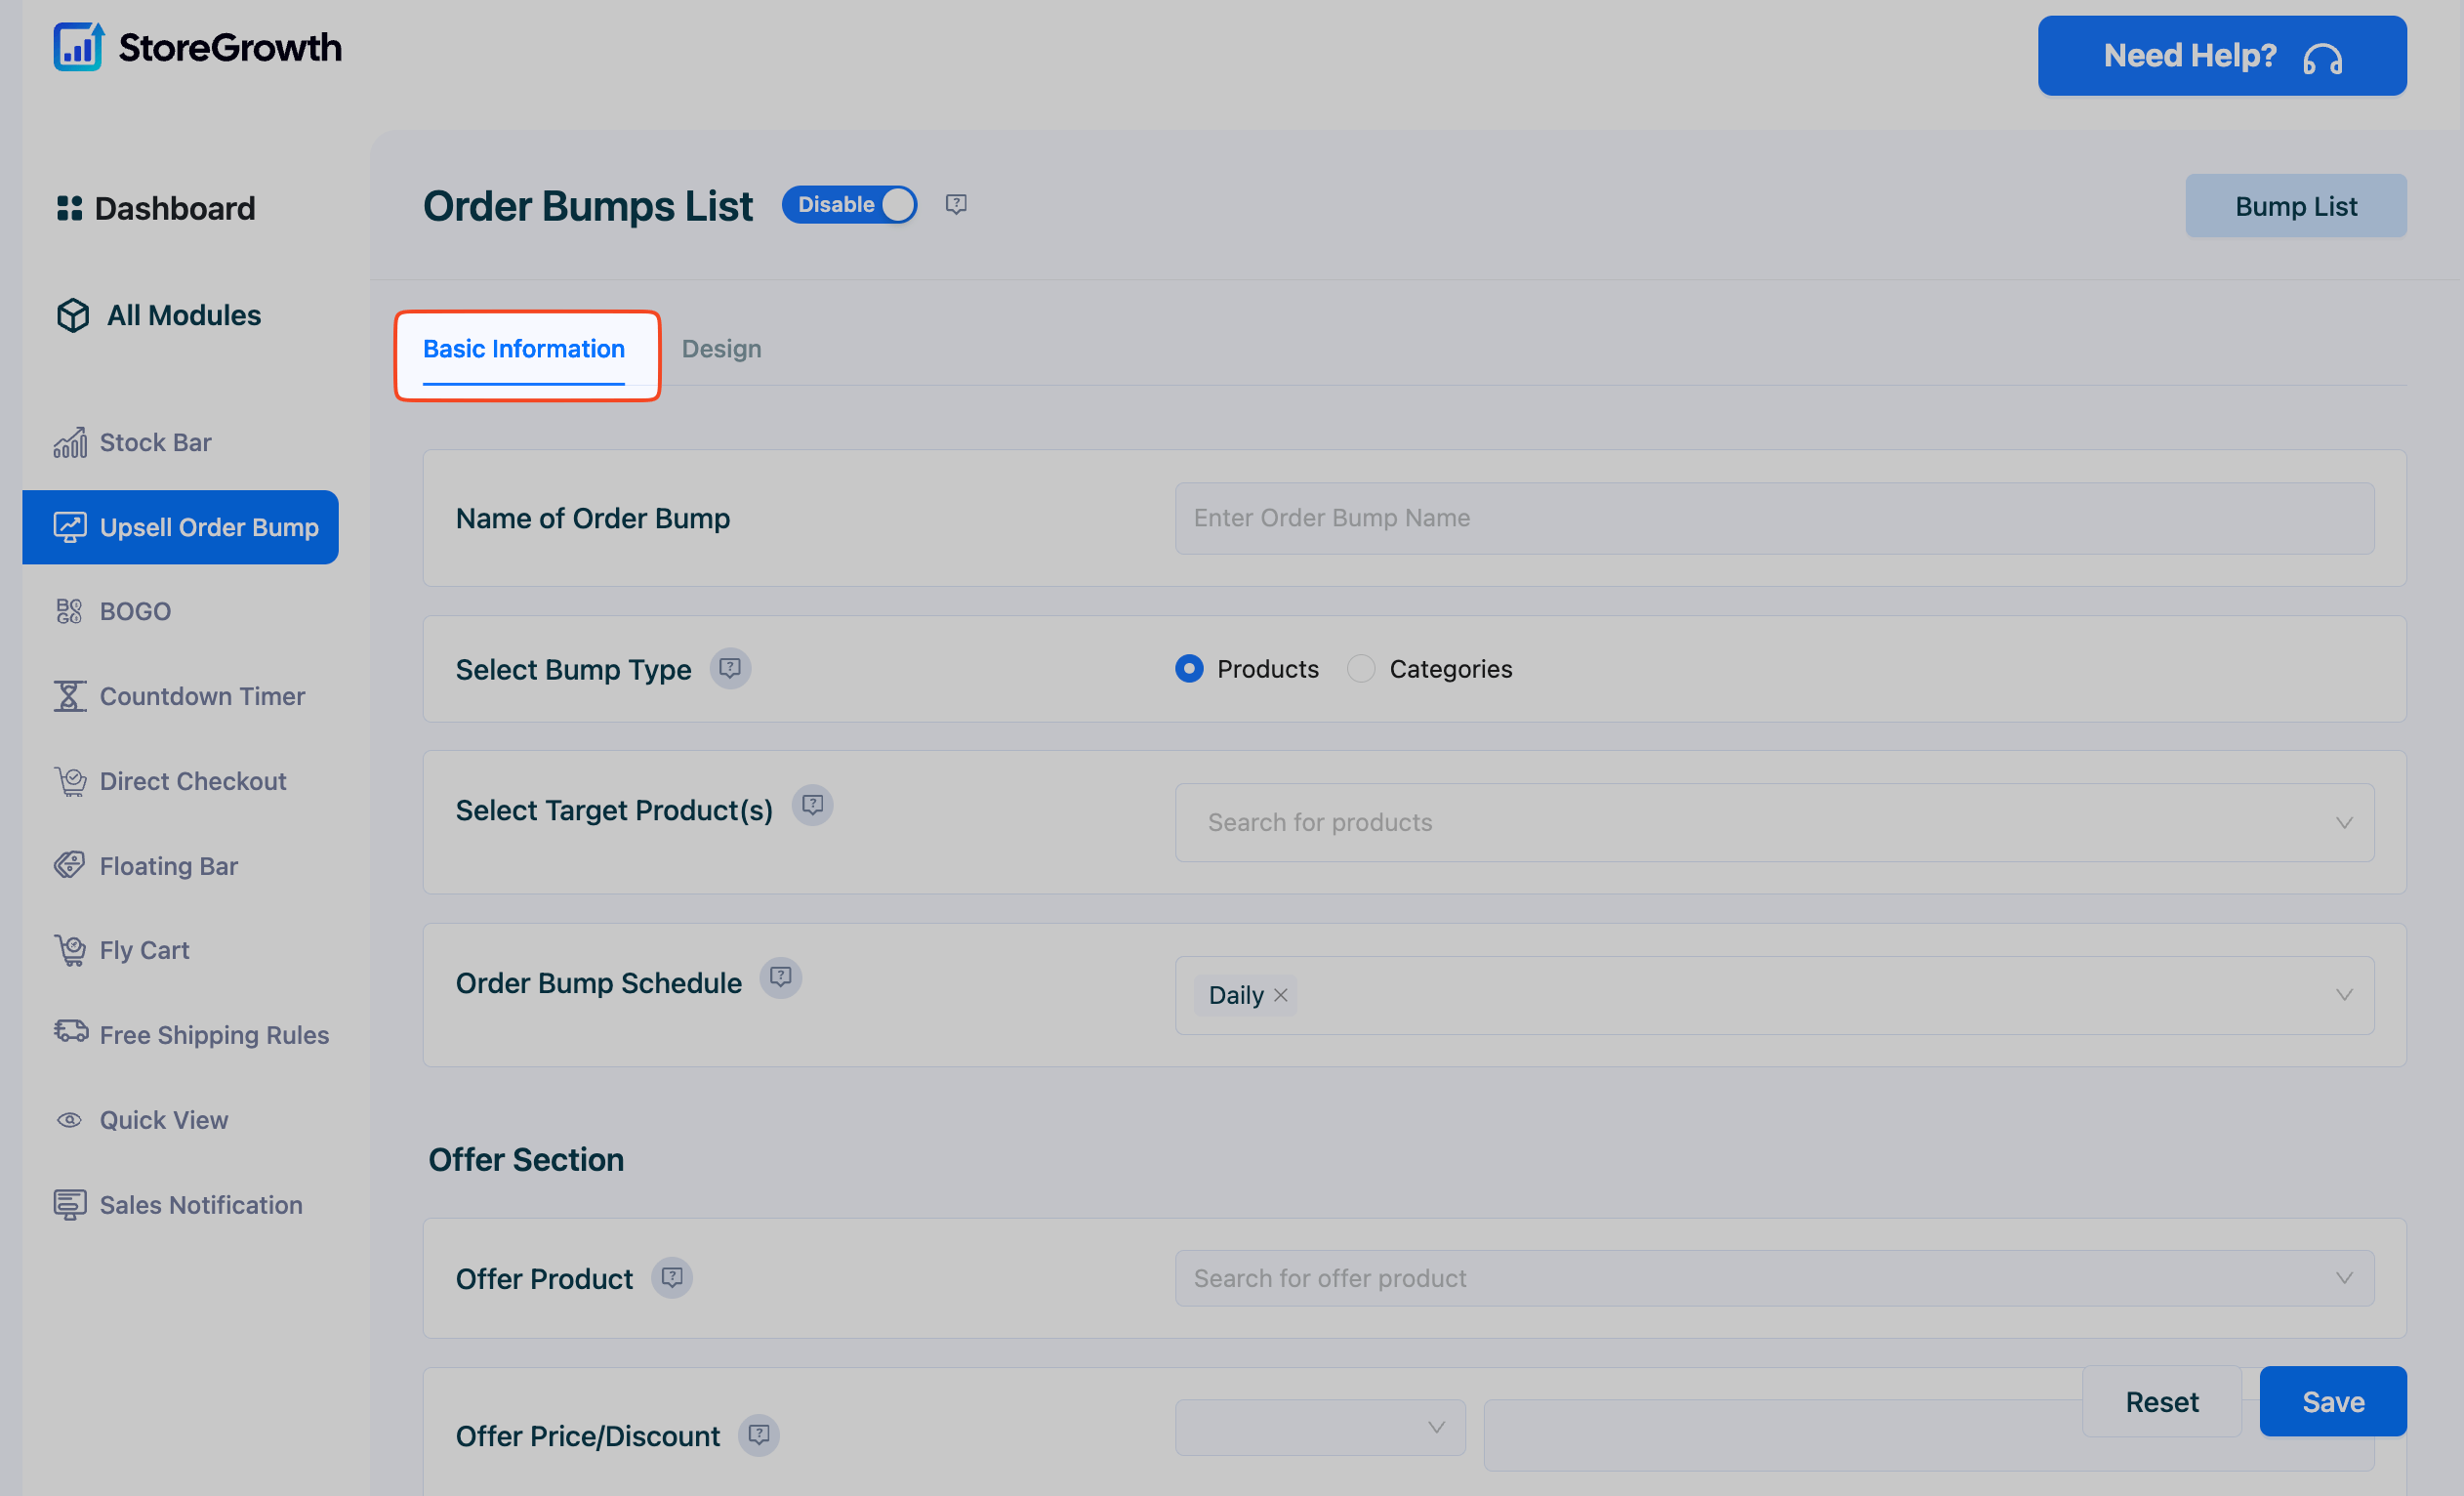
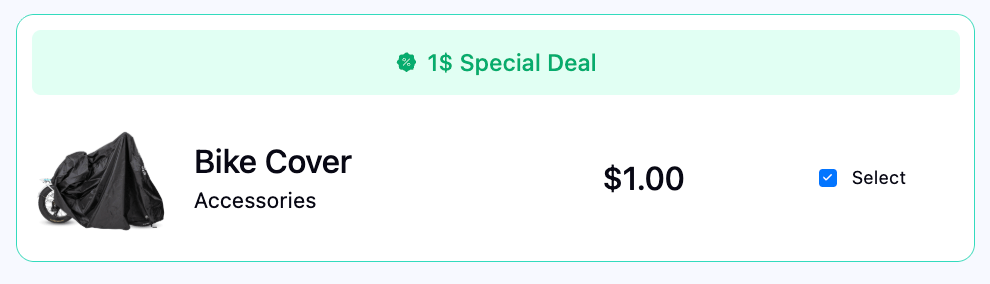
- Name of Order Bump: Enter a name for your campaign for internal tracking (e.g., “Buy City Bike, Get Bike Cover For $1”). This is not visible to customers.
- Select Bump Type: Choose the condition that will trigger the order bump.
- Products: The bump will appear only when specific products are in the cart.
- Categories: The bump will appear when any product from one or more specific categories is in the cart.
- Select Target Product(s): Based on your selection above, search for and select the specific products or categories that must be in the cart for the offer to appear.
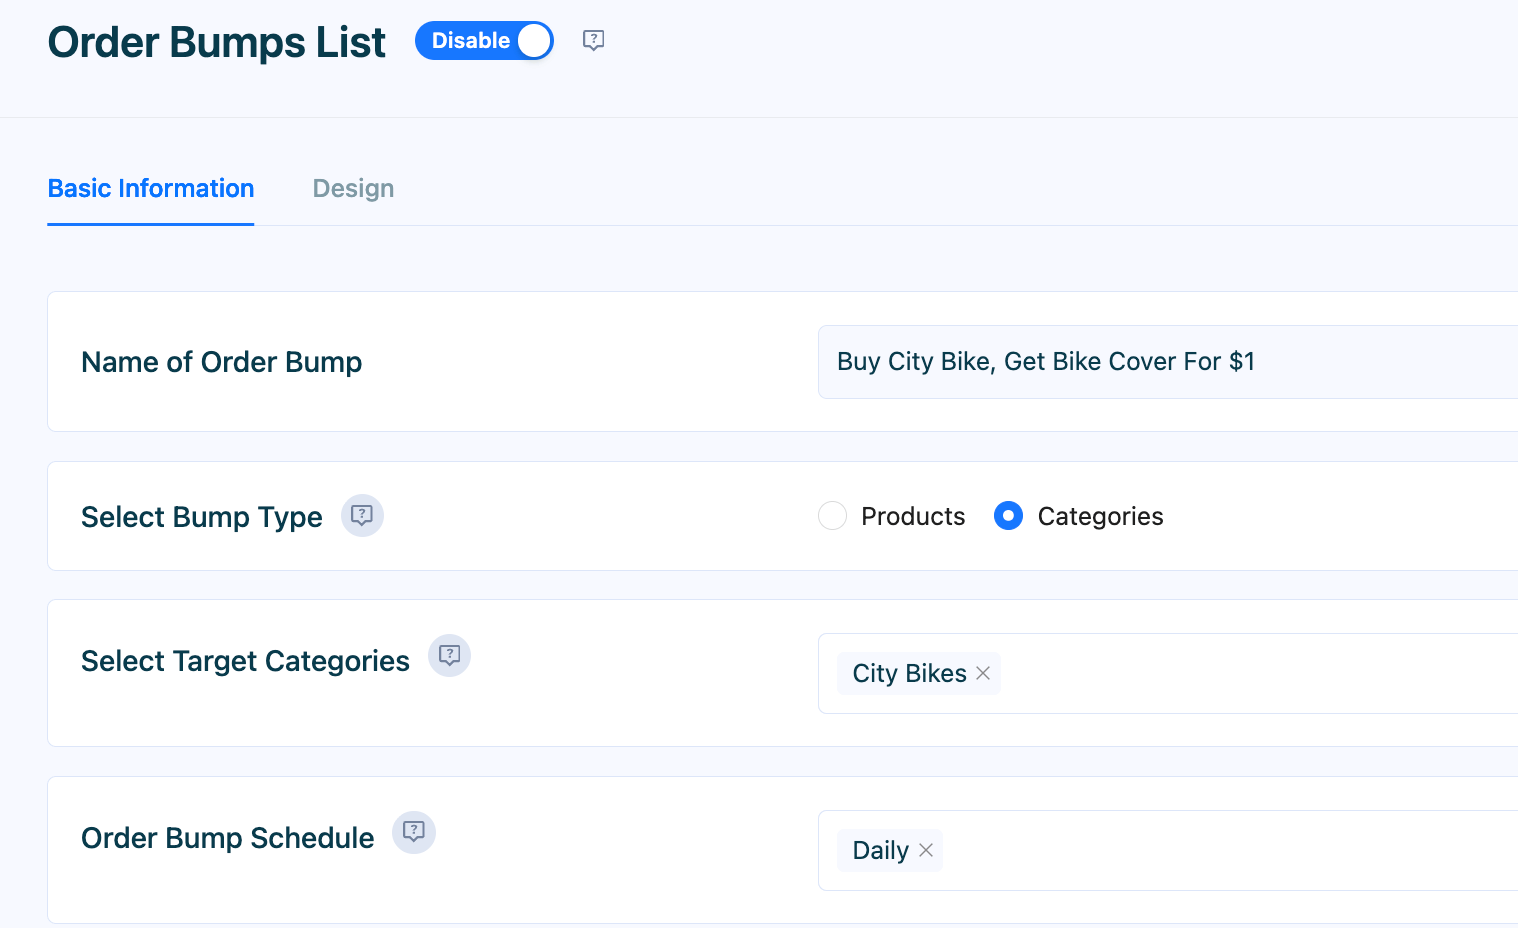
- Order Bump Schedule: Set a schedule for your campaign. You can have it run daily or set specific start and end dates for time-sensitive promotions.
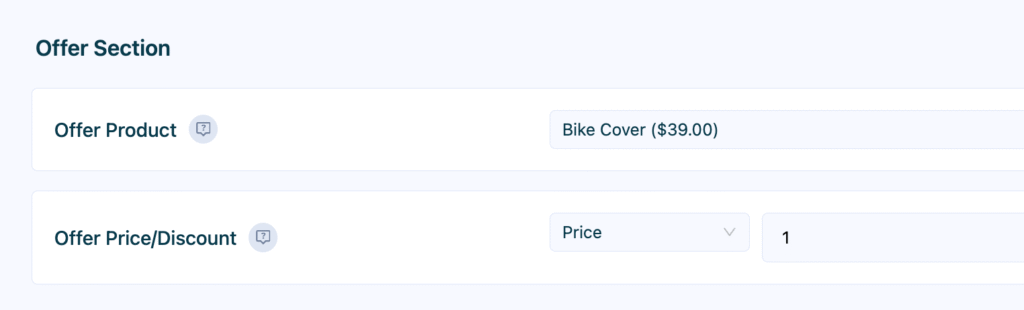
- Offer Section:
- Offer Product: Search for and select the product you want to offer as the order bump.
- Offer Price/Discount: Set the price for the offer product. You can offer it for free, at a fixed discount, or with a percentage discount.
Step 2: Customize the Design
This tab allows you to control the visual appearance of the order bump box on the checkout page. A live preview on the right side of the screen updates as you make changes, showing you exactly what your customers will see.
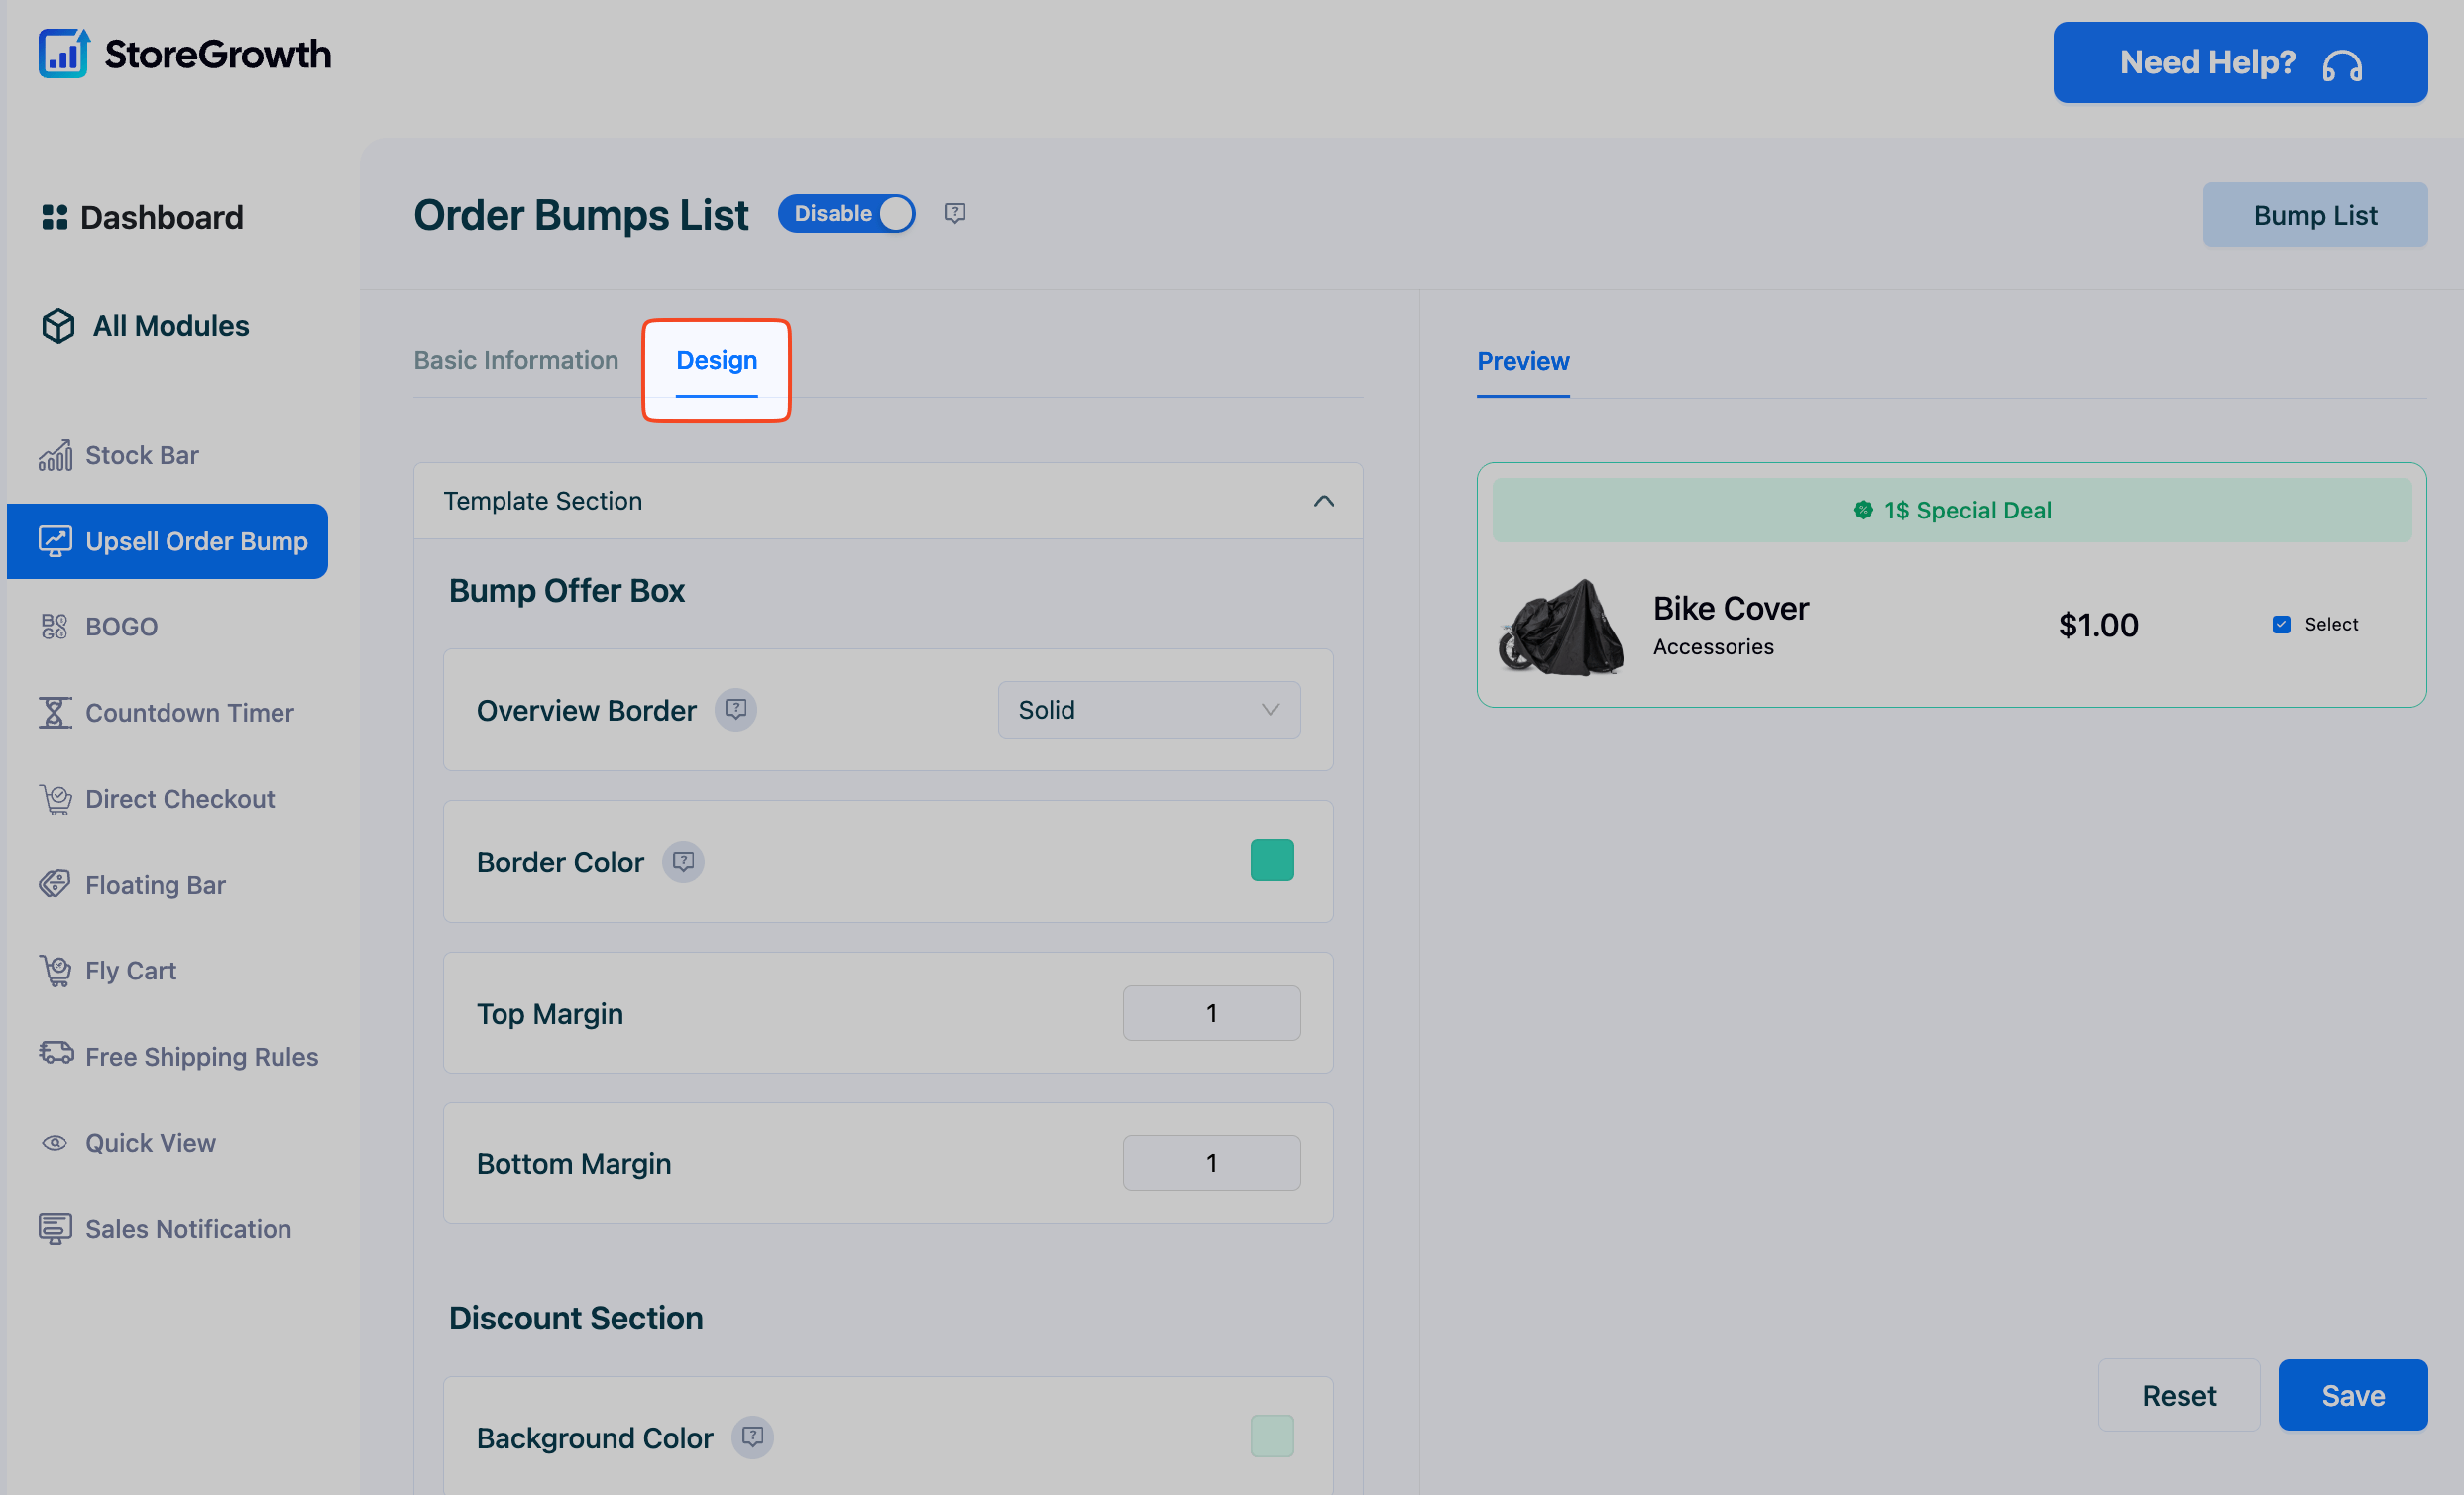
- Bump Offer Box:
- Overview Border: Choose a border style for the offer box (Solid, Dotted, Dashed, or No Border).
- Border Color: Select a color for the border.
- Top/Bottom Margin: Adjust the spacing above and below the offer box in pixels.
- Discount Section:
- Background Color: Choose a background color for the discount text area.
- Text Color: Select the color for the discount text.
- Font Size: Set the font size for the discount text.
- Product Section:
- Text Color: Select the color for the product title and price.
- Font Size: Set the font size for the product title and price.
- Content Section:
- For Discount %: Customize the compelling offer text that appears in the discount section. You can use variables to make it dynamic.
Once you have configured both tabs, click the Save button. Your new order bump will now be active and will appear in the Order Bumps List for future management.