

The BOGO (Buy One, Get One) module is a powerful marketing tool designed to help you create compelling promotional deals that can significantly increase your average order value, clear out inventory, and attract new customers. This guide will walk you through every step of configuring and launching your BOGO offers.
With this module, you can set up two primary types of offers,:
- Buy X, Get X: A classic offer where a customer buys a specific quantity of a product and gets another quantity of the same product for free or at a discount.
- Buy X, Get Y: A strategic cross-sell offer where a customer buys a specific product and gets a different product for free or at a discount.
Activating the BOGO Module
Before you can create your first deal, you need to activate the module.
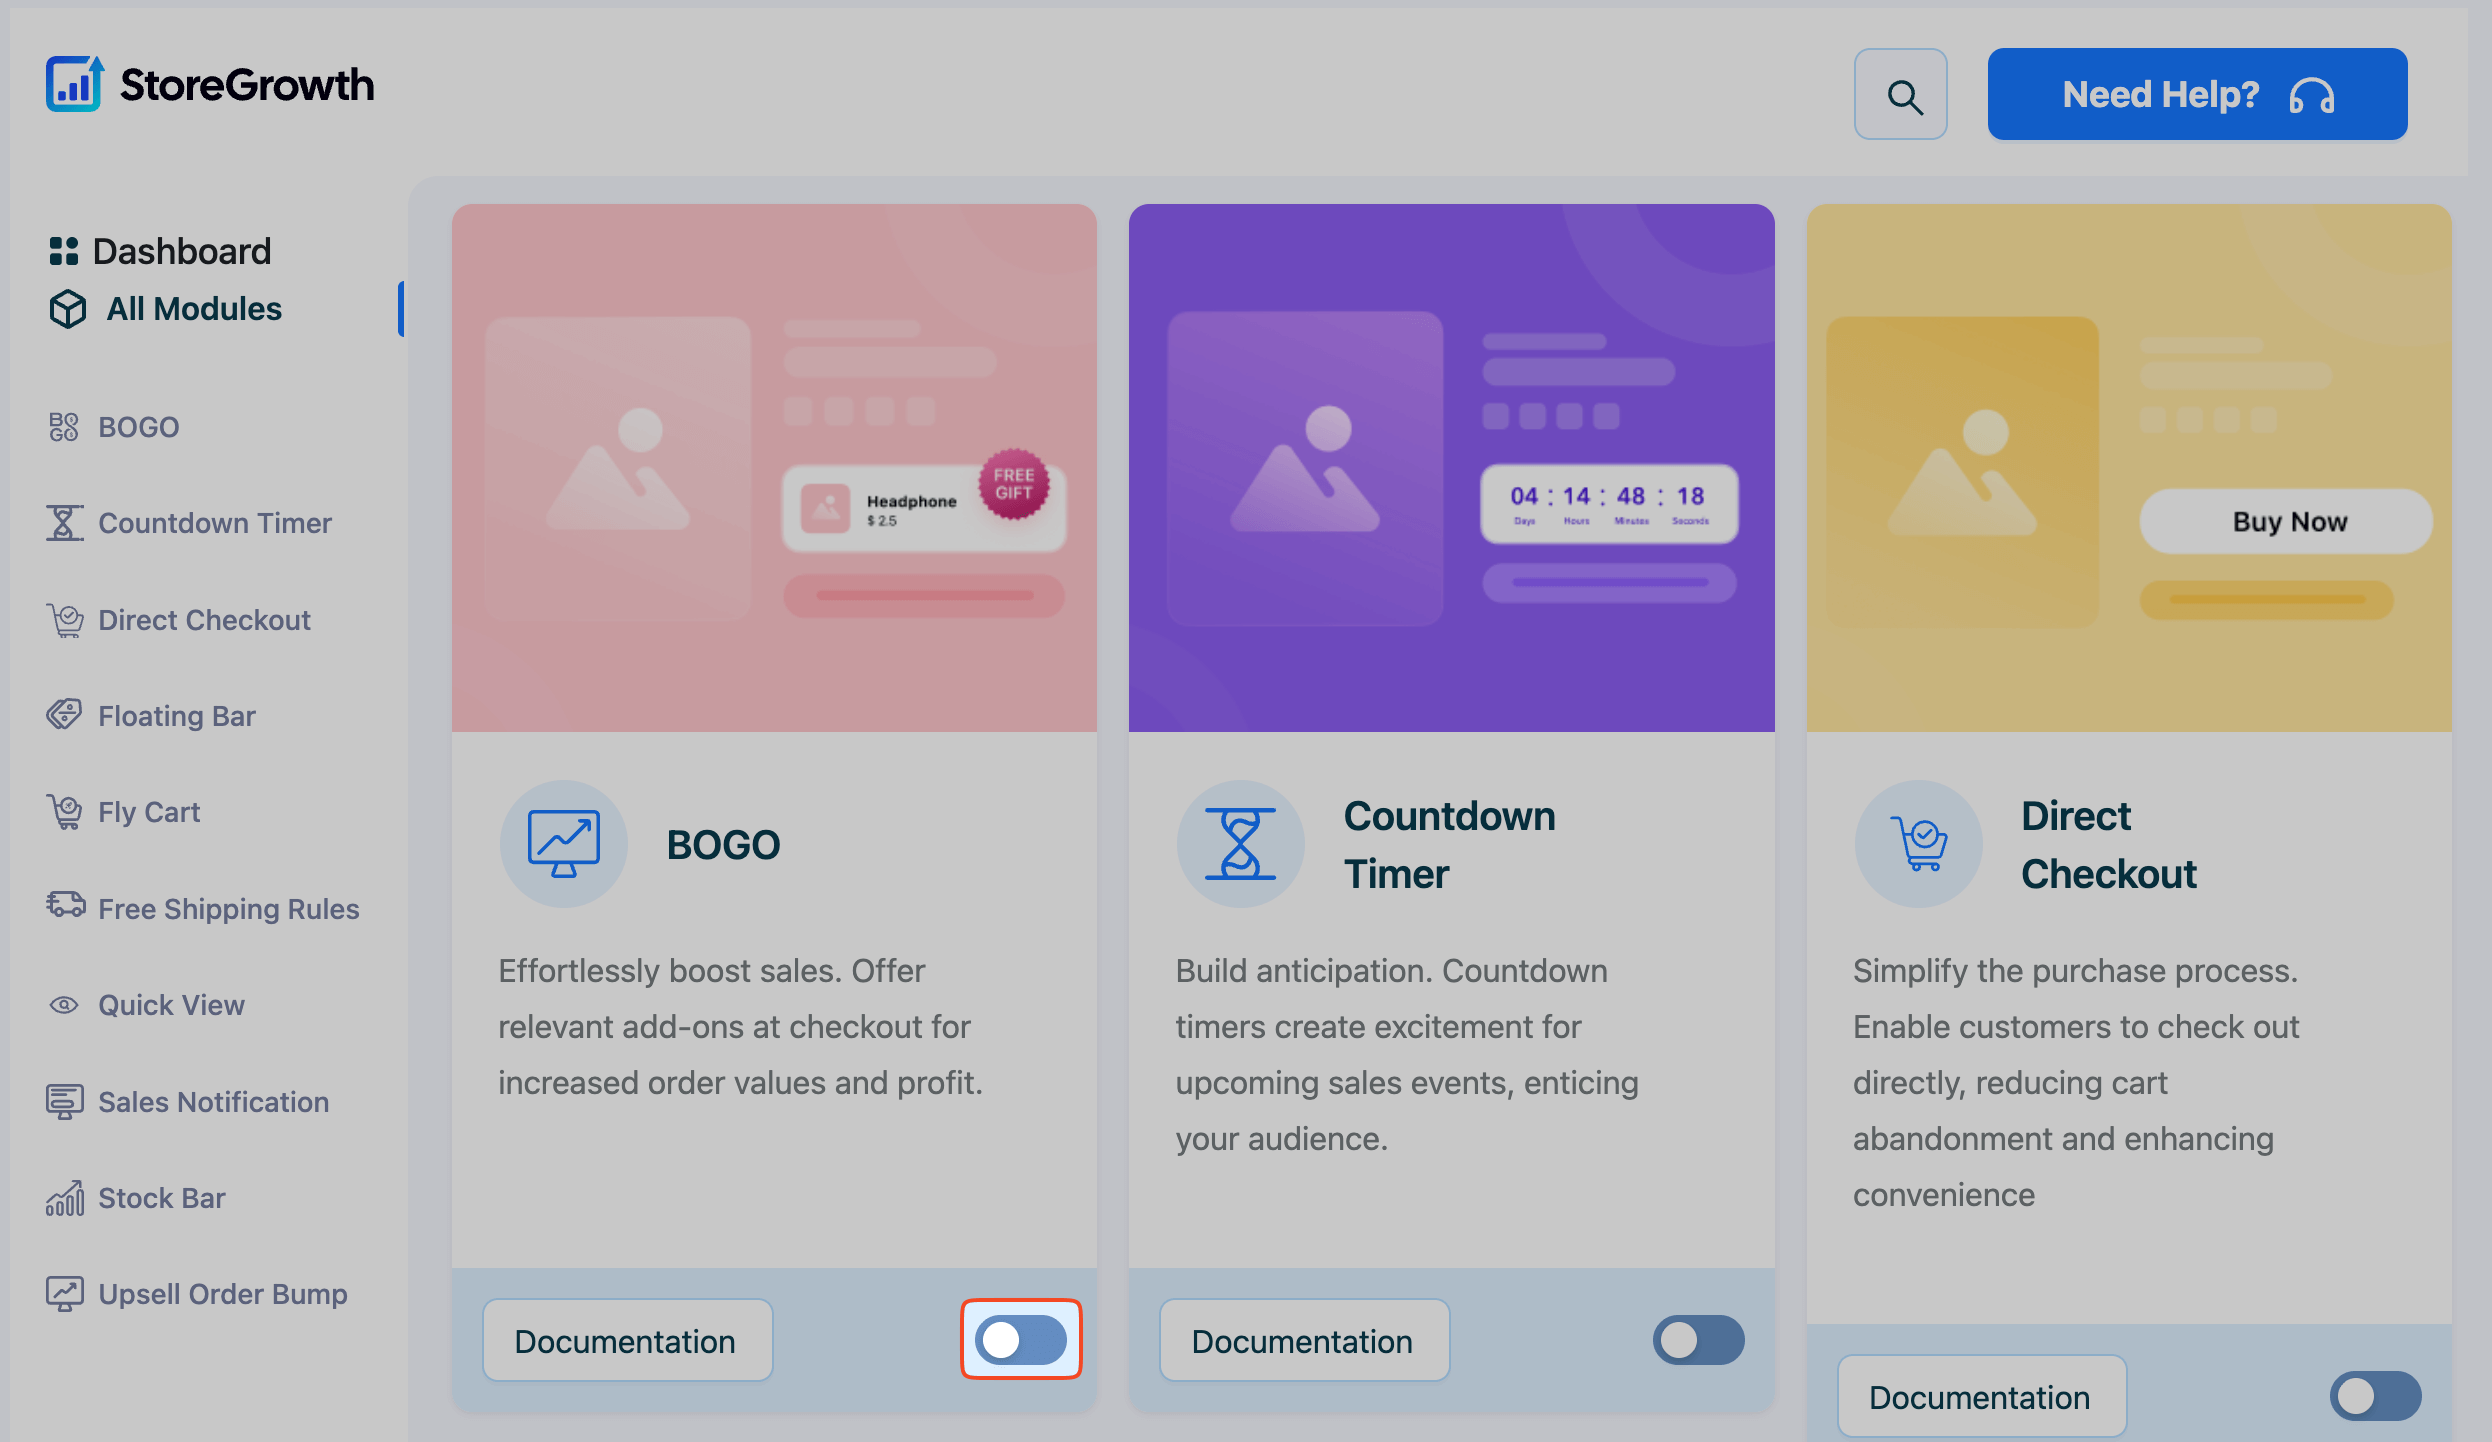
- Navigate to StoreGrowth » All Modules from your WordPress dashboard.
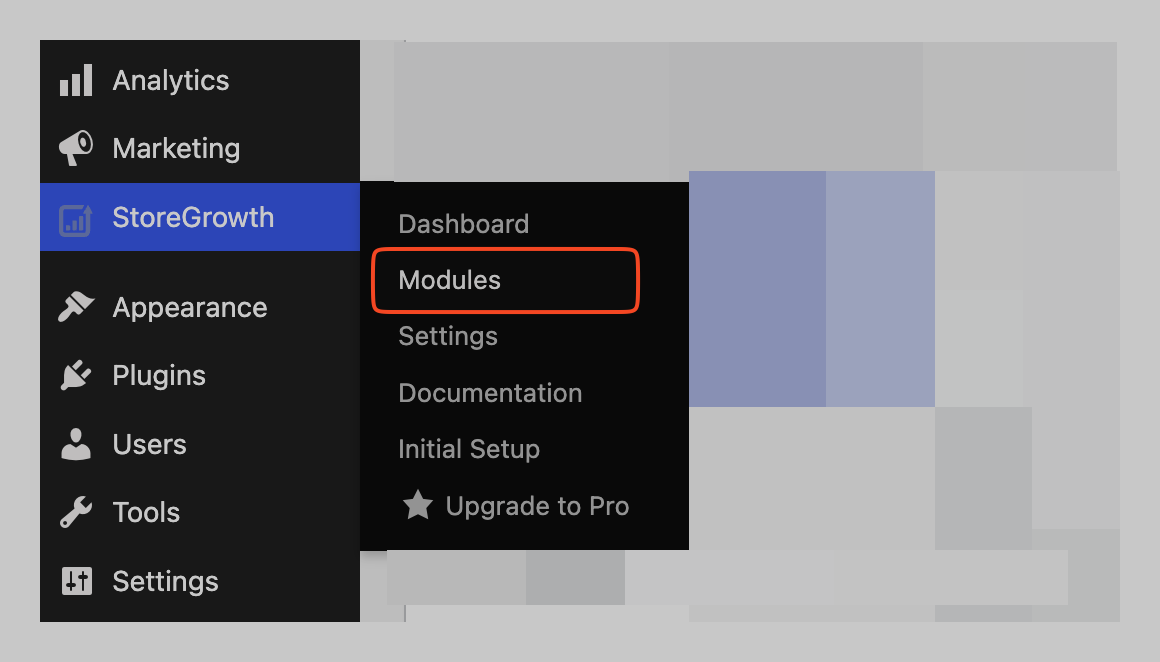
- Find the BOGO module card in the list.
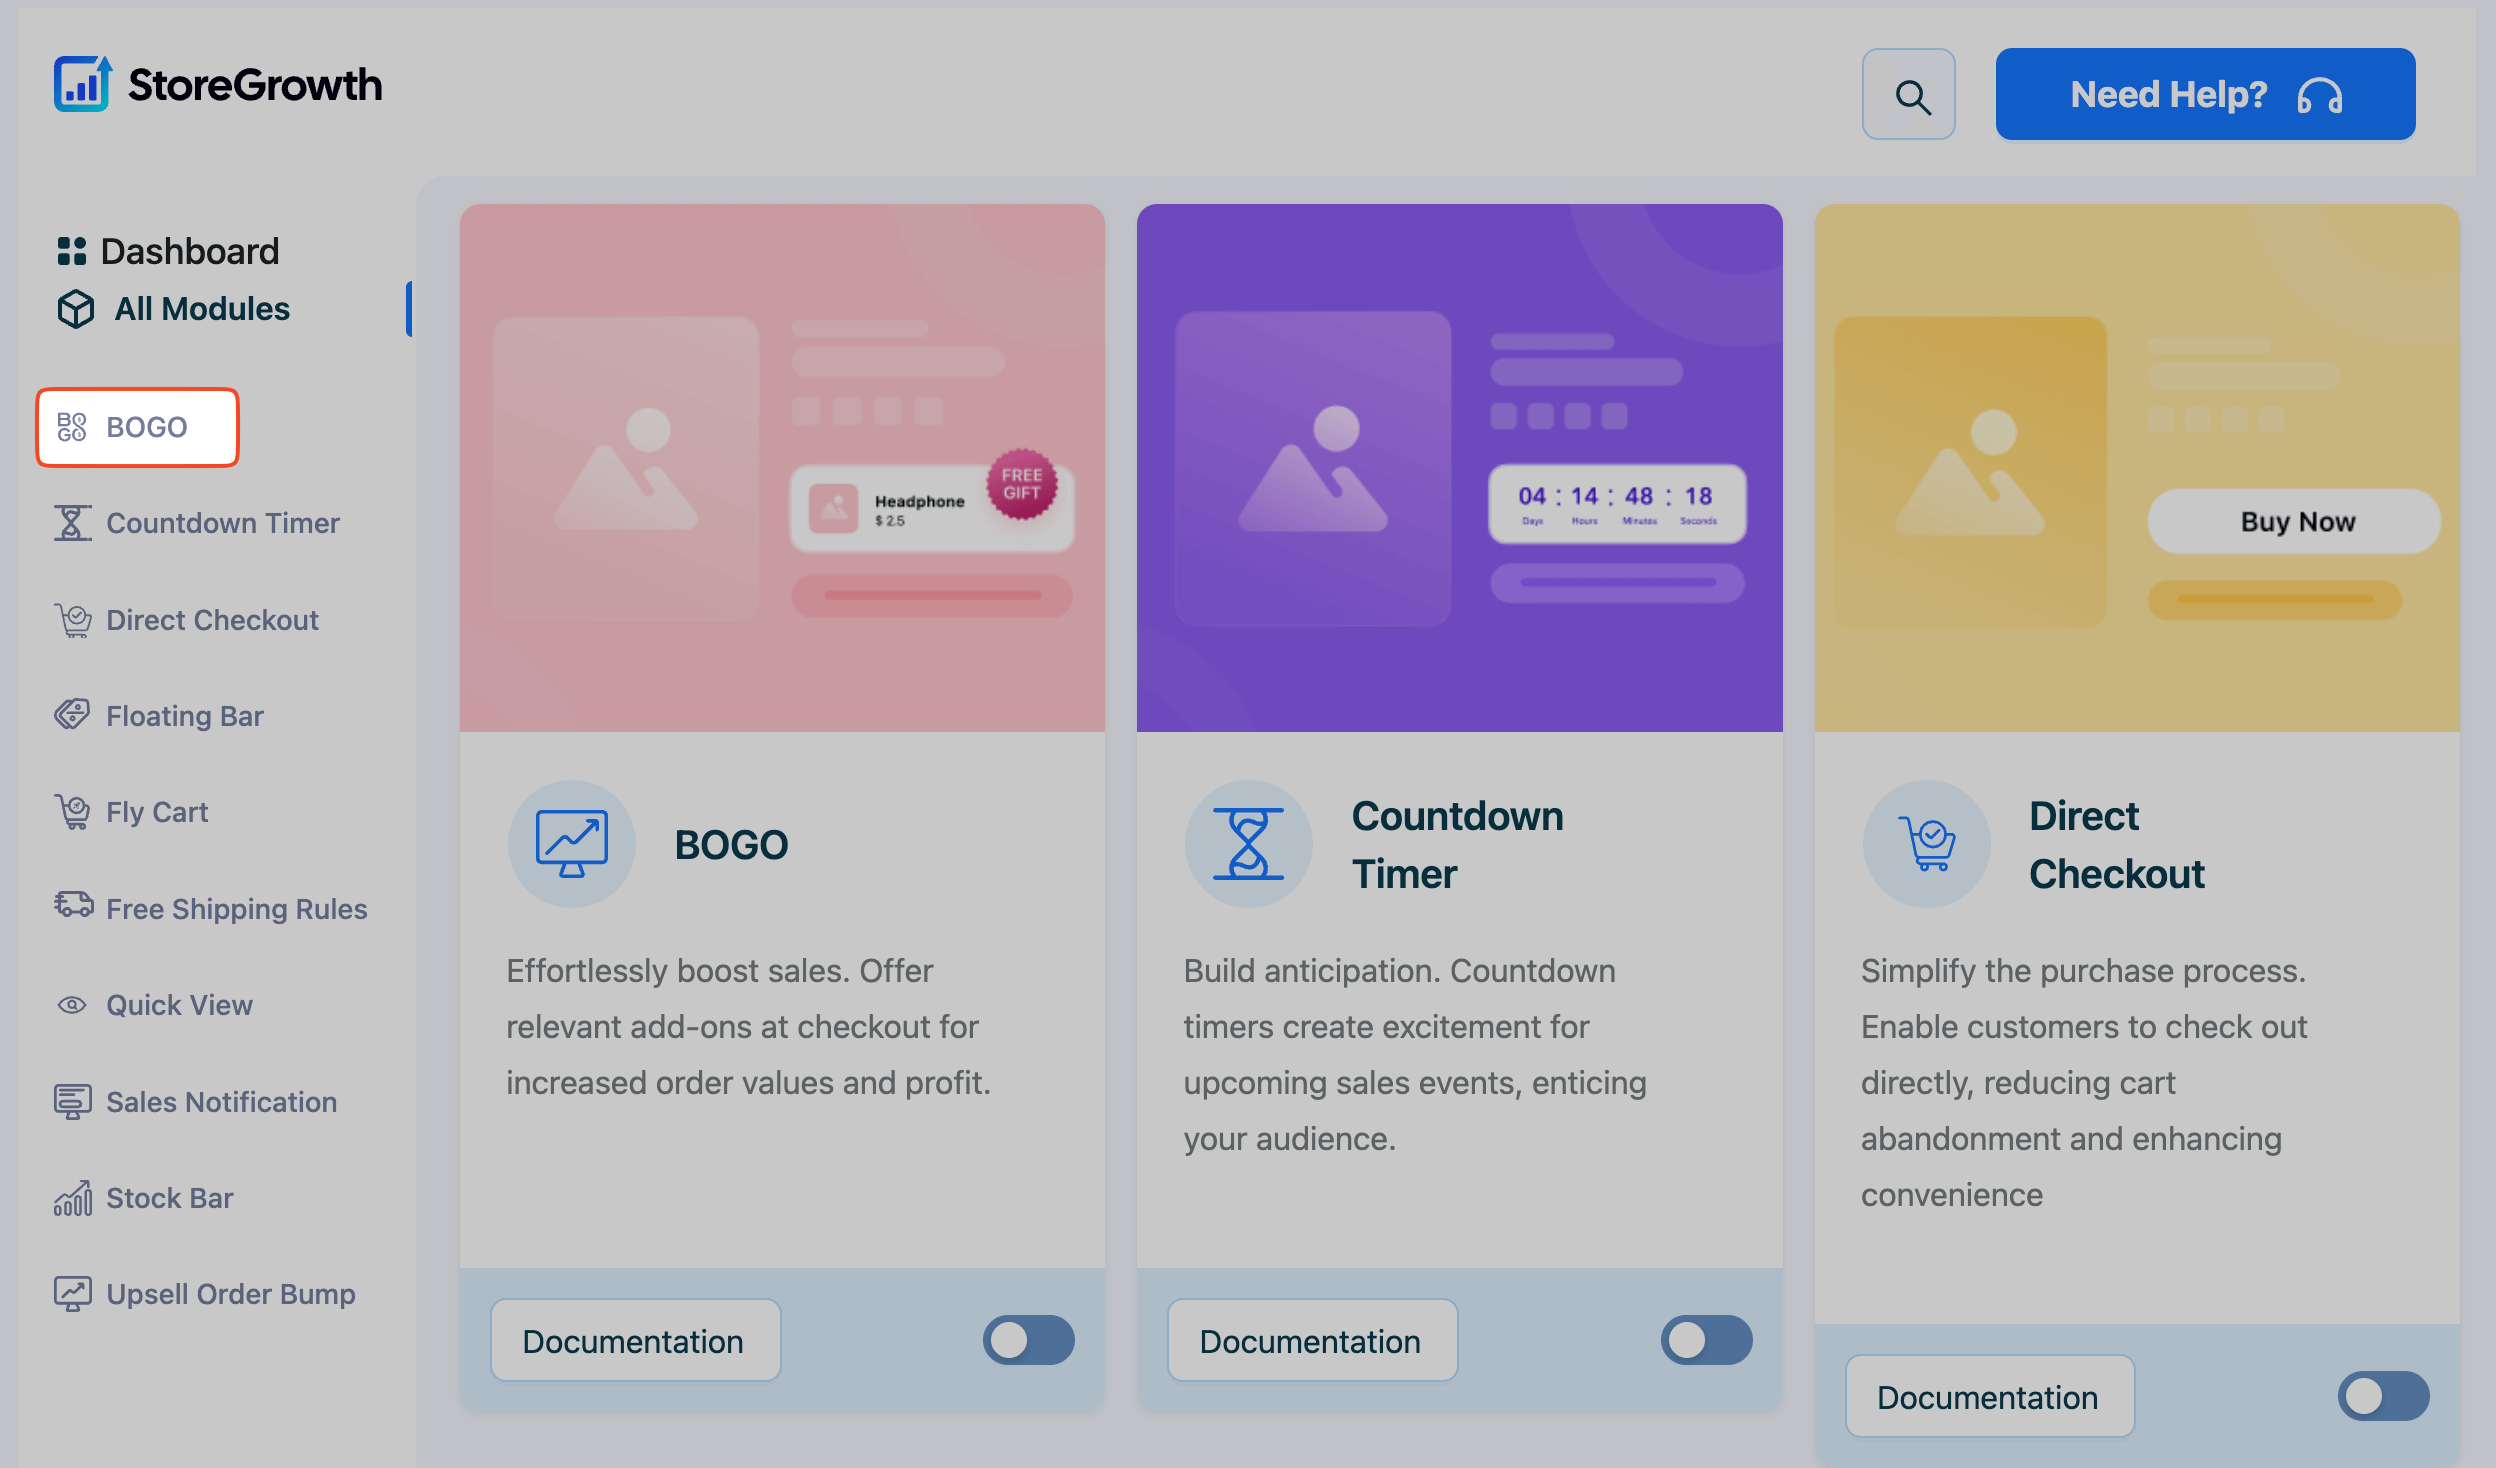
- Click the toggle switch to the “On” position to activate it.
Once activated, a “BOGO” menu item will appear in the main StoreGrowth sidebar, giving you access to all its settings.
BOGO Settings: The Foundation of Your Offers
After activating the module, navigate to StoreGrowth » BOGO. This main settings page is divided into three tabs: General, Lists, and Messages.
General Tab
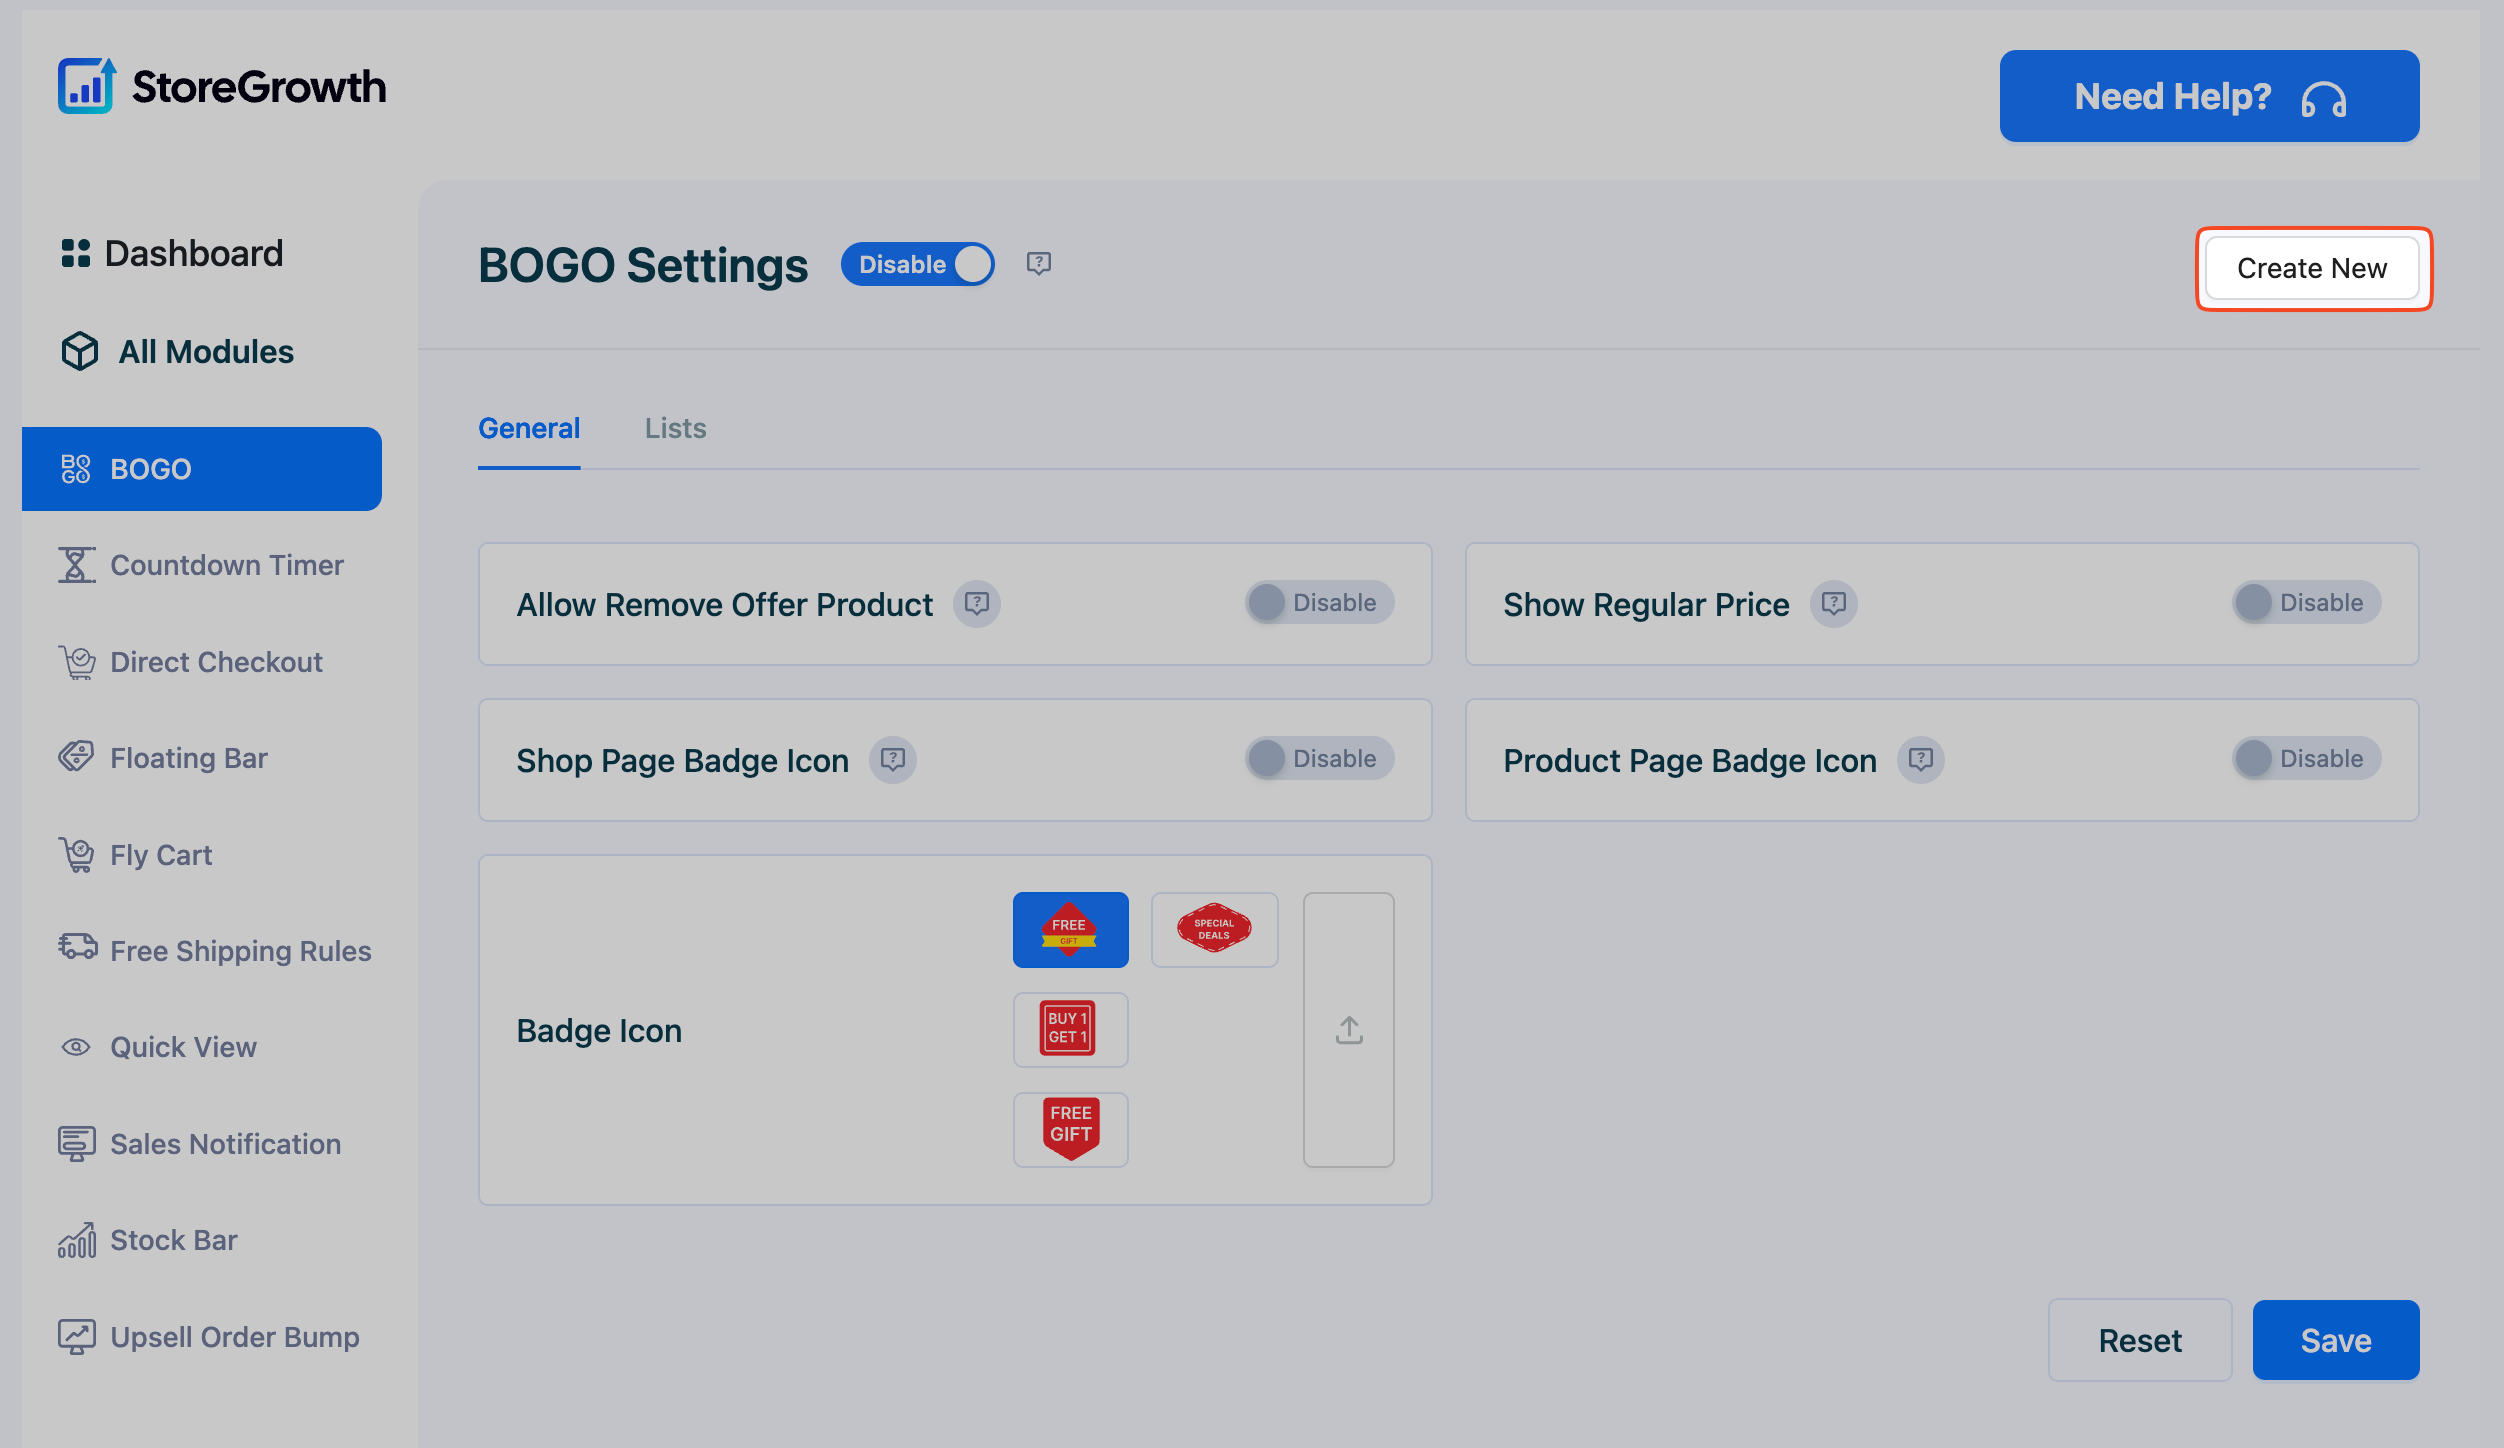
The General tab contains global settings that control the customer experience for all your BOGO deals.
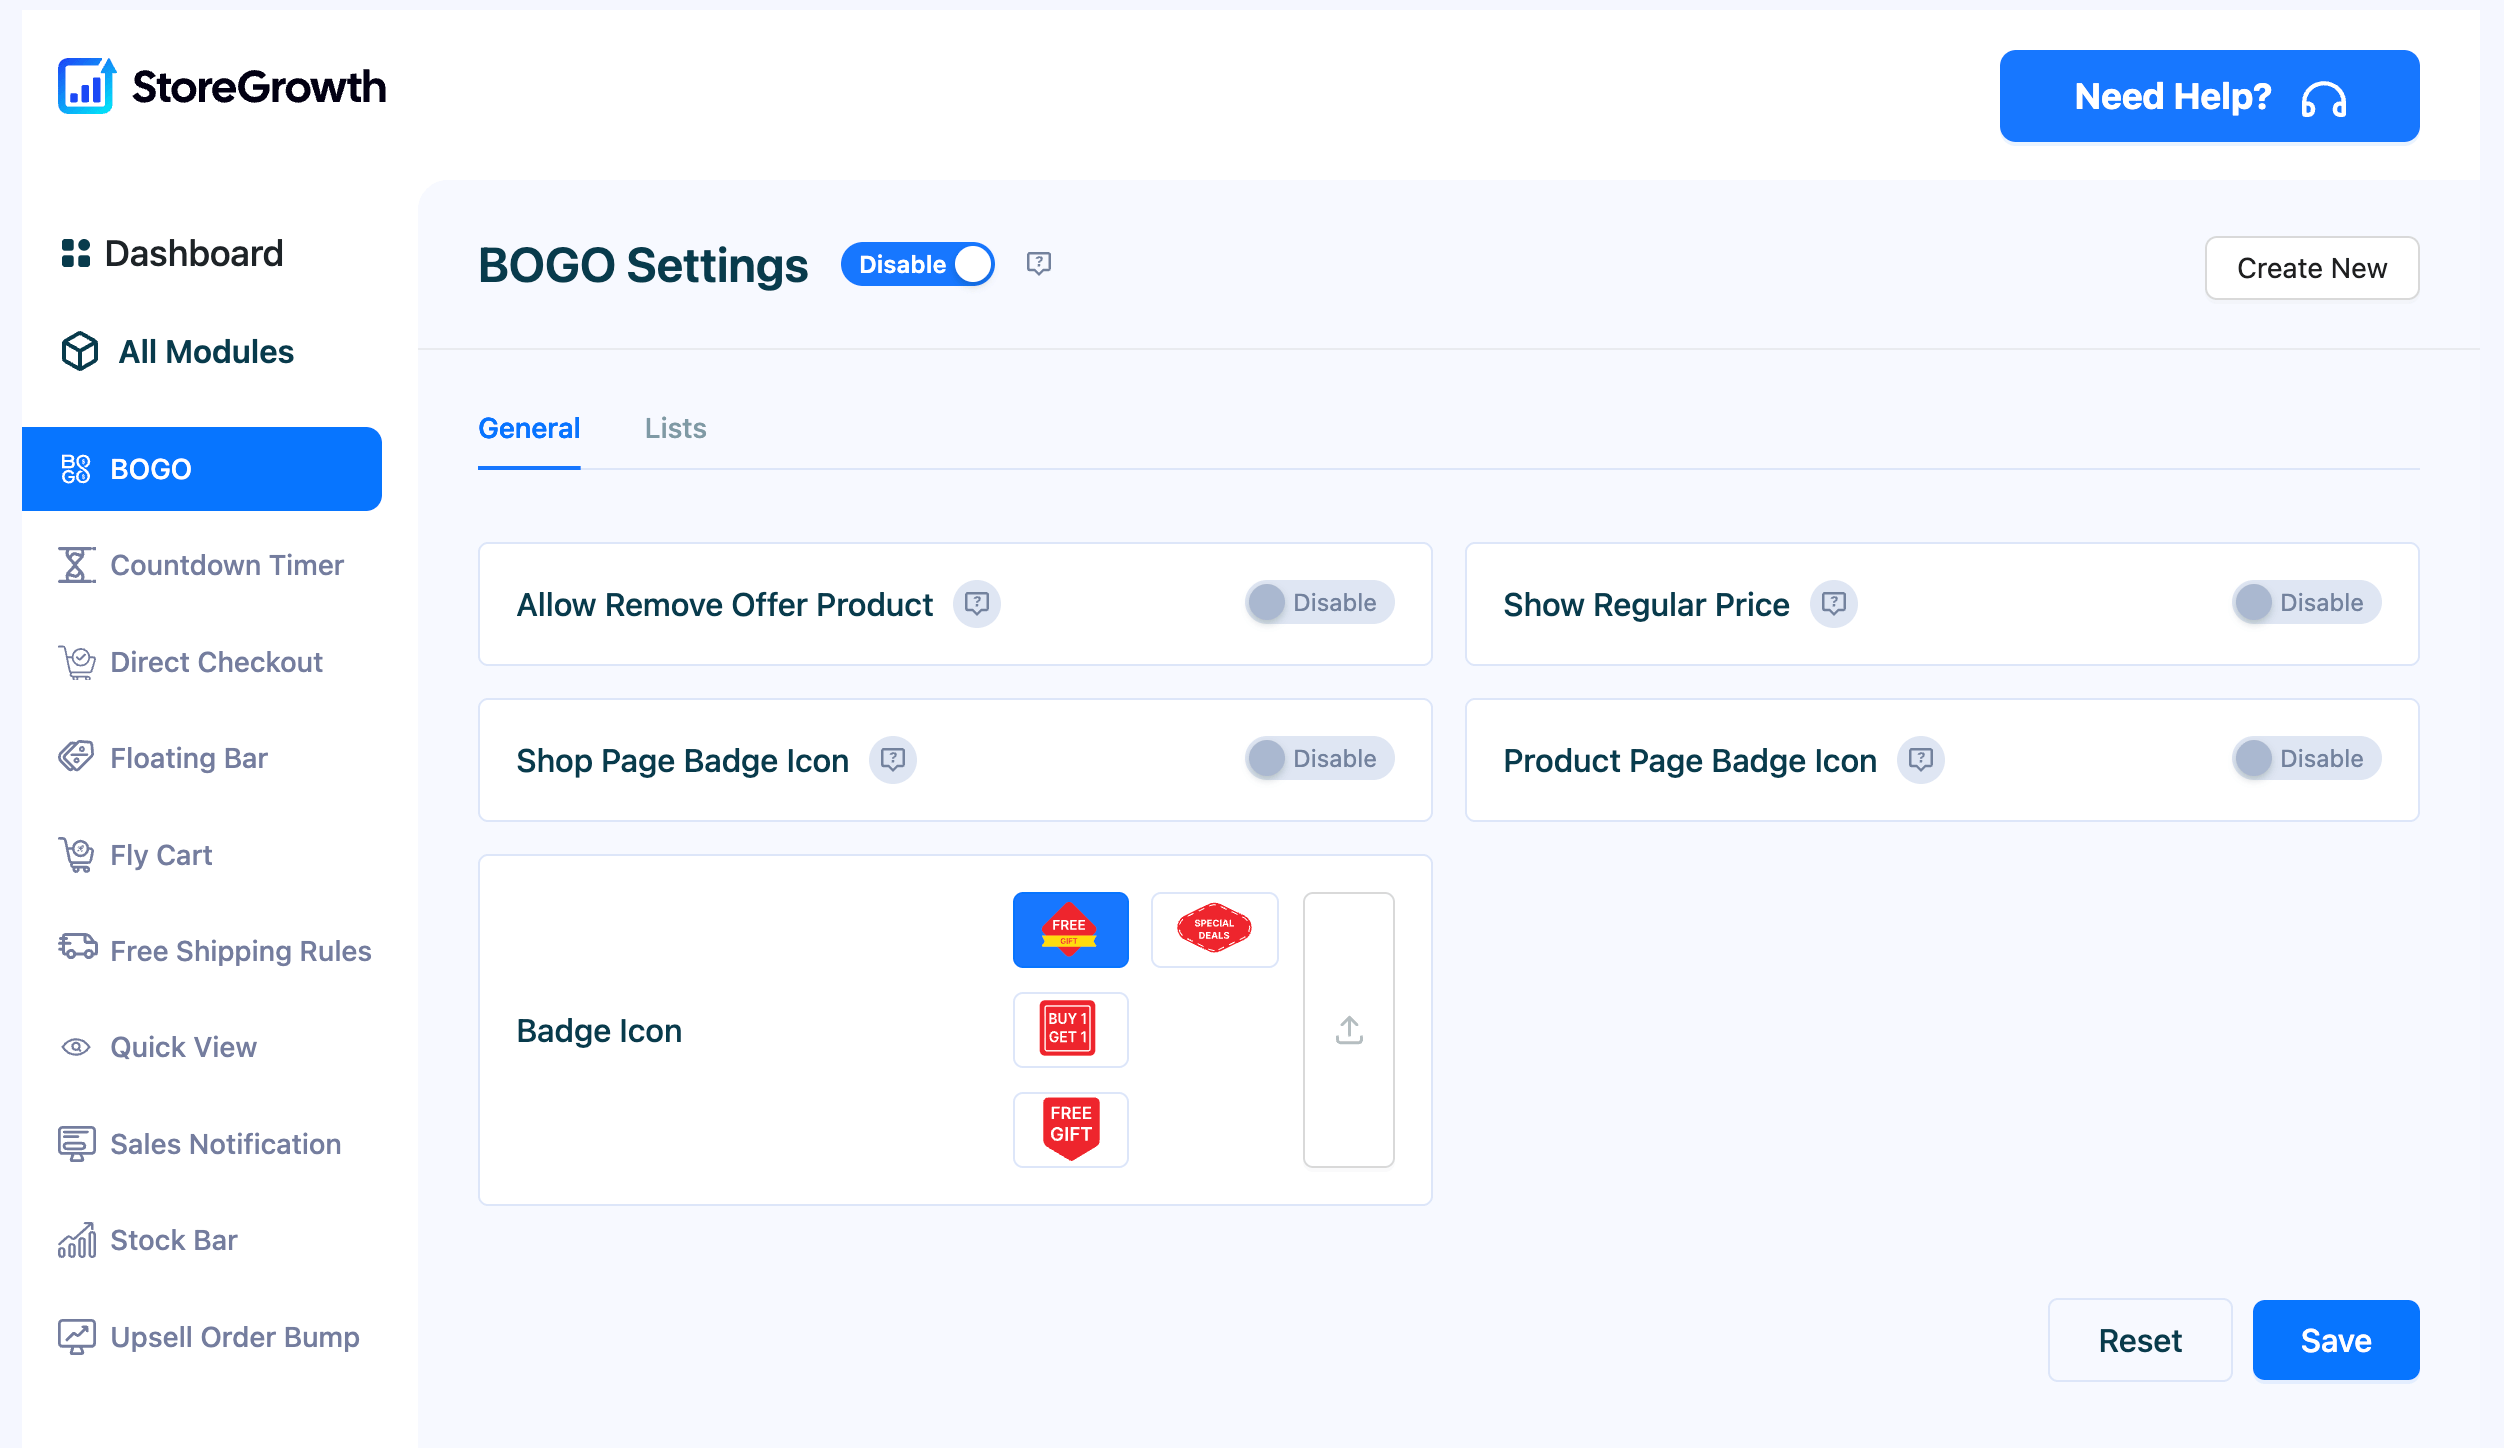
- Allow Remove Offer Product: When enabled, this gives customers the flexibility to remove the free or discounted “Get” product from their cart if they don’t want it.
- Show Regular Price: Enable this to display the original price of the offer product with a strikethrough. This visually reinforces the value of the deal and shows customers how much they are saving.
- Shop Page Badge Icon: When enabled, a promotional badge will appear on products that are part of a BOGO deal on your main shop and category pages. This helps your offers stand out.
- Product Page Badge Icon: Similar to the above, this enables the promotional badge on the individual product pages.
- Badge Icon: Choose from several pre-designed badge icons or upload your own custom image to perfectly match your store’s branding.
Creating a New BOGO Deal
To start building an offer, click the Create New button located at the top right of the BOGO Settings page.
This will take you to the offer creation screen, which has three configuration tabs: Basic Information, Design, and Content.
Step 1: Configure the Basic Information
This tab controls the core logic of your BOGO deal – what the customer needs to buy and what they get in return.
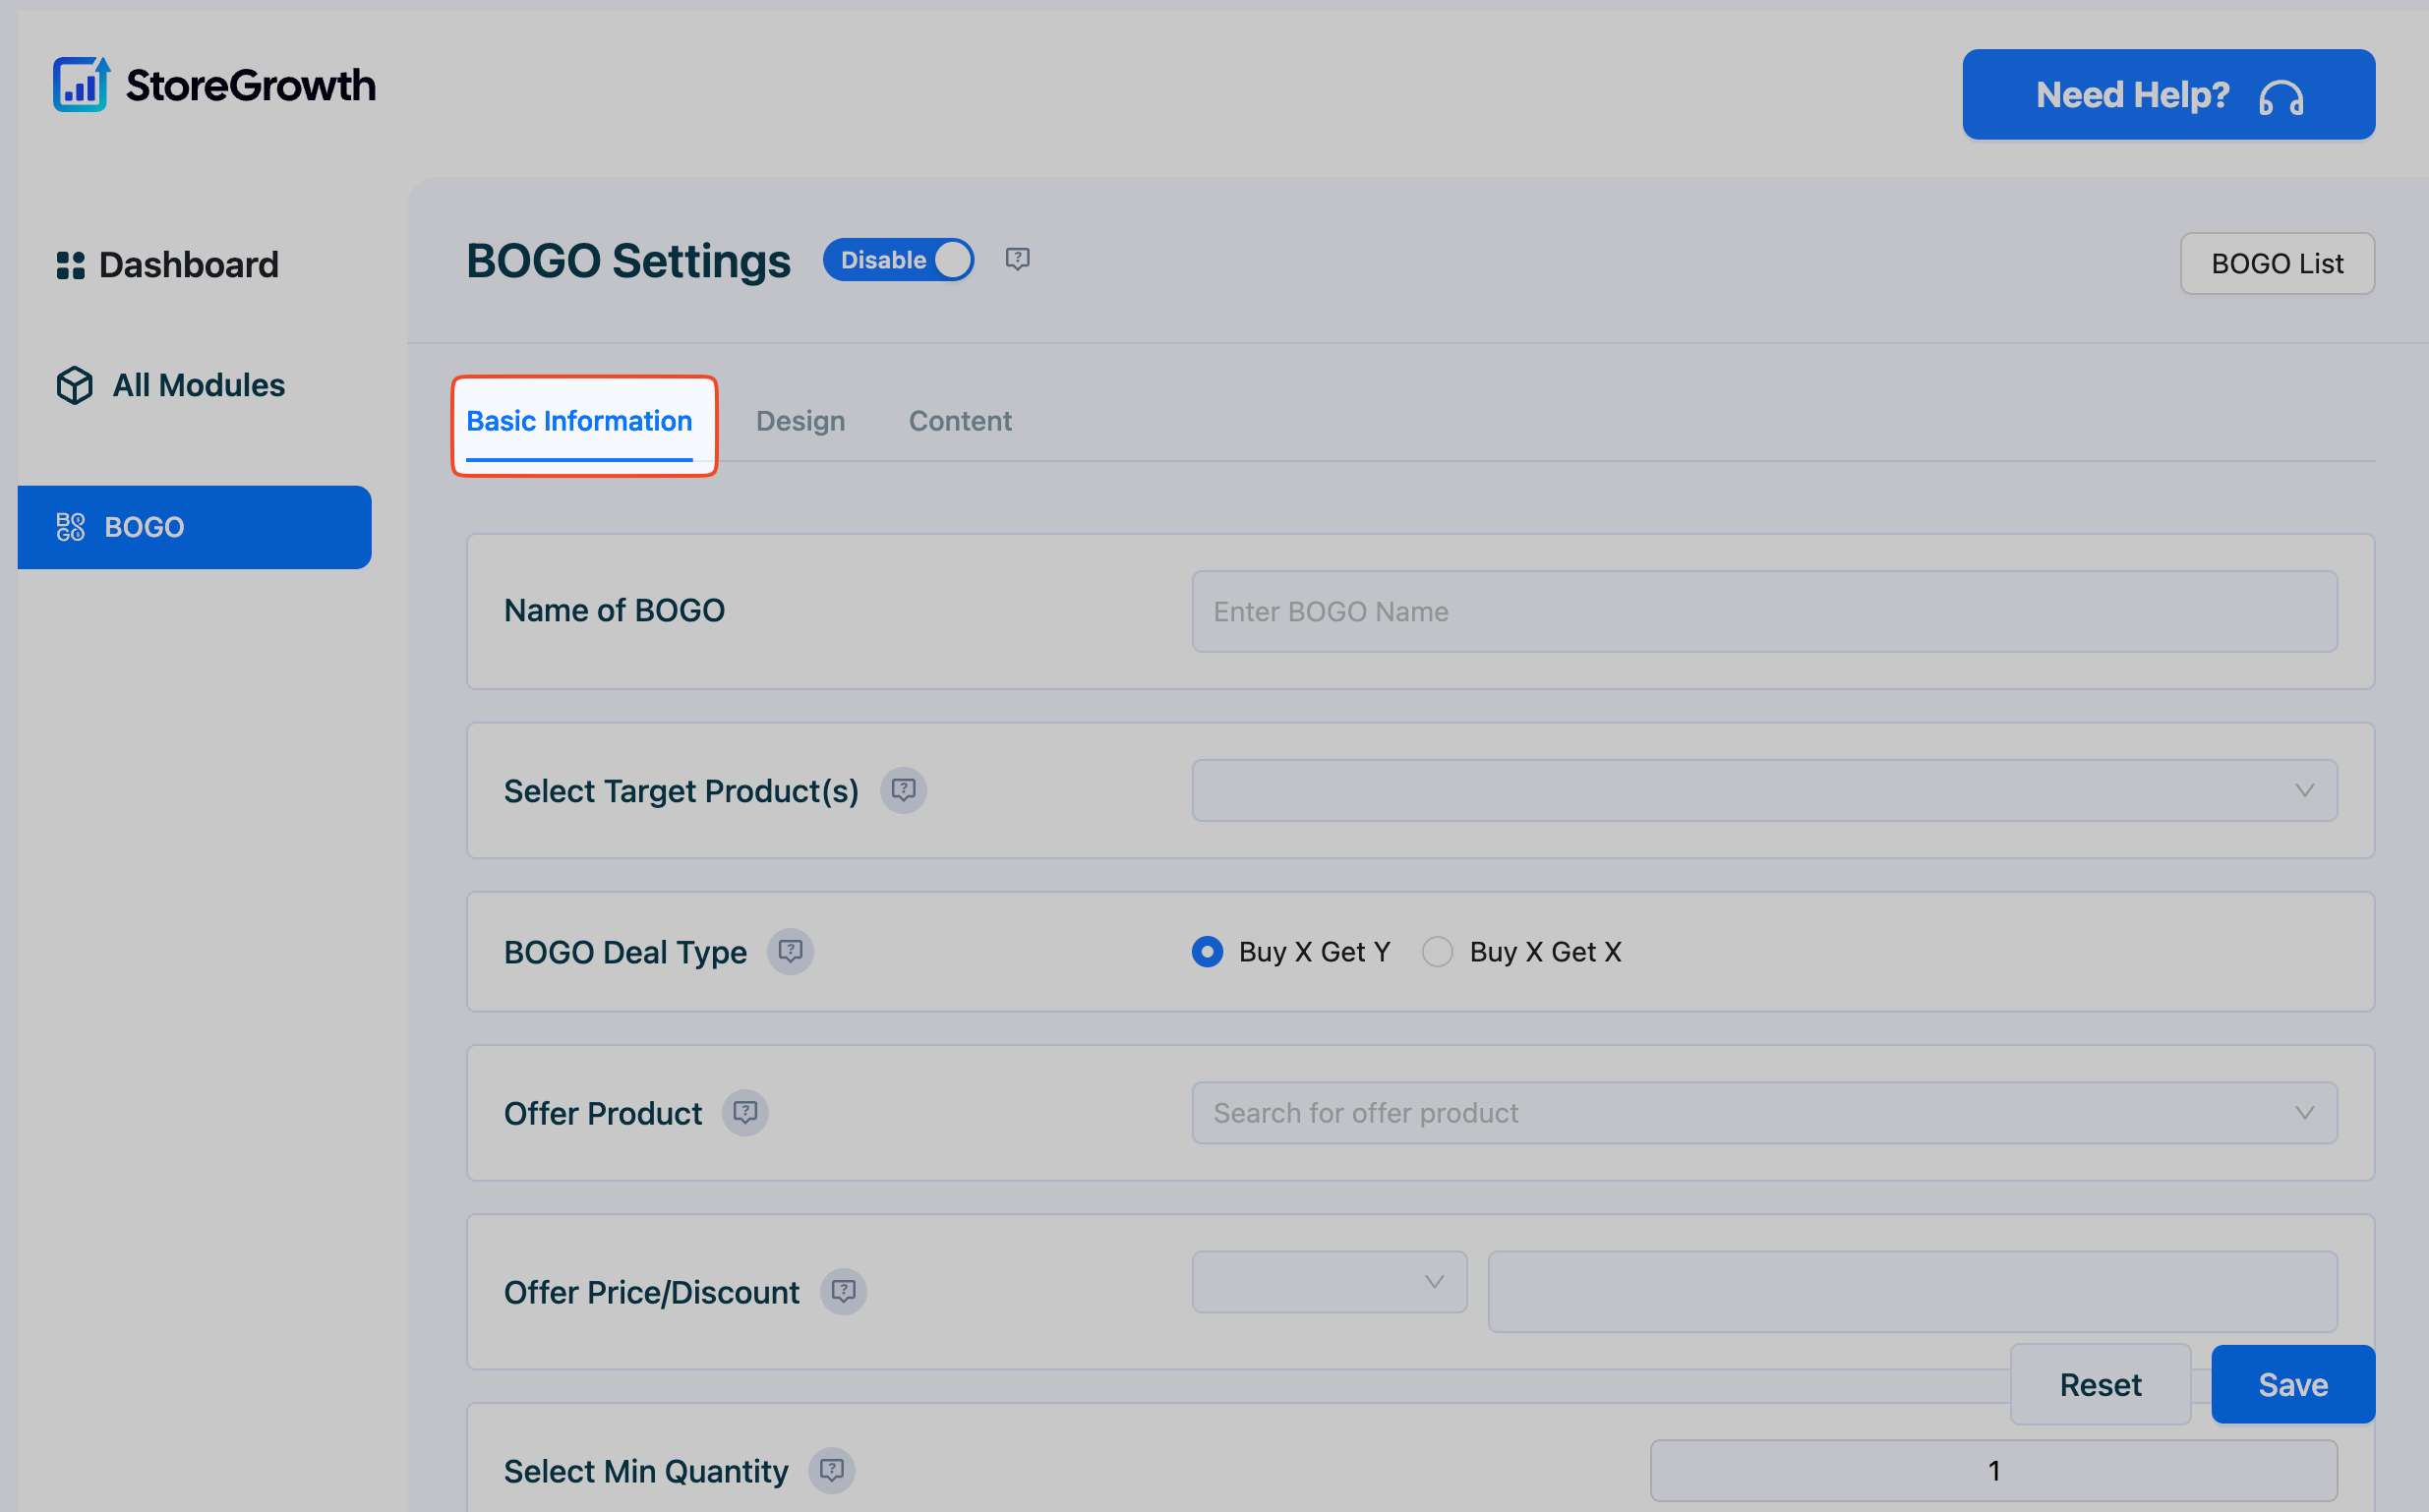
- Name of BOGO: Enter an internal name for your campaign (e.g., “Summer T-Shirt BOGO”). This is for your reference and will not be seen by customers.
- Select Target Product(s): Choose the products or categories that customers must purchase to qualify for the offer. You can select one or more specific products or entire product categories.
- BOGO Deal Type:
- Buy X Get Y: Use this for cross-selling. The customer buys product ‘X’ to get product ‘Y’.
- Buy X Get X: Use this for classic BOGO deals where the customer buys product ‘X’ to get the same product ‘X’ again.
- Offer Product: If you selected “Buy X Get Y,” search for and select the product you want to offer as the “Get” item.
- Offer Price/Discount: Choose whether the offer product is Free or has a Percentage Discount.
- Select Min Quantity: Set the minimum quantity of the target product(s) the customer must add to their cart to activate the offer. For a standard “Buy One, Get One,” this would be 1. For a “Buy Two, Get One,” this would be 2.
- Select BOGO Type: Specify whether your “Select Target Product(s)” rule applies to individual Products or entire Categories.
- Alternate option of the offered products: You can select other products here to give customers a choice for their free or discounted item.
- BOGO Schedule: Set a start and end date for your promotion. This is a powerful way to create urgency and run time-limited campaigns.
Step 2: Customize the Design
This tab allows you to control the visual appearance of the BOGO offer box that customers see on the product page. A live preview on the right side of the screen updates as you make changes.
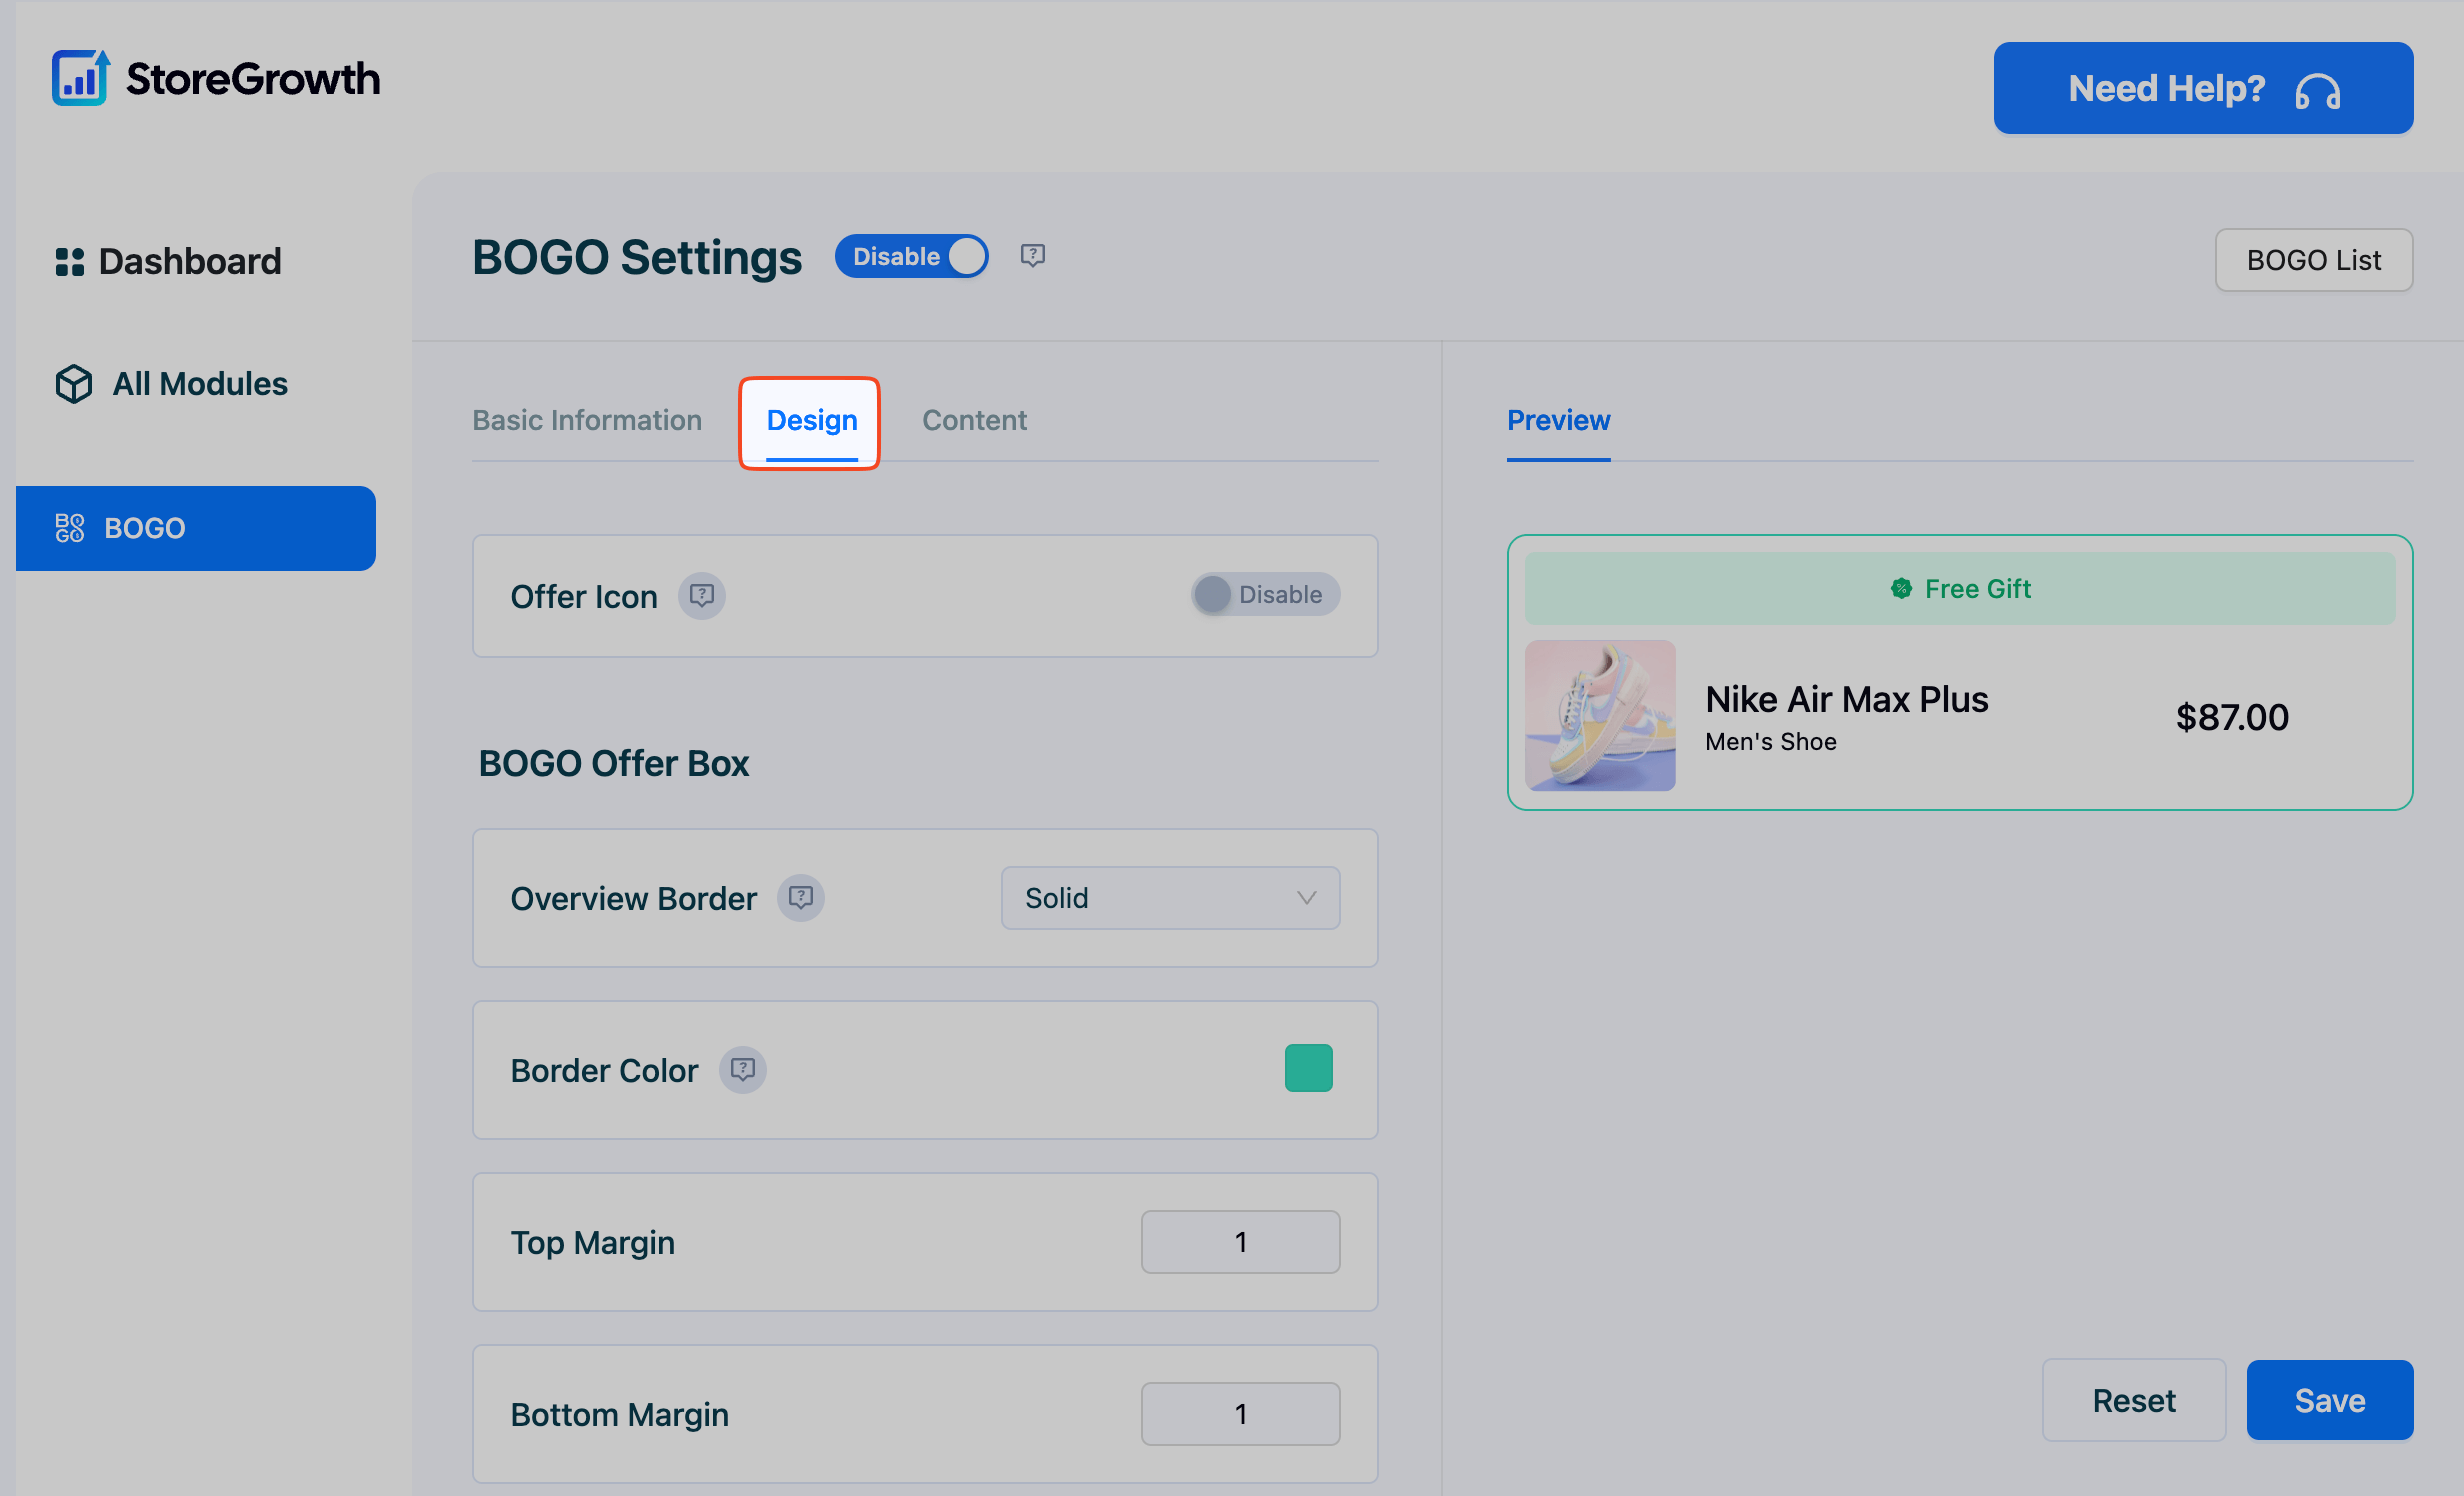
- Offer Icon: Enable or disable a small icon within the offer box.
- BOGO Offer Box: Control the border style, color, and top/bottom margins to ensure the offer box integrates seamlessly with your theme.
- Message Section: Customize the background color, text color, and font size of the promotional message area.
- Product Section: Customize the text color and font size for the product name and price within the offer box.
Step 3: Set the Content
This tab lets you define the specific promotional messages that will be displayed to your customers.
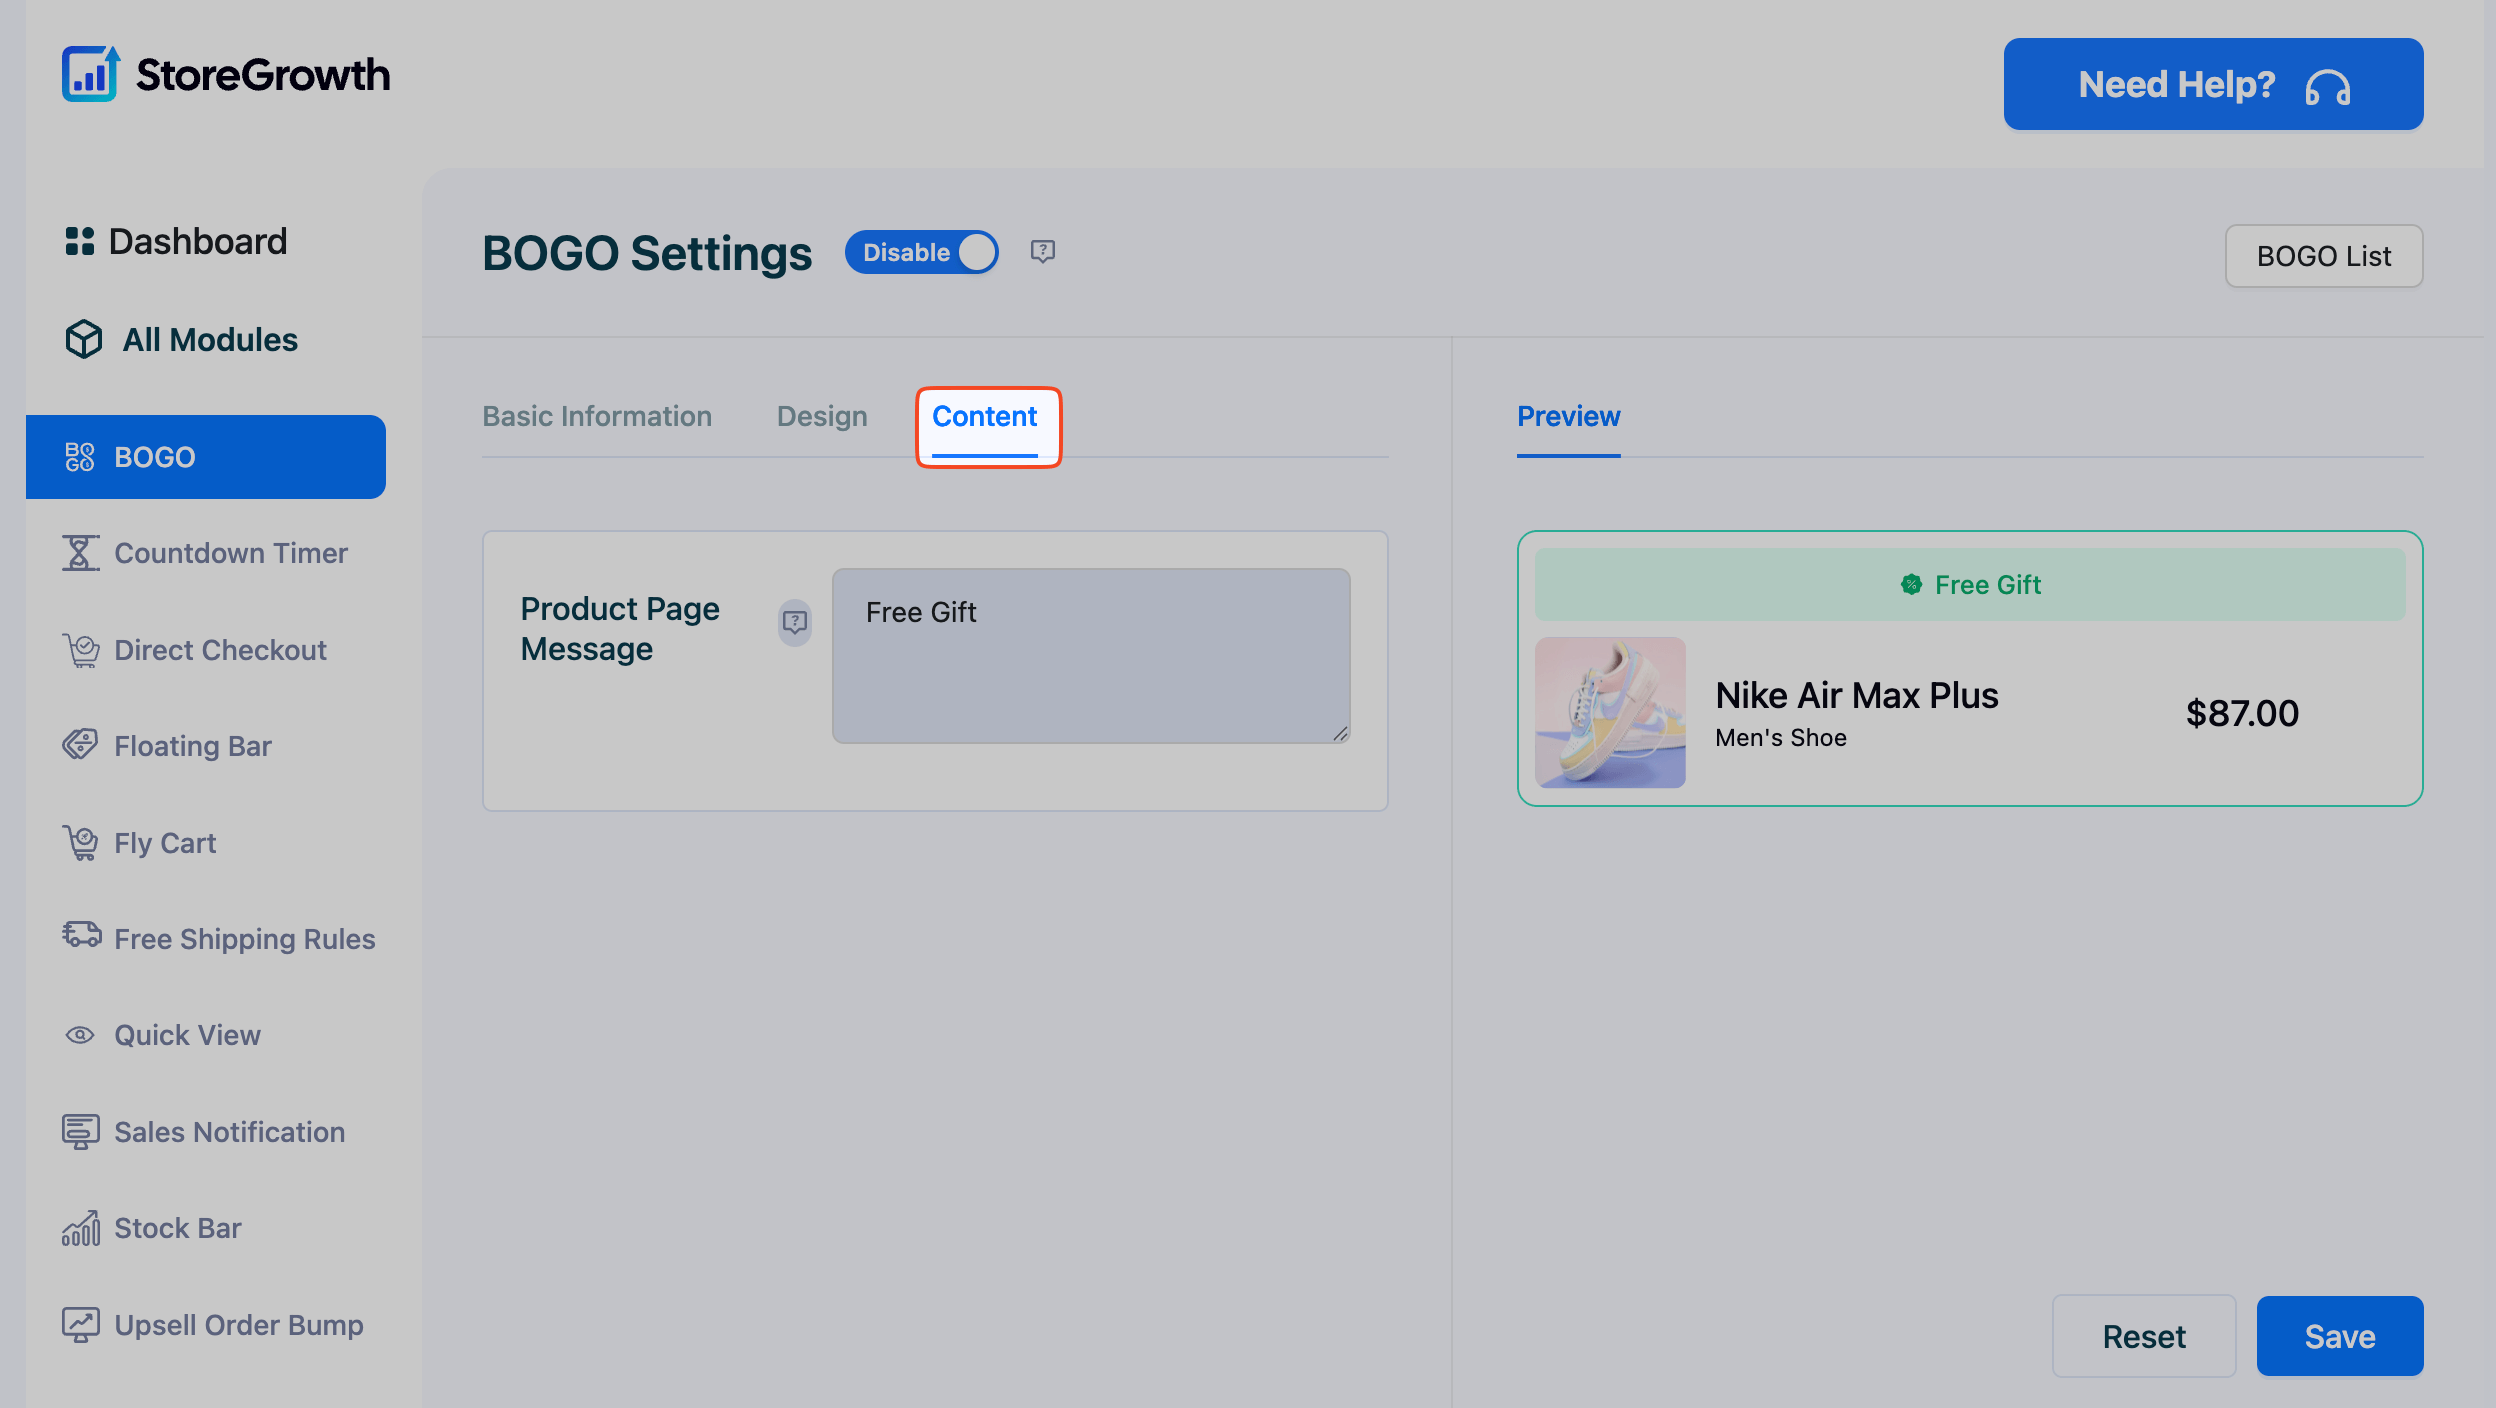
- Shop Page Message: Write the text that will appear on the shop and category pages to advertise the BOGO deal.
- Product Page Message: Write the text that will appear inside the BOGO offer box on the single product page (e.g., “Free Gift,” “Special Offer!”).
Once you have configured all three tabs, click the Save button to create your BOGO deal.
Managing Your BOGO Deals
After creating one or more BOGO deals, you can manage them from the Lists tab on the main BOGO Settings page.

This screen provides a clear overview of all your campaigns. From here, you can:
- View the Name, Status, and configuration summary of each deal.
- Use the Action column to Pause, Edit or Delete any existing BOGO offer.
The Lists Tab
After creating one or more BOGO deals, the Lists tab becomes your command center for managing all active and inactive campaigns. This screen provides a clear, at-a-glance overview of every offer you have built.
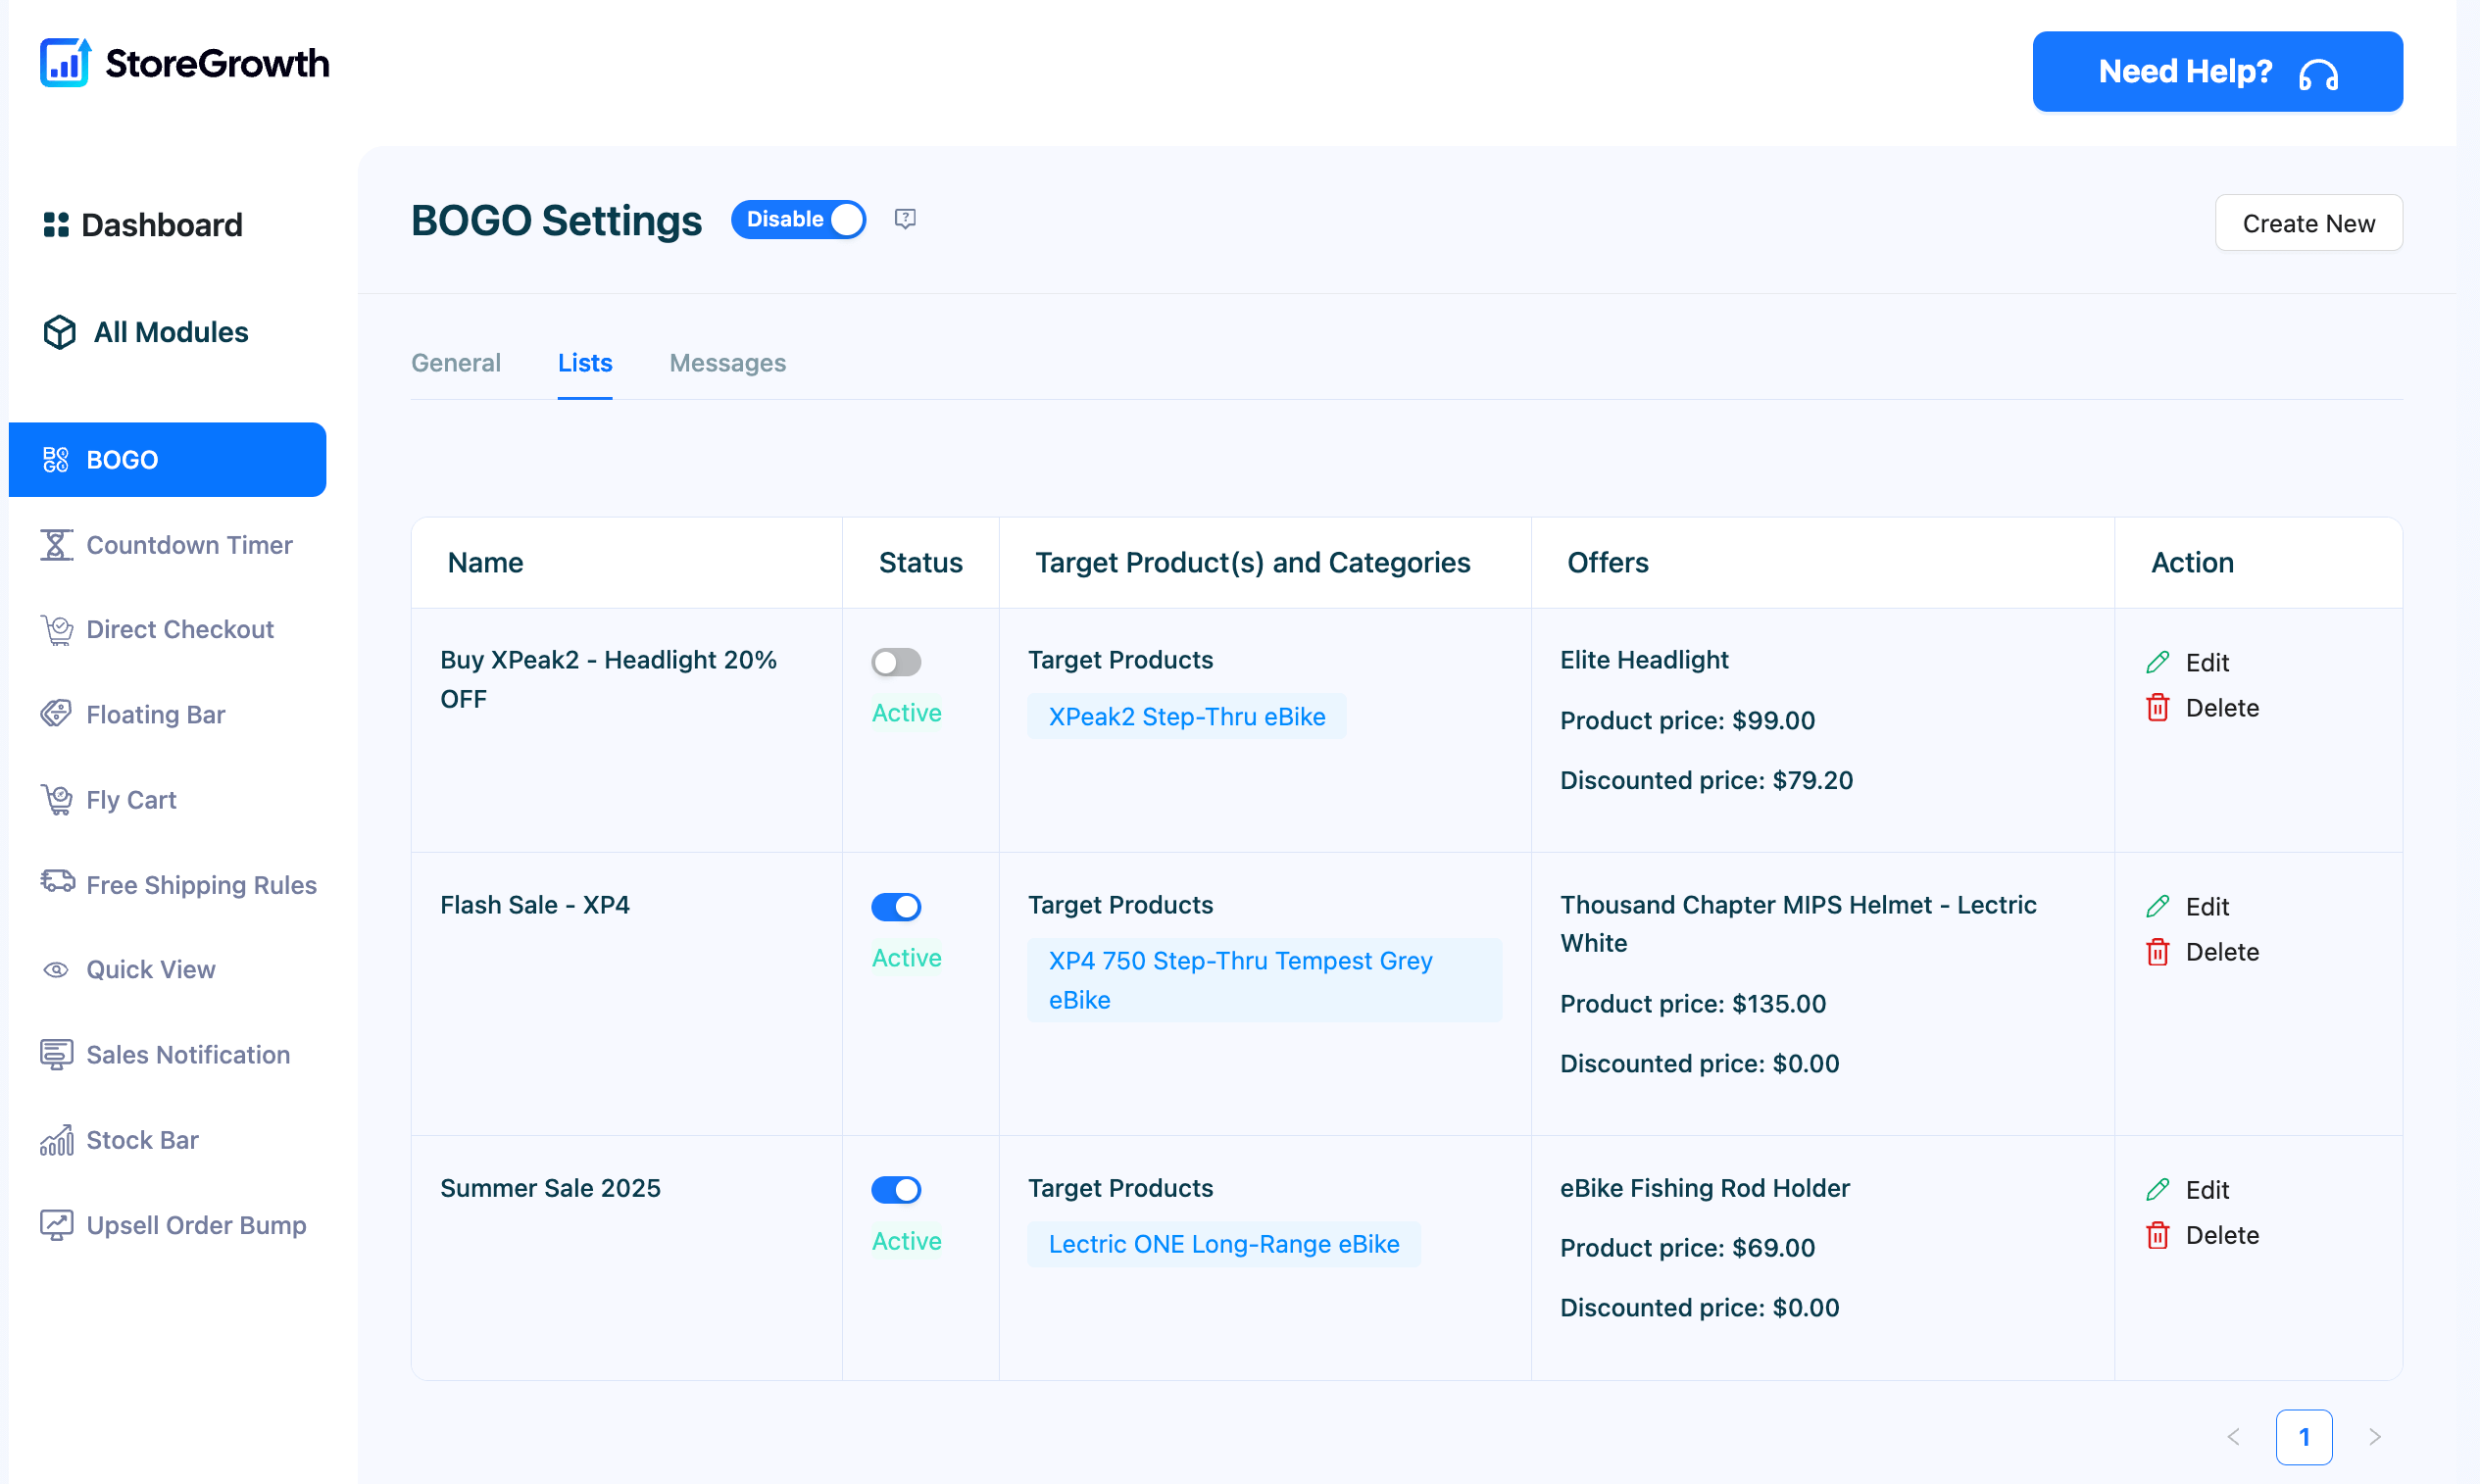
From this table, you can monitor and manage your deals:
- Name: Displays the internal name you gave your BOGO campaign.
- Status: Shows whether the deal is currently active or inactive.
- Target Product(s) and Categories: Provides a summary of the products or categories that a customer must purchase to trigger the offer.
- Offers: Summarizes the deal the customer receives (e.g., which product is free or discounted).
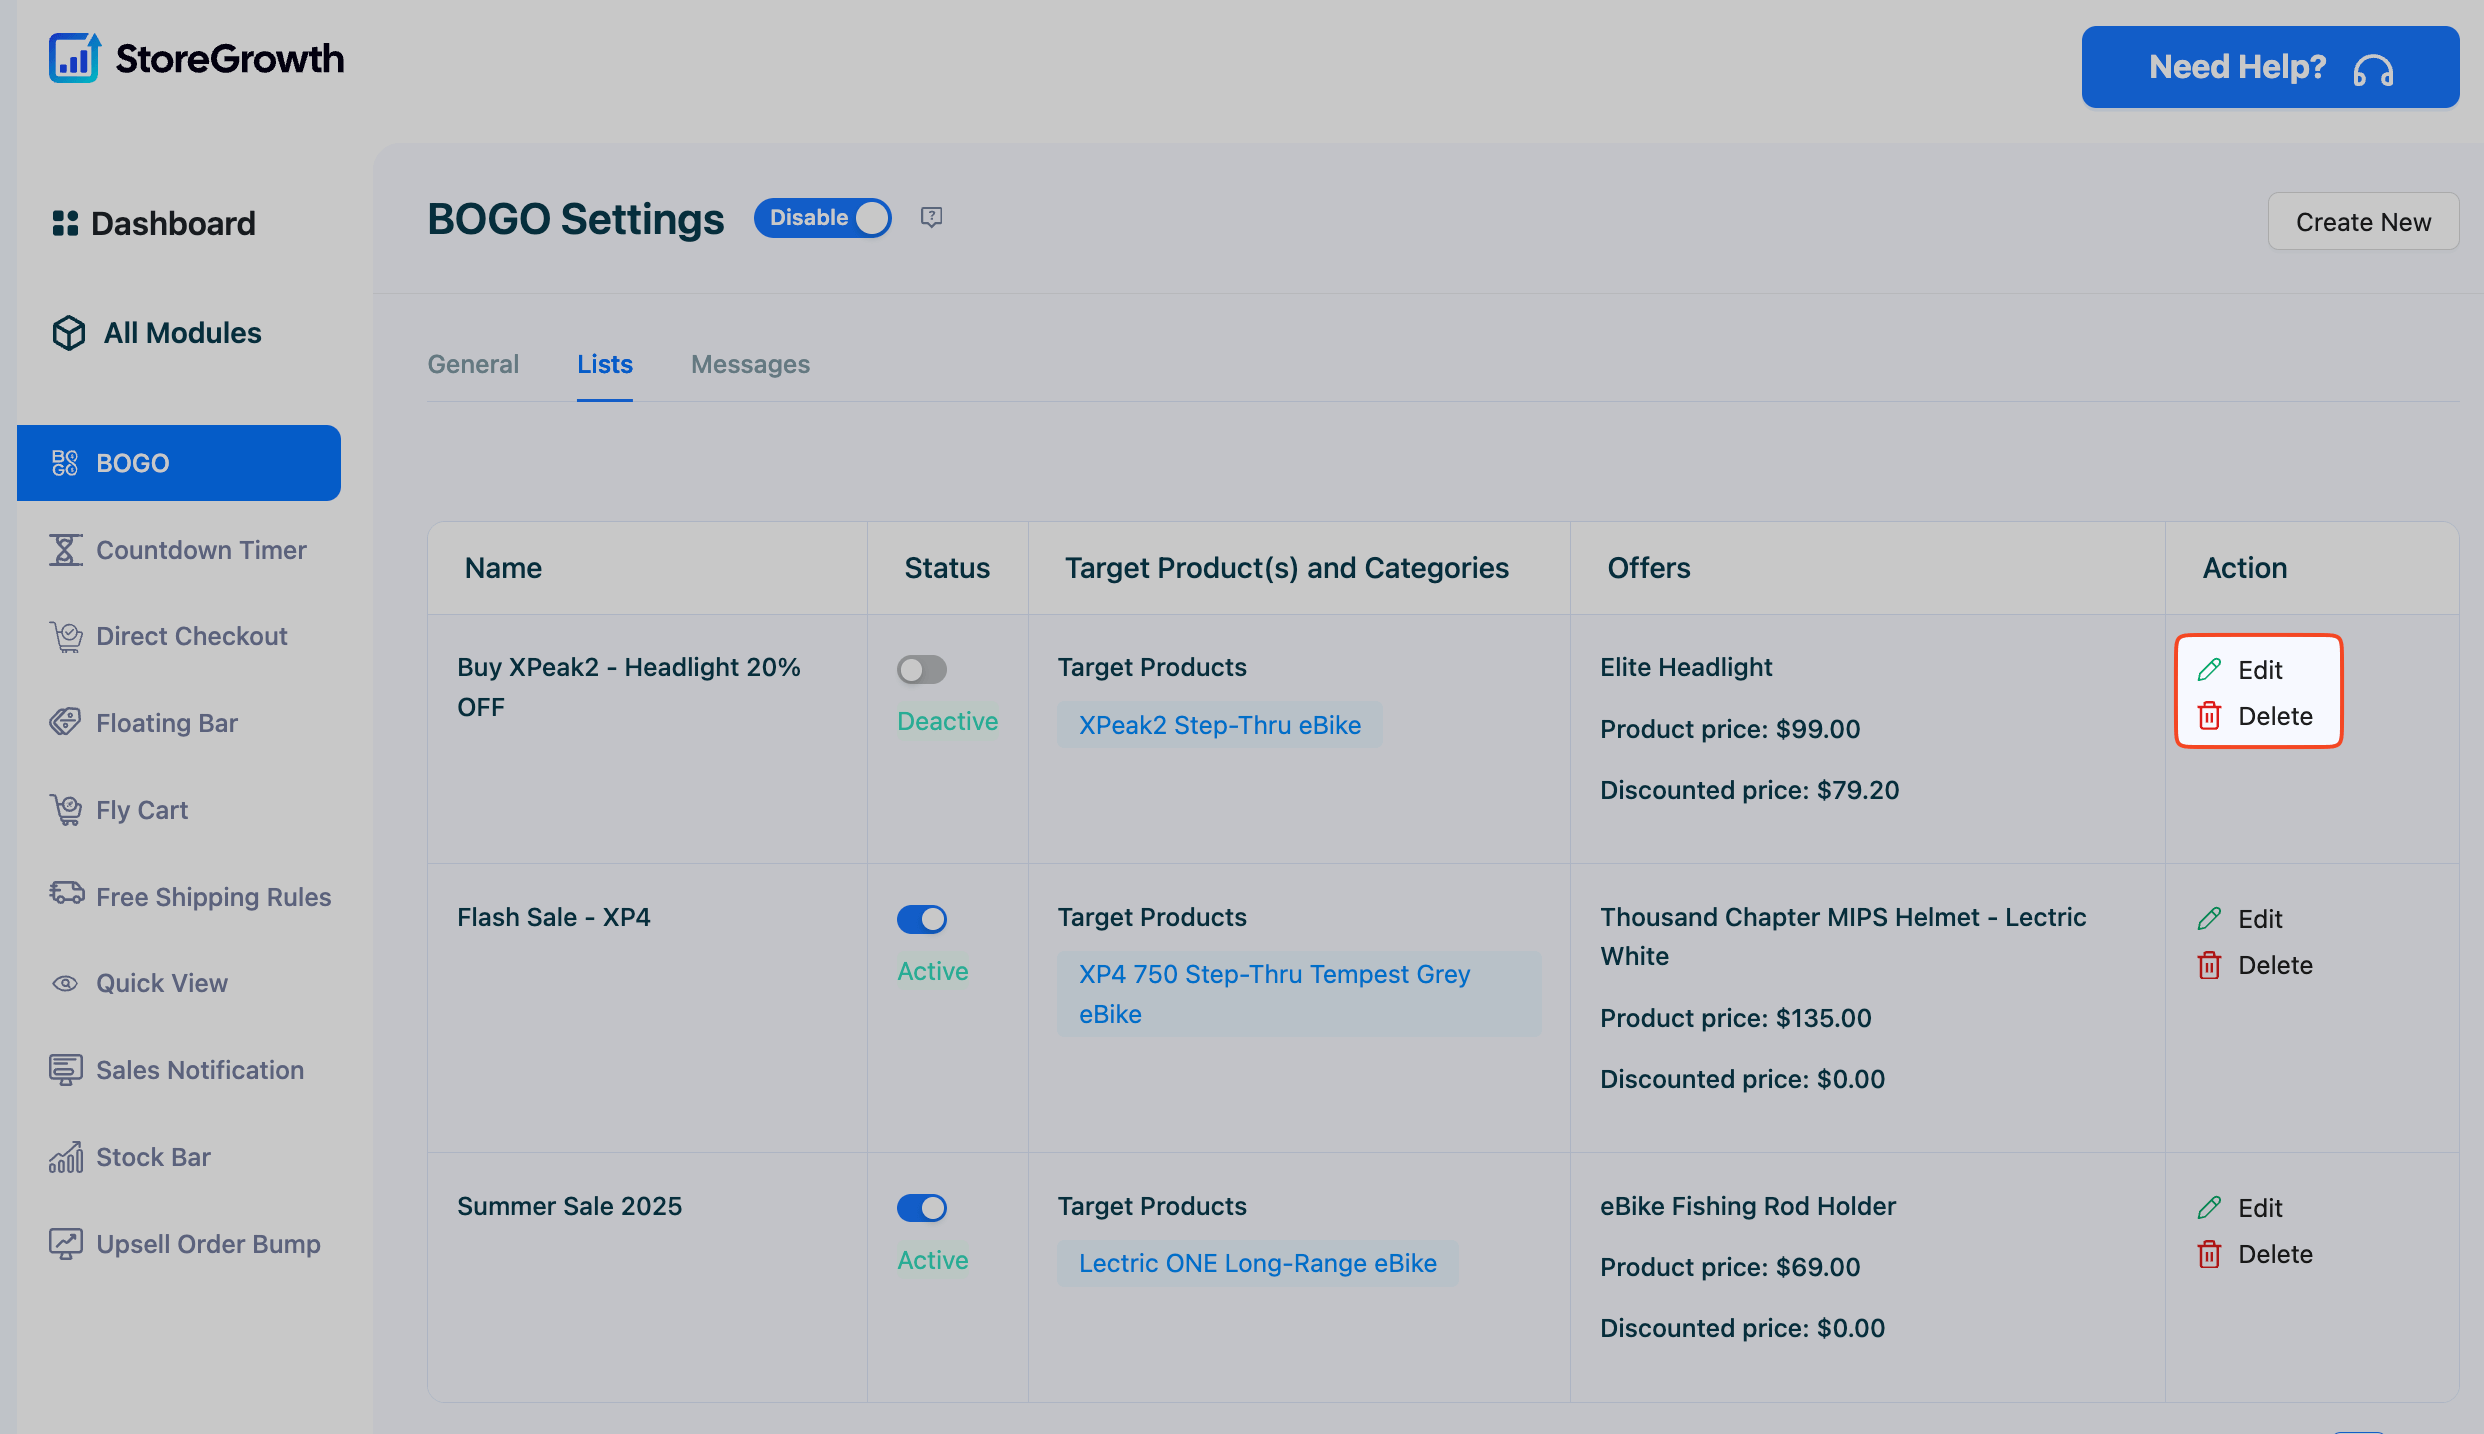
- Action: This is where you manage your deals. This column contains icons that allow you to Edit an existing offer’s settings or Delete it permanently.
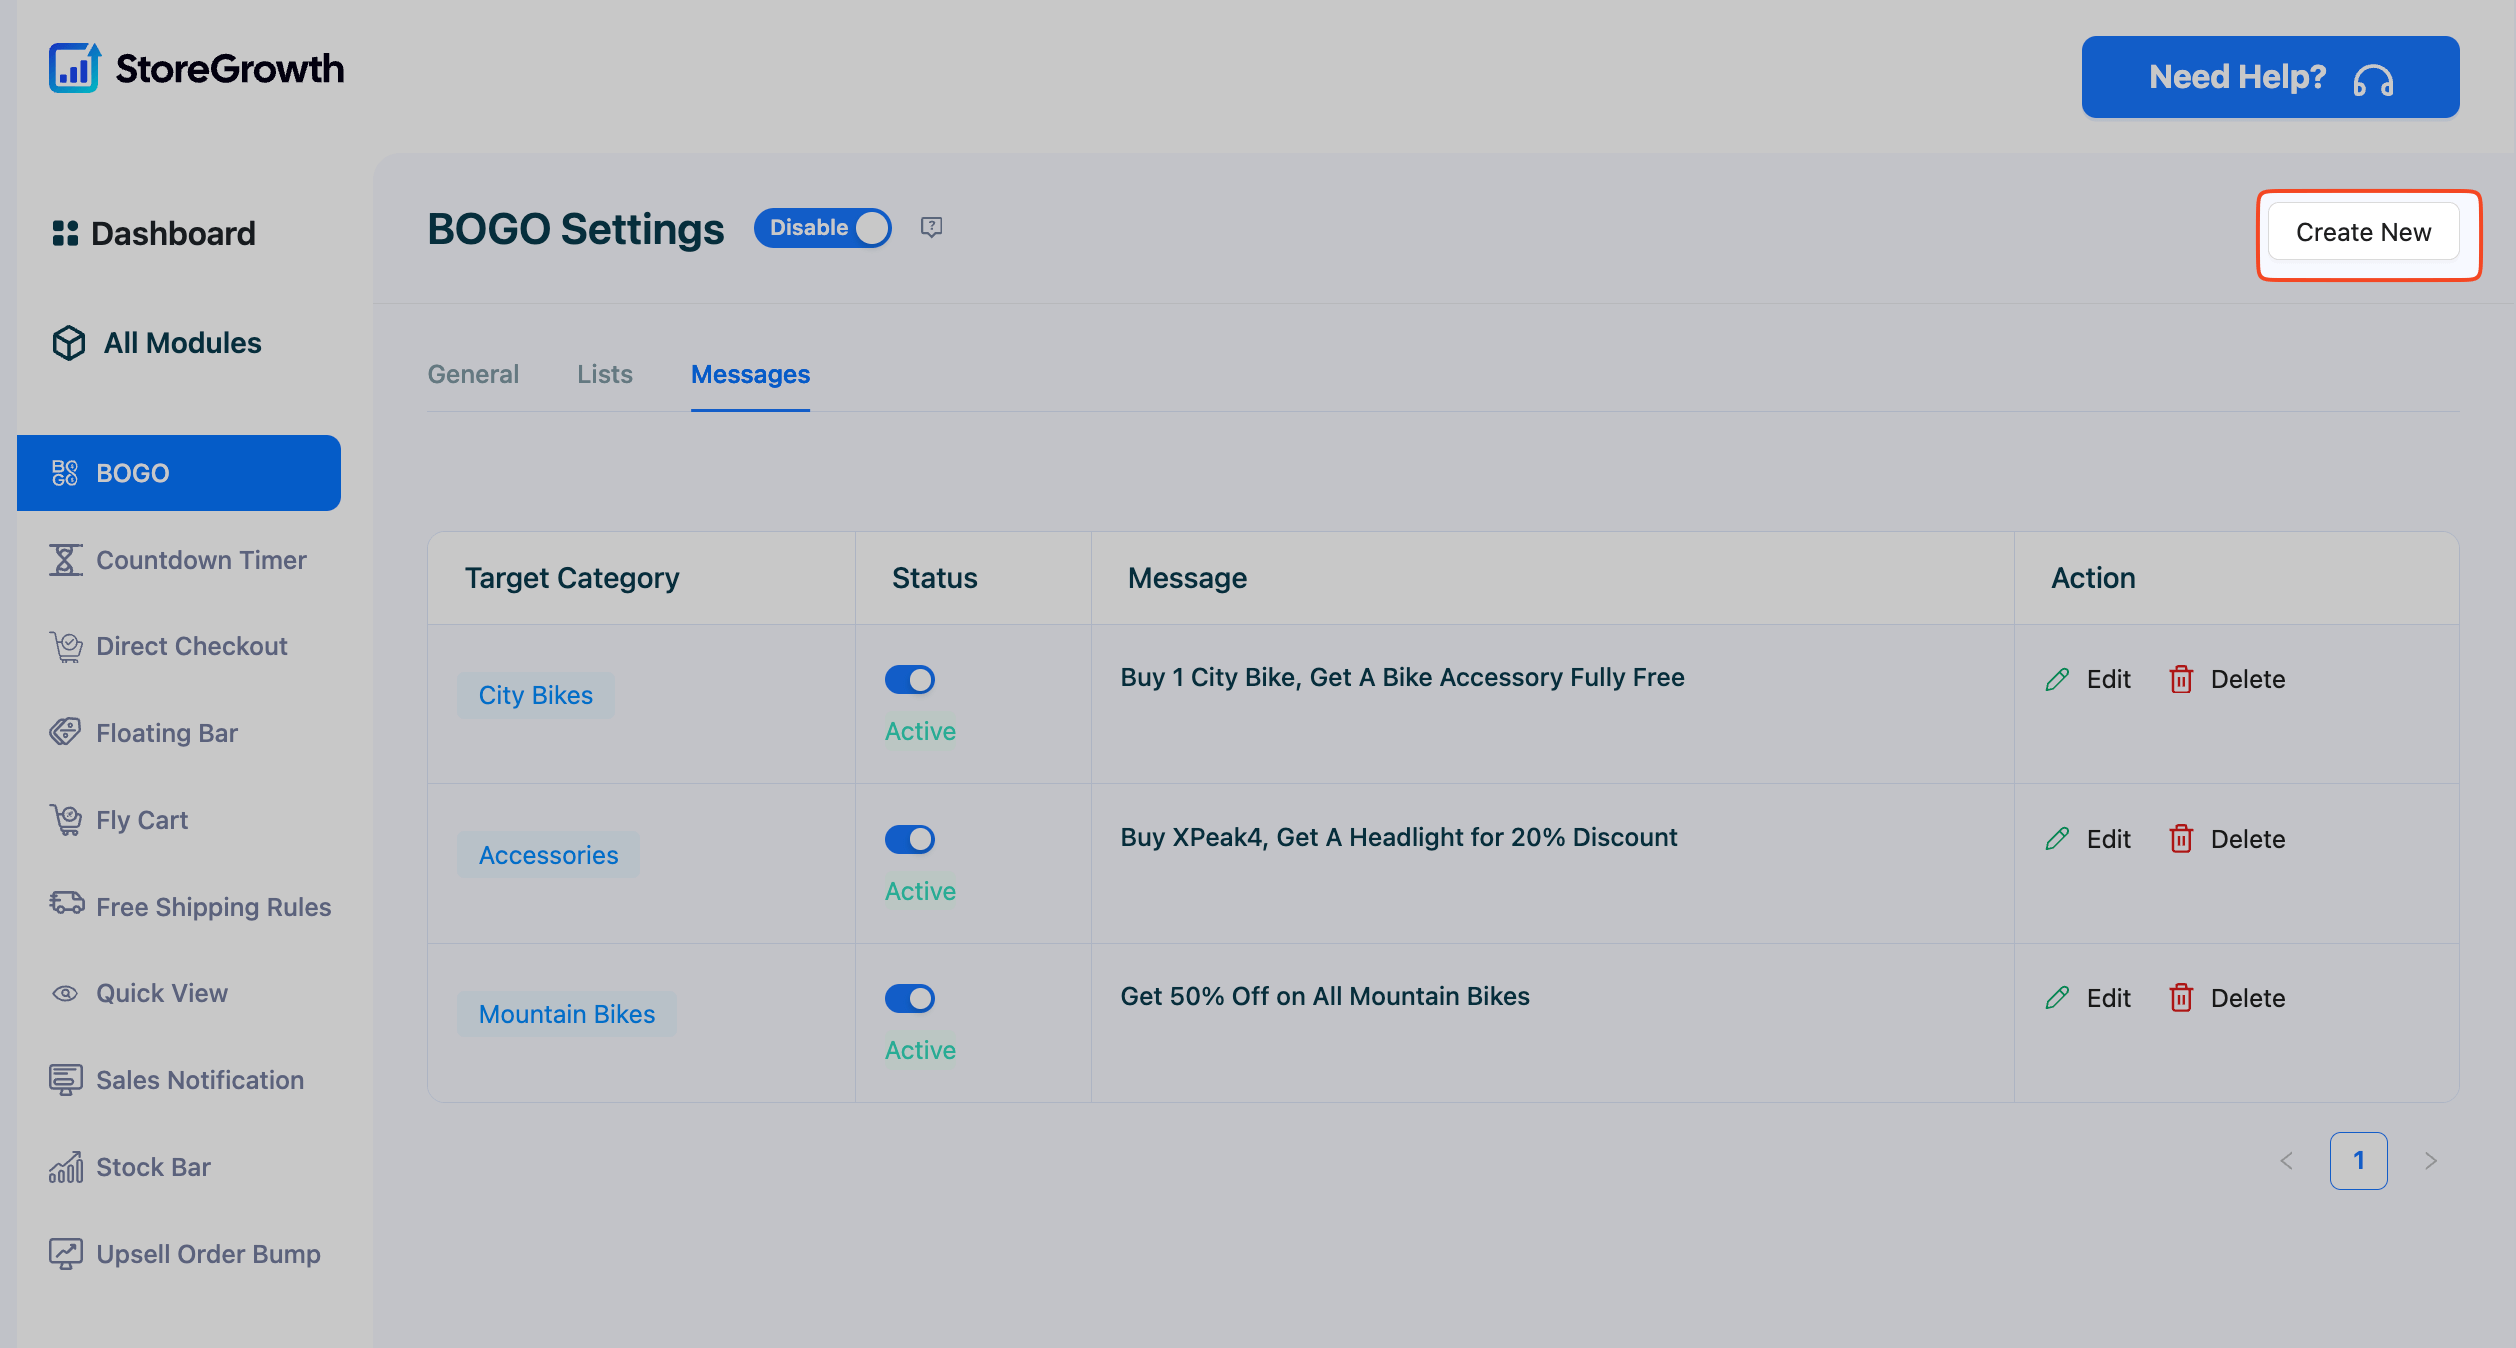
The Messages Tab
This tab allows you to create and manage custom promotional messages that are displayed on specific category pages. This feature is particularly useful for highlighting promotions relevant to an entire category of products, ensuring customers are aware of the deals available as they browse.
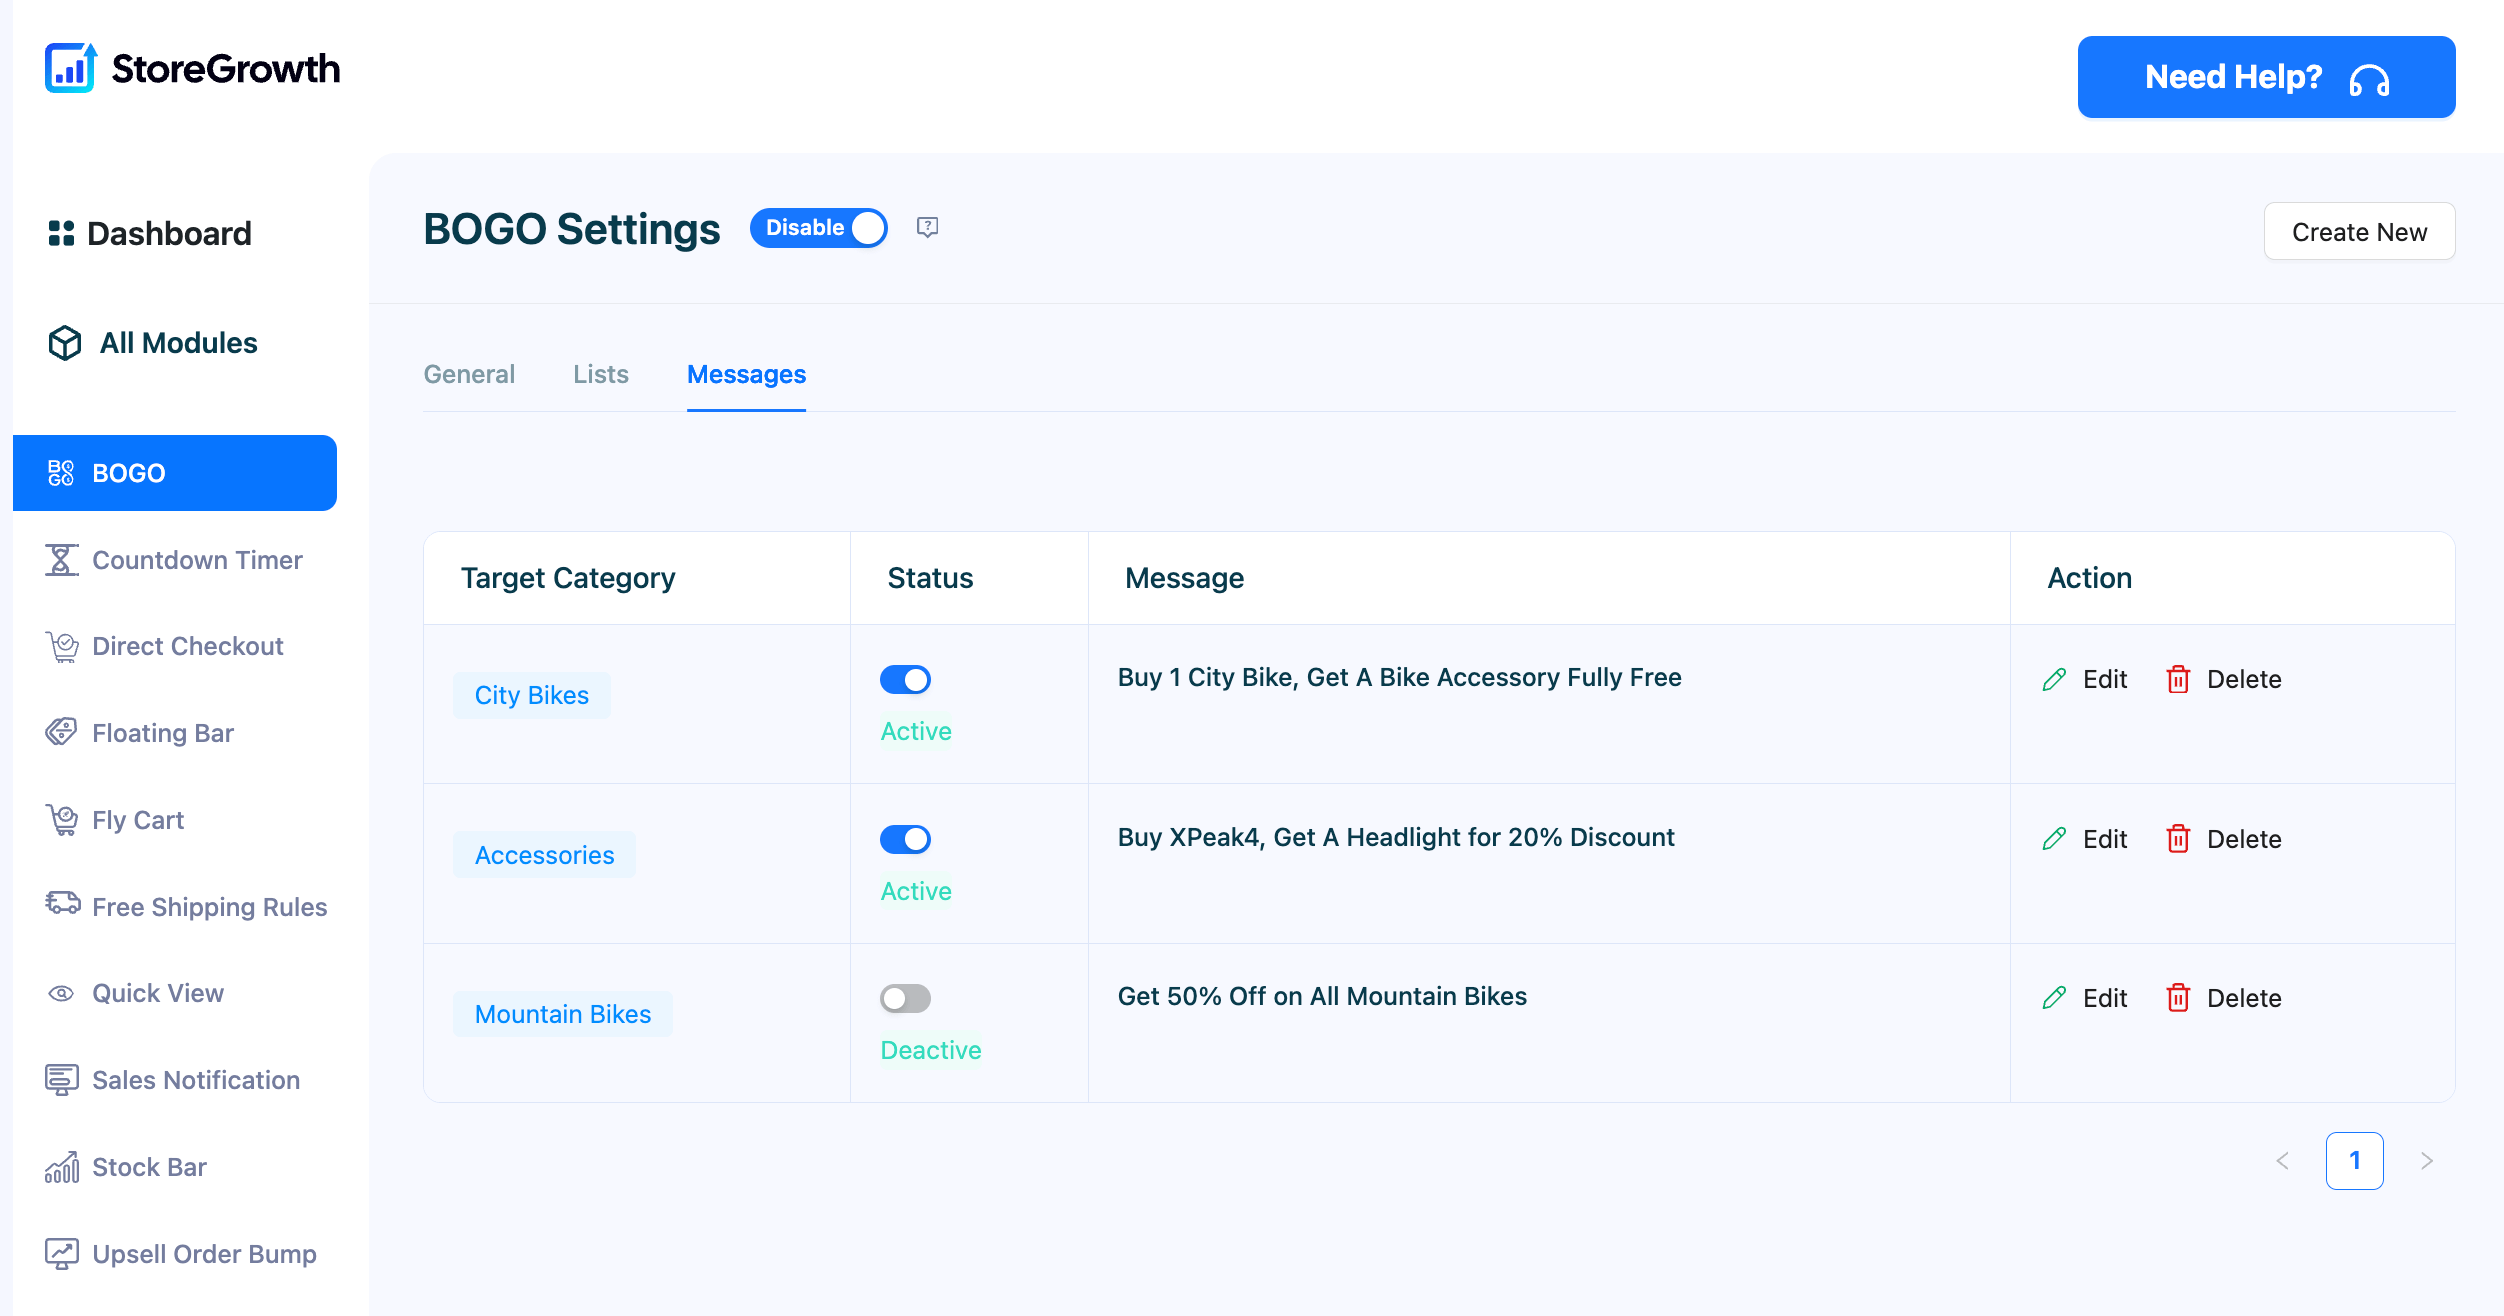
Once you have created one or more category messages, they will appear in a list on this tab. This dashboard gives you an at-a-glance view of all your category-specific promotions. Each row in the list will show the following details:
- Target Category: The product category where the custom message will be displayed.
- Status: Shows whether the custom message is currently active or disabled.
- Message: The custom text that you have set for the category page.
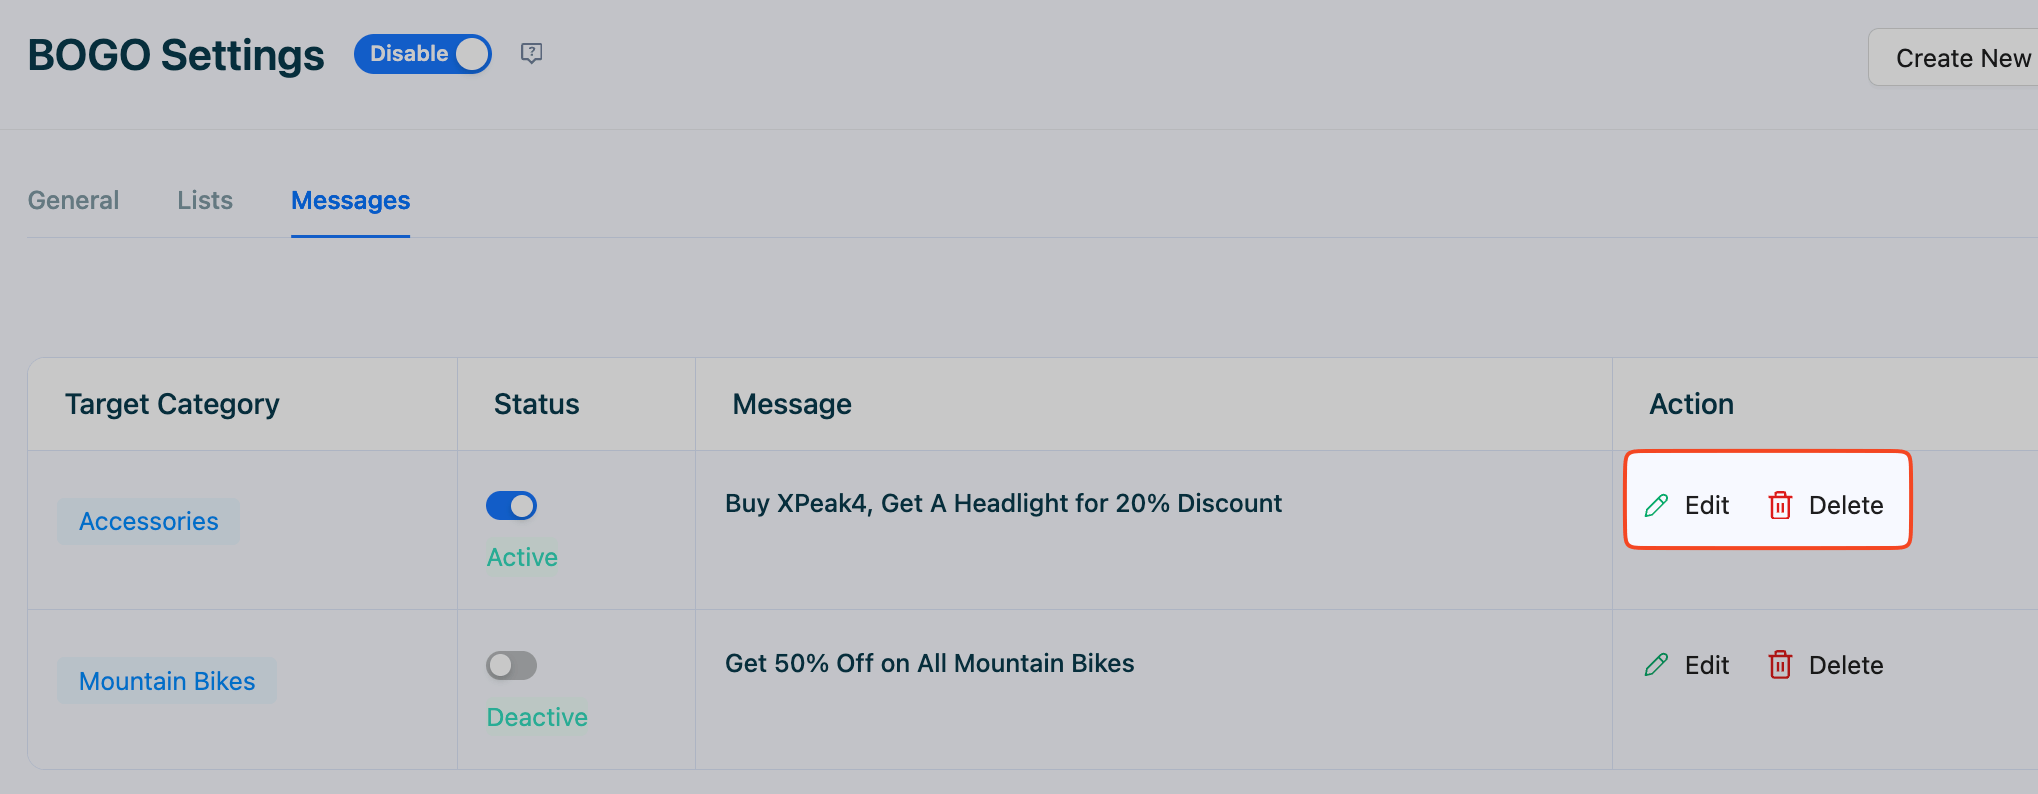
- Action: Provides icons to Edit or Delete the category-specific message.
How to Add and Delete Messages
Click the delete icon (the trash can) in the Action column to permanently remove it.
To Add a New Message:
Click the Create New button on the Messages tab.
Under the Category Information section, use the dropdown to Select Target Category.
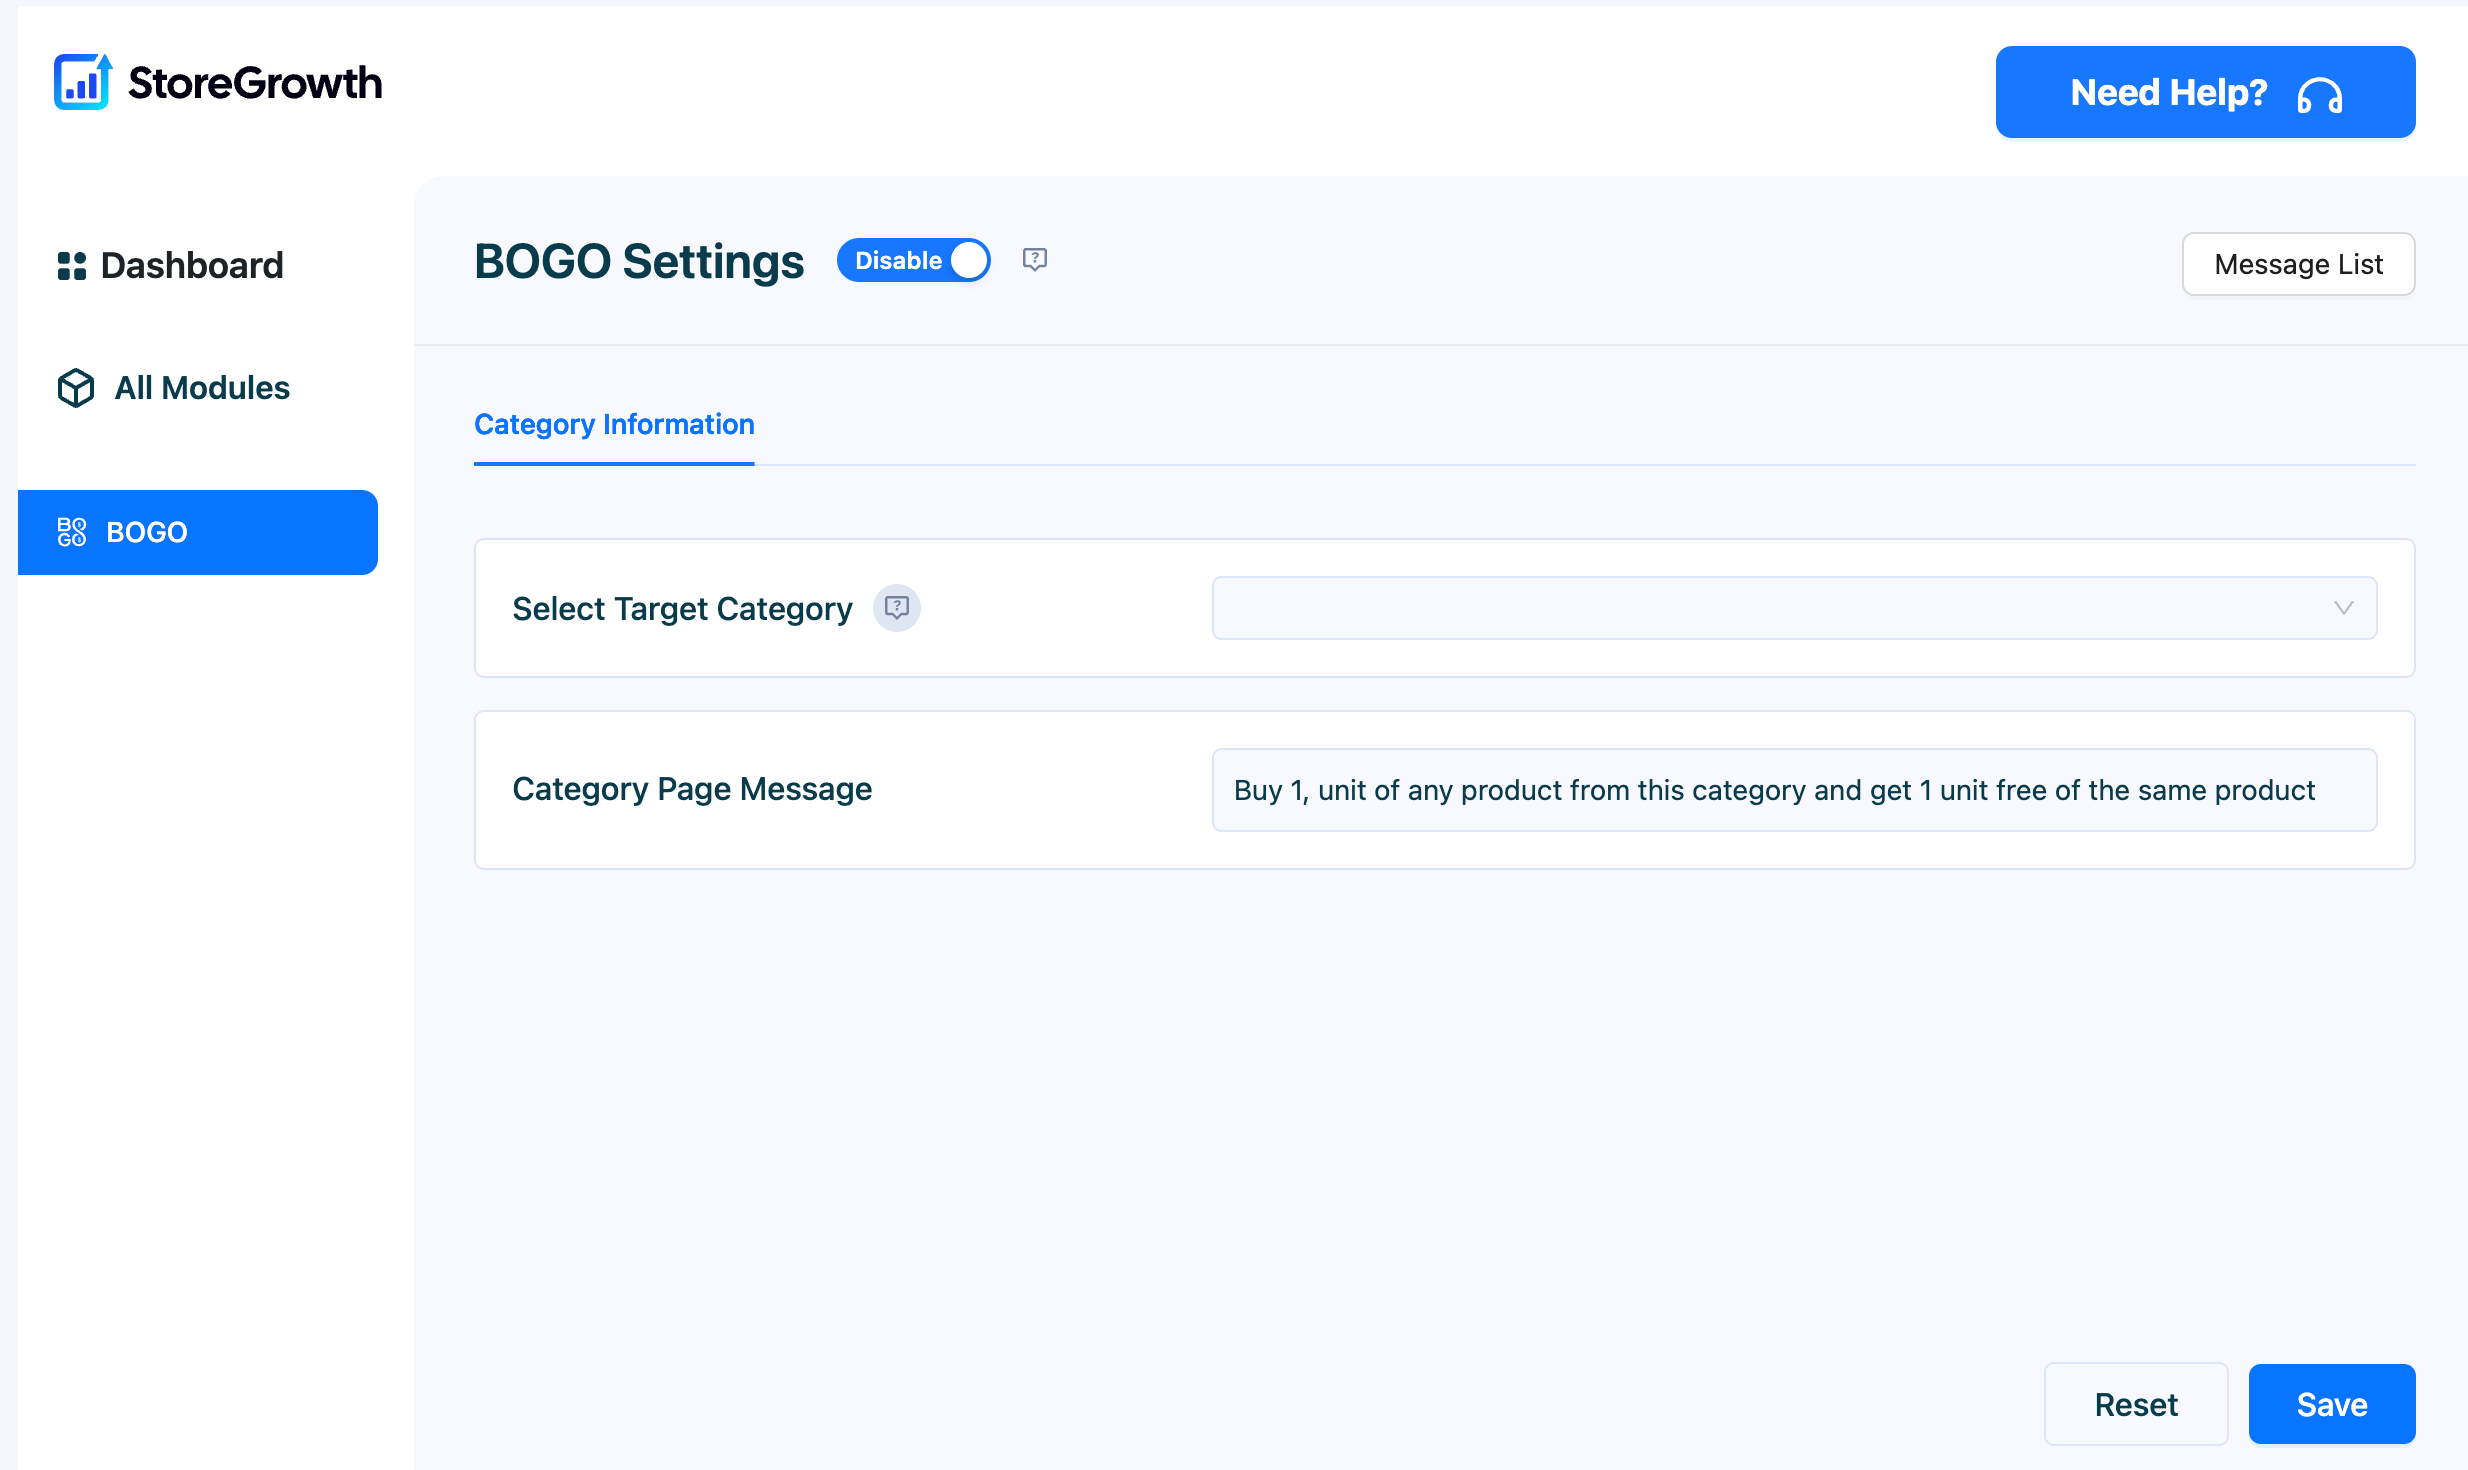
In the Category Page Message box, enter the promotional text you want to display.
Click Save. Your new message will now appear in the list.
