
In this section, we will provide detailed, step-by-step instructions for installing the StoreGrowth – Sales Booster plugin on your WordPress website.
There are two simple and effective methods to accomplish this:
- Installing directly from the WordPress plugin directory
- Manually uploading the plugin file.
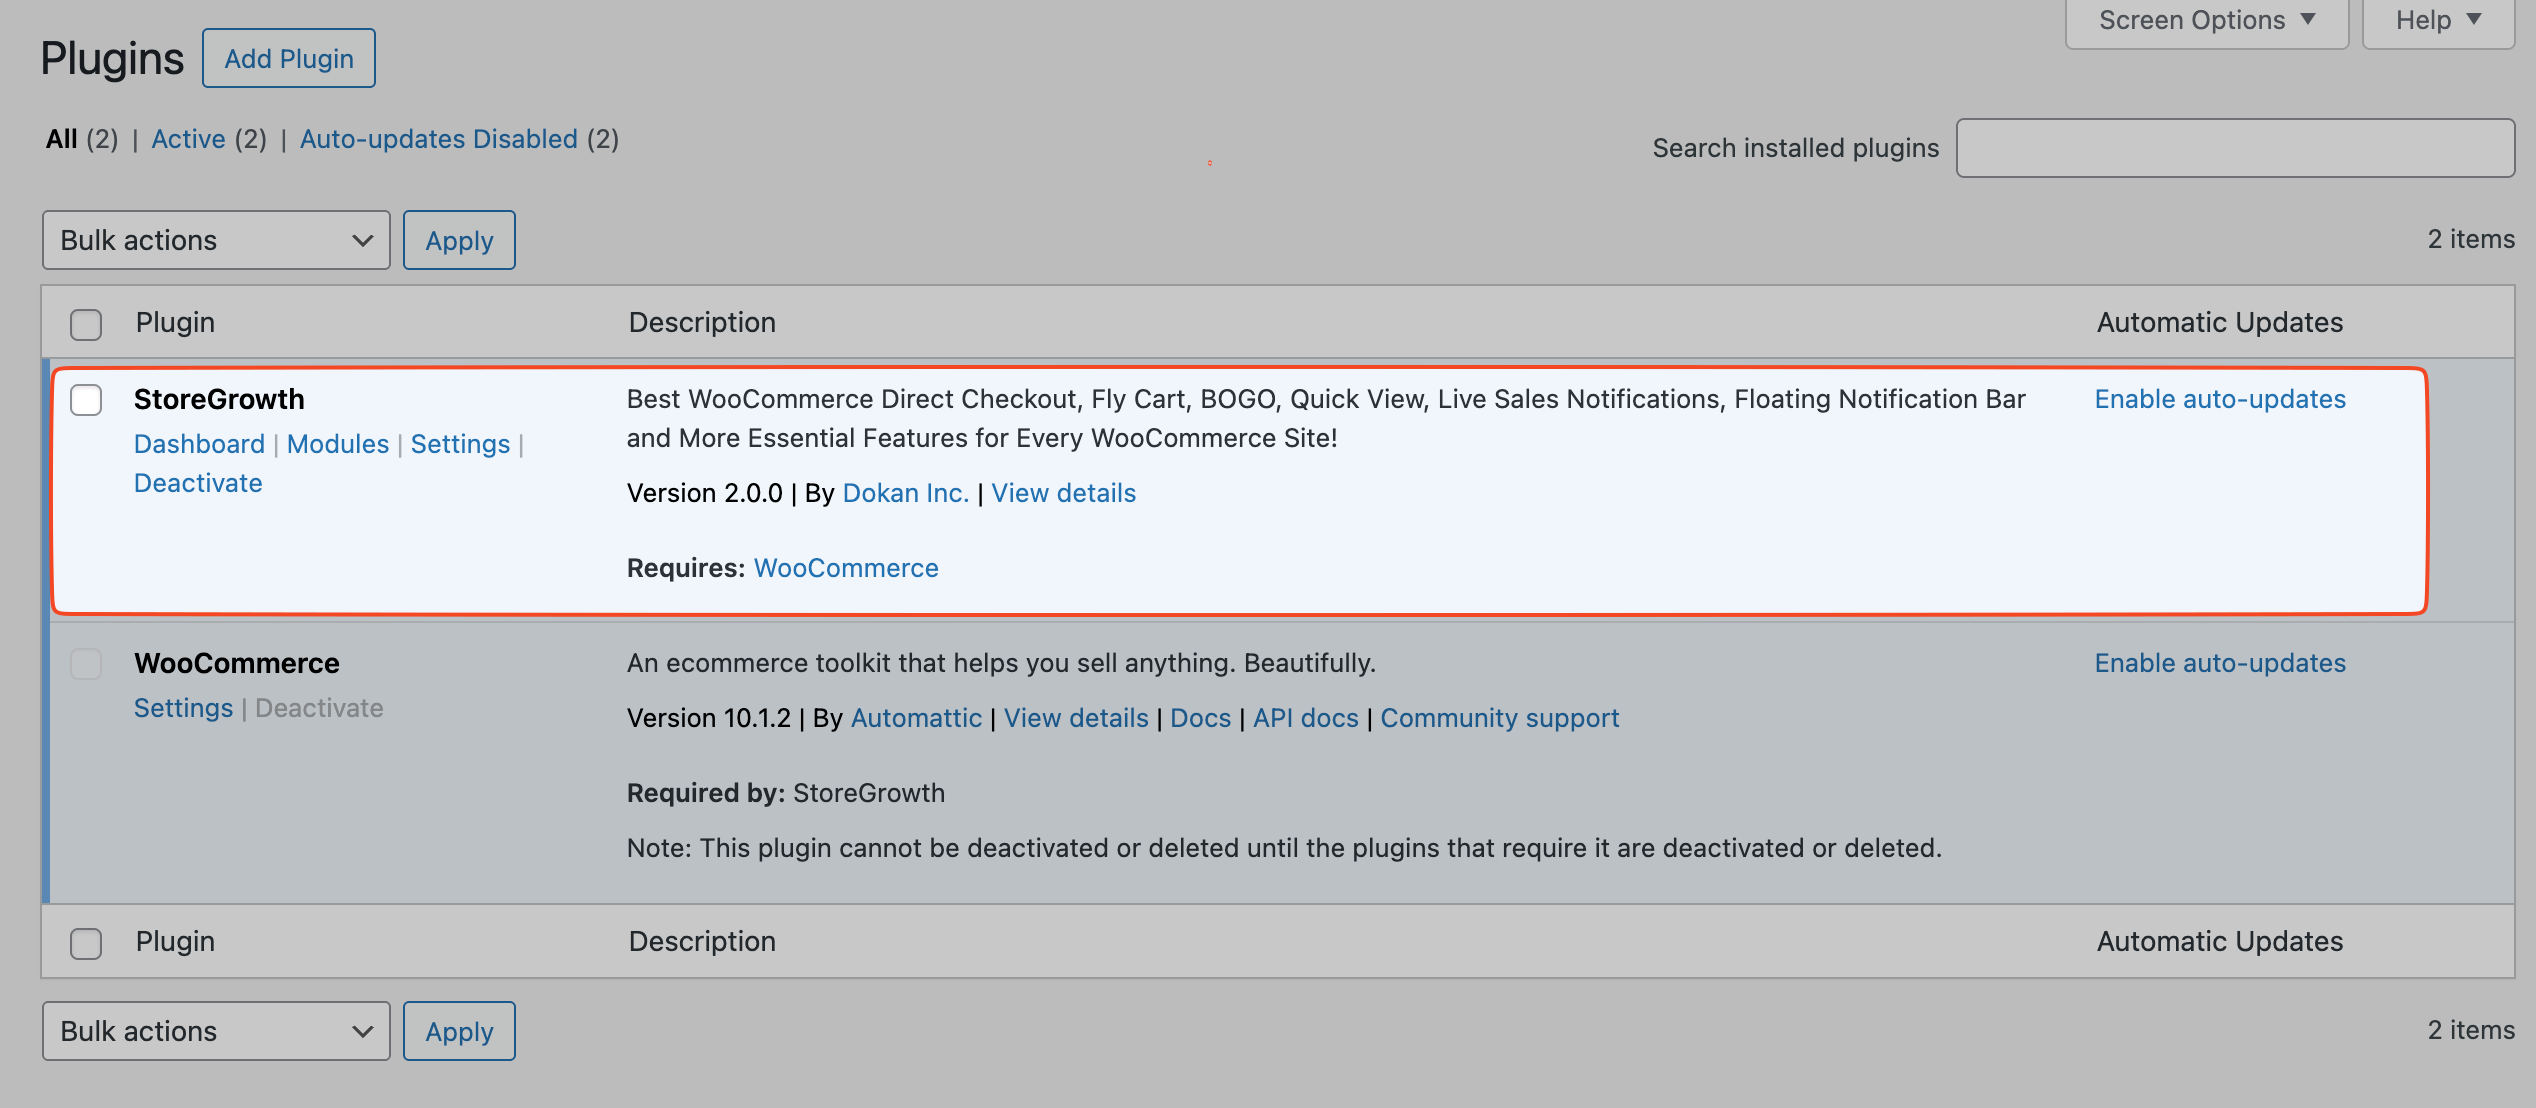
Both methods are straightforward, and upon successful activation, you will see a new “StoreGrowth” menu in your dashboard, which is your gateway to all of StoreGrowth’s powerful features.
We are going to show how to install the StoreGrowth plugin using both of these methods. Let’s start.
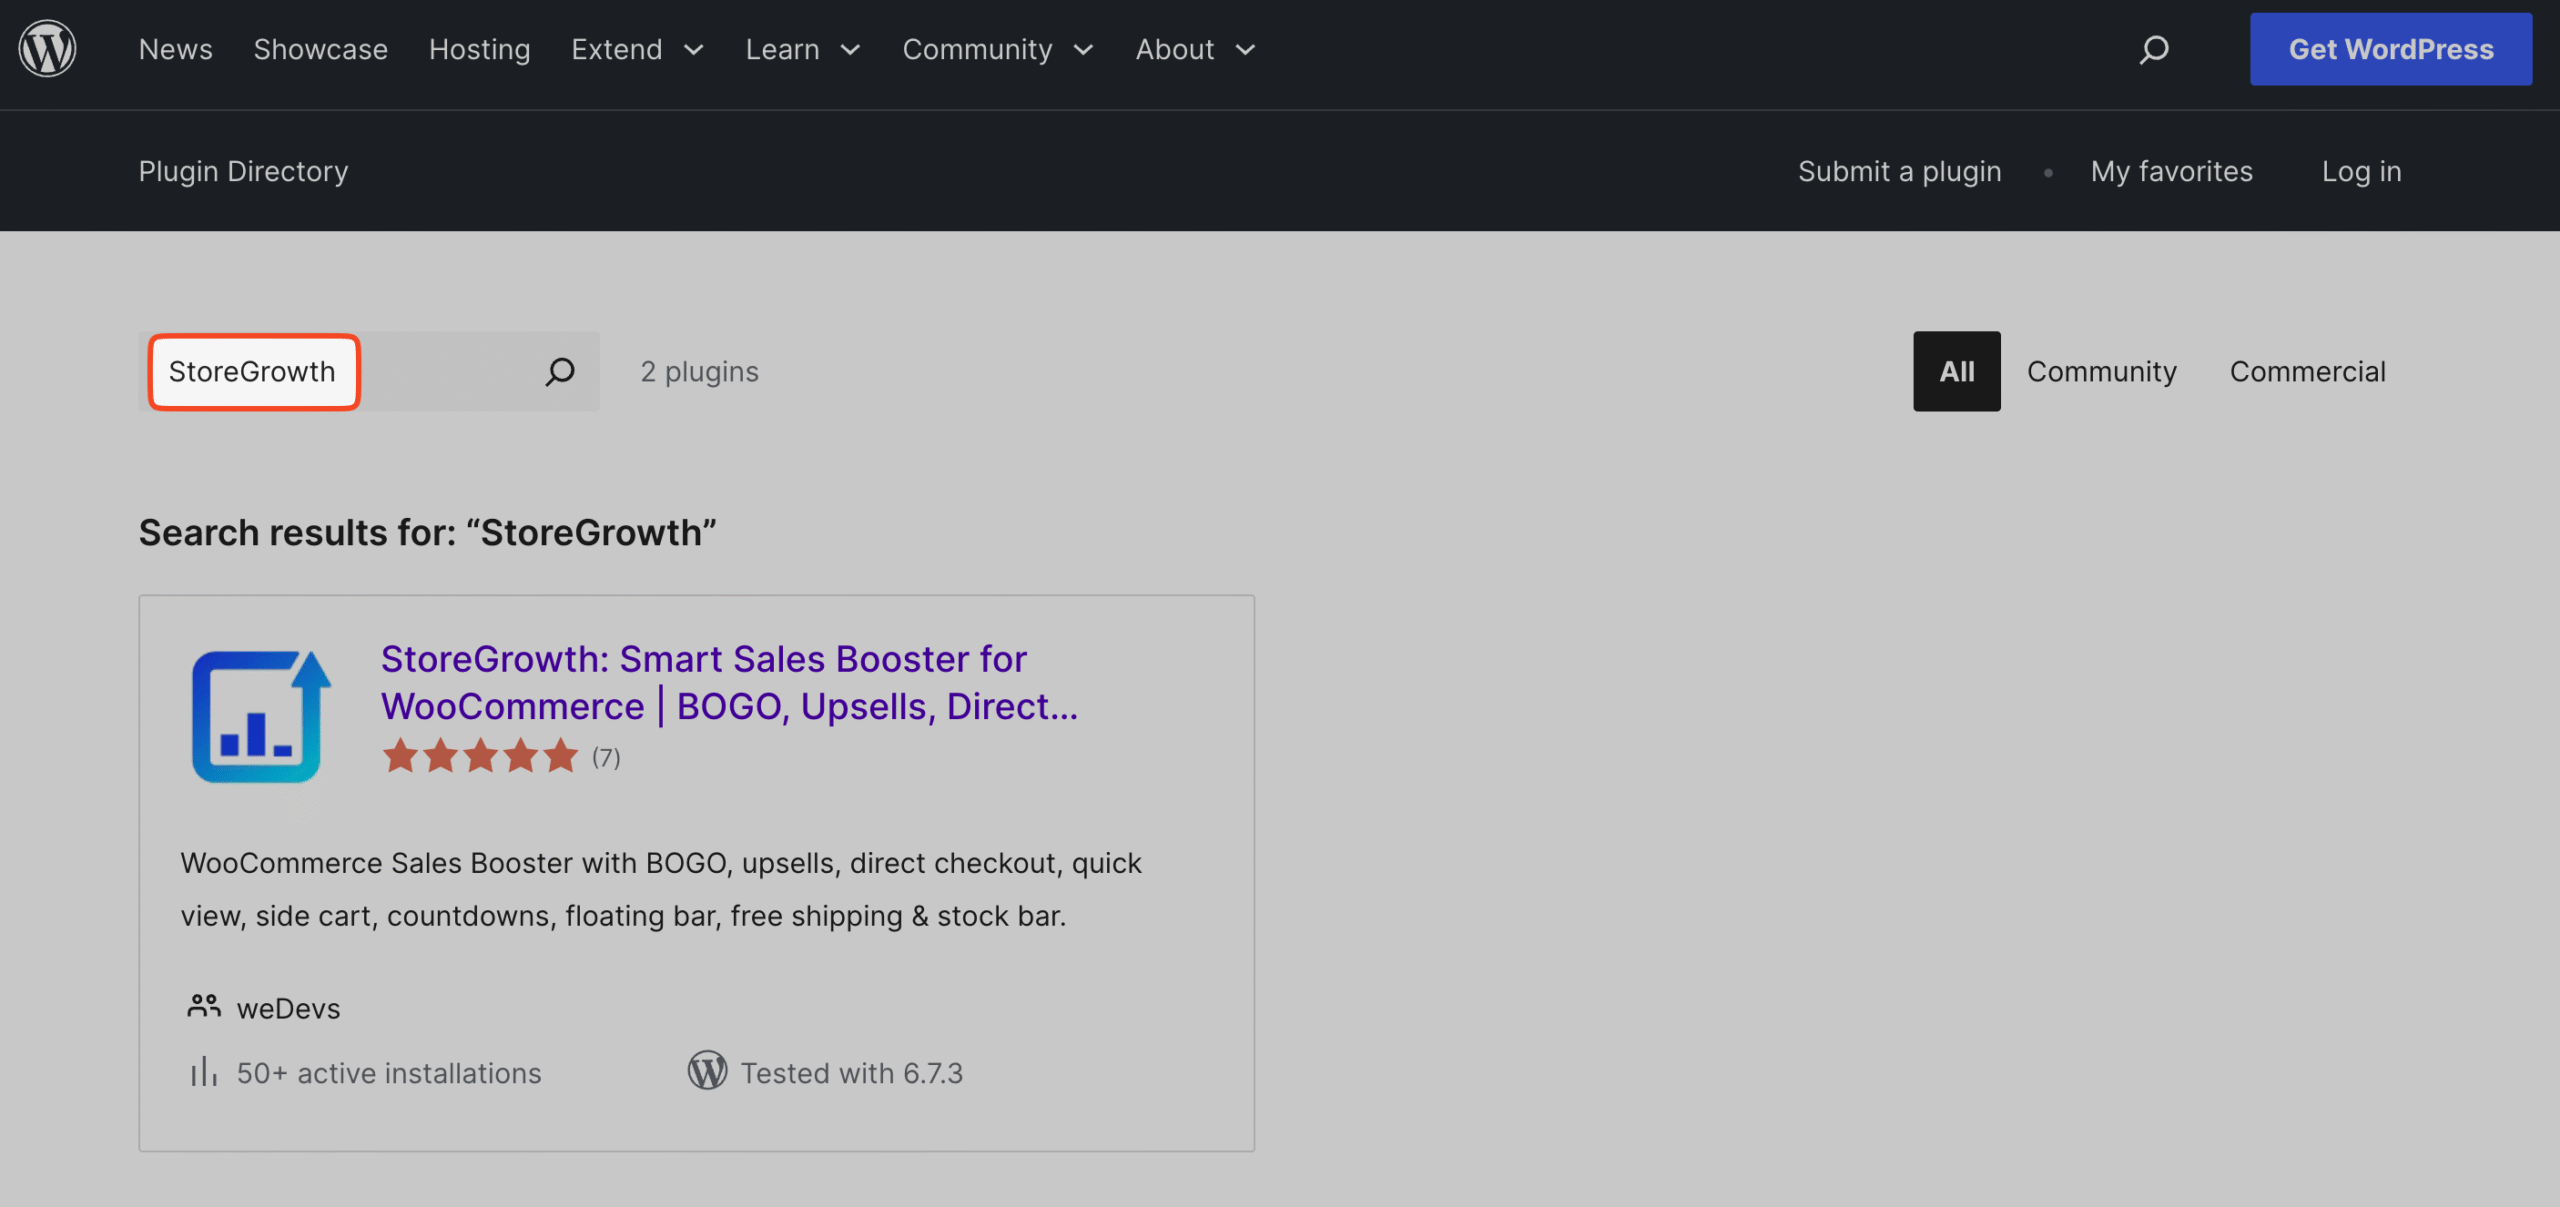
Method 1: Install from the WordPress Plugin Directory
This is the most straightforward method for installation.
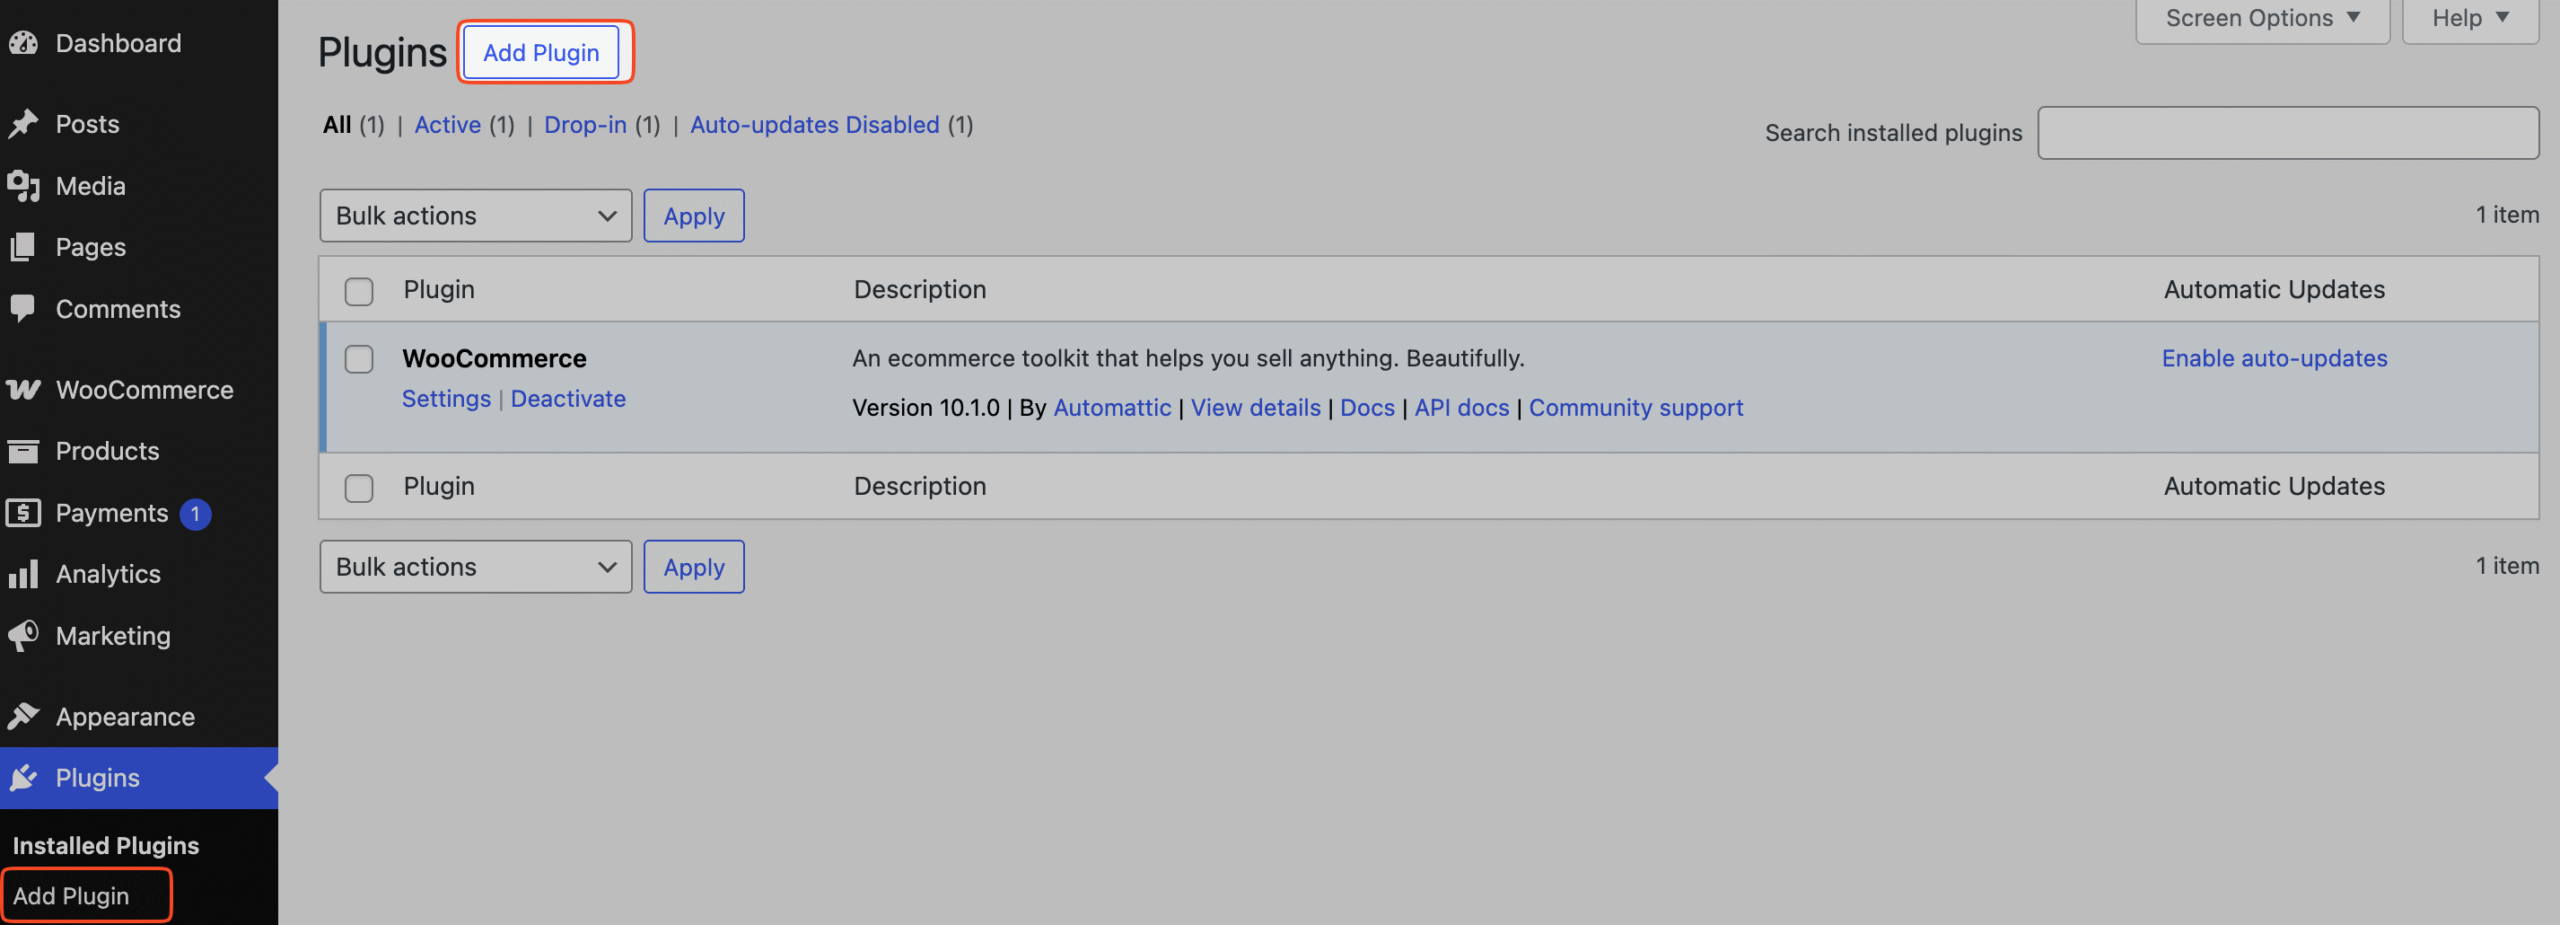
- From your WordPress dashboard, navigate to Plugins » Add Plugin.
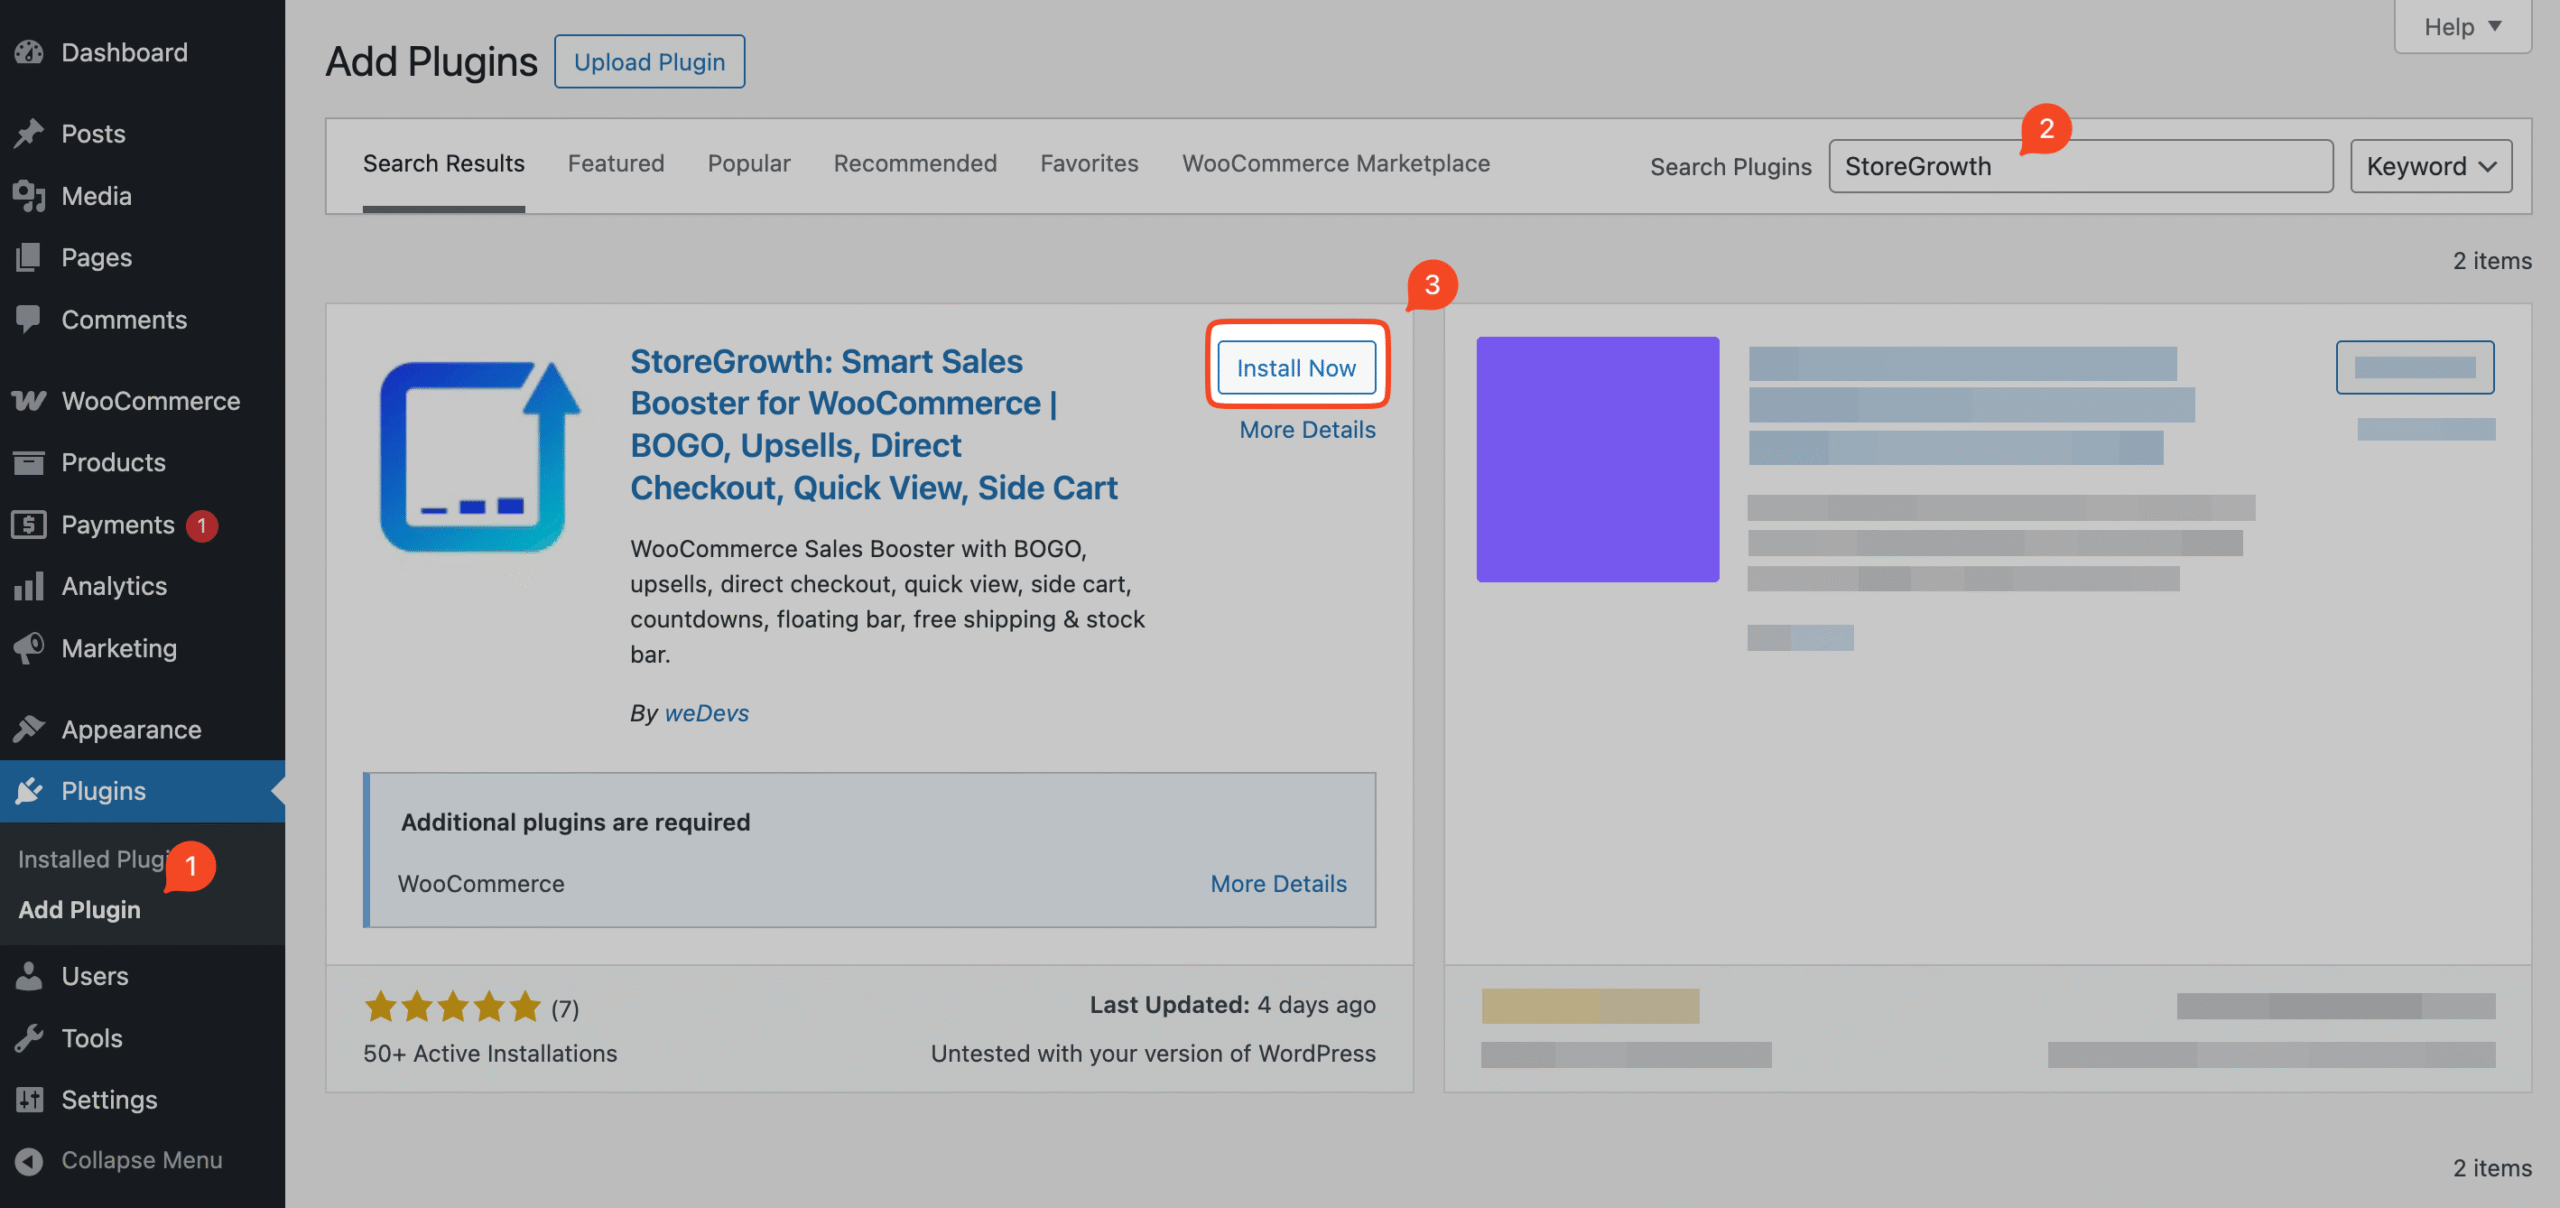
- In the search bar, type “StoreGrowth”.

- Locate the plugin in the search results and click Install Now.
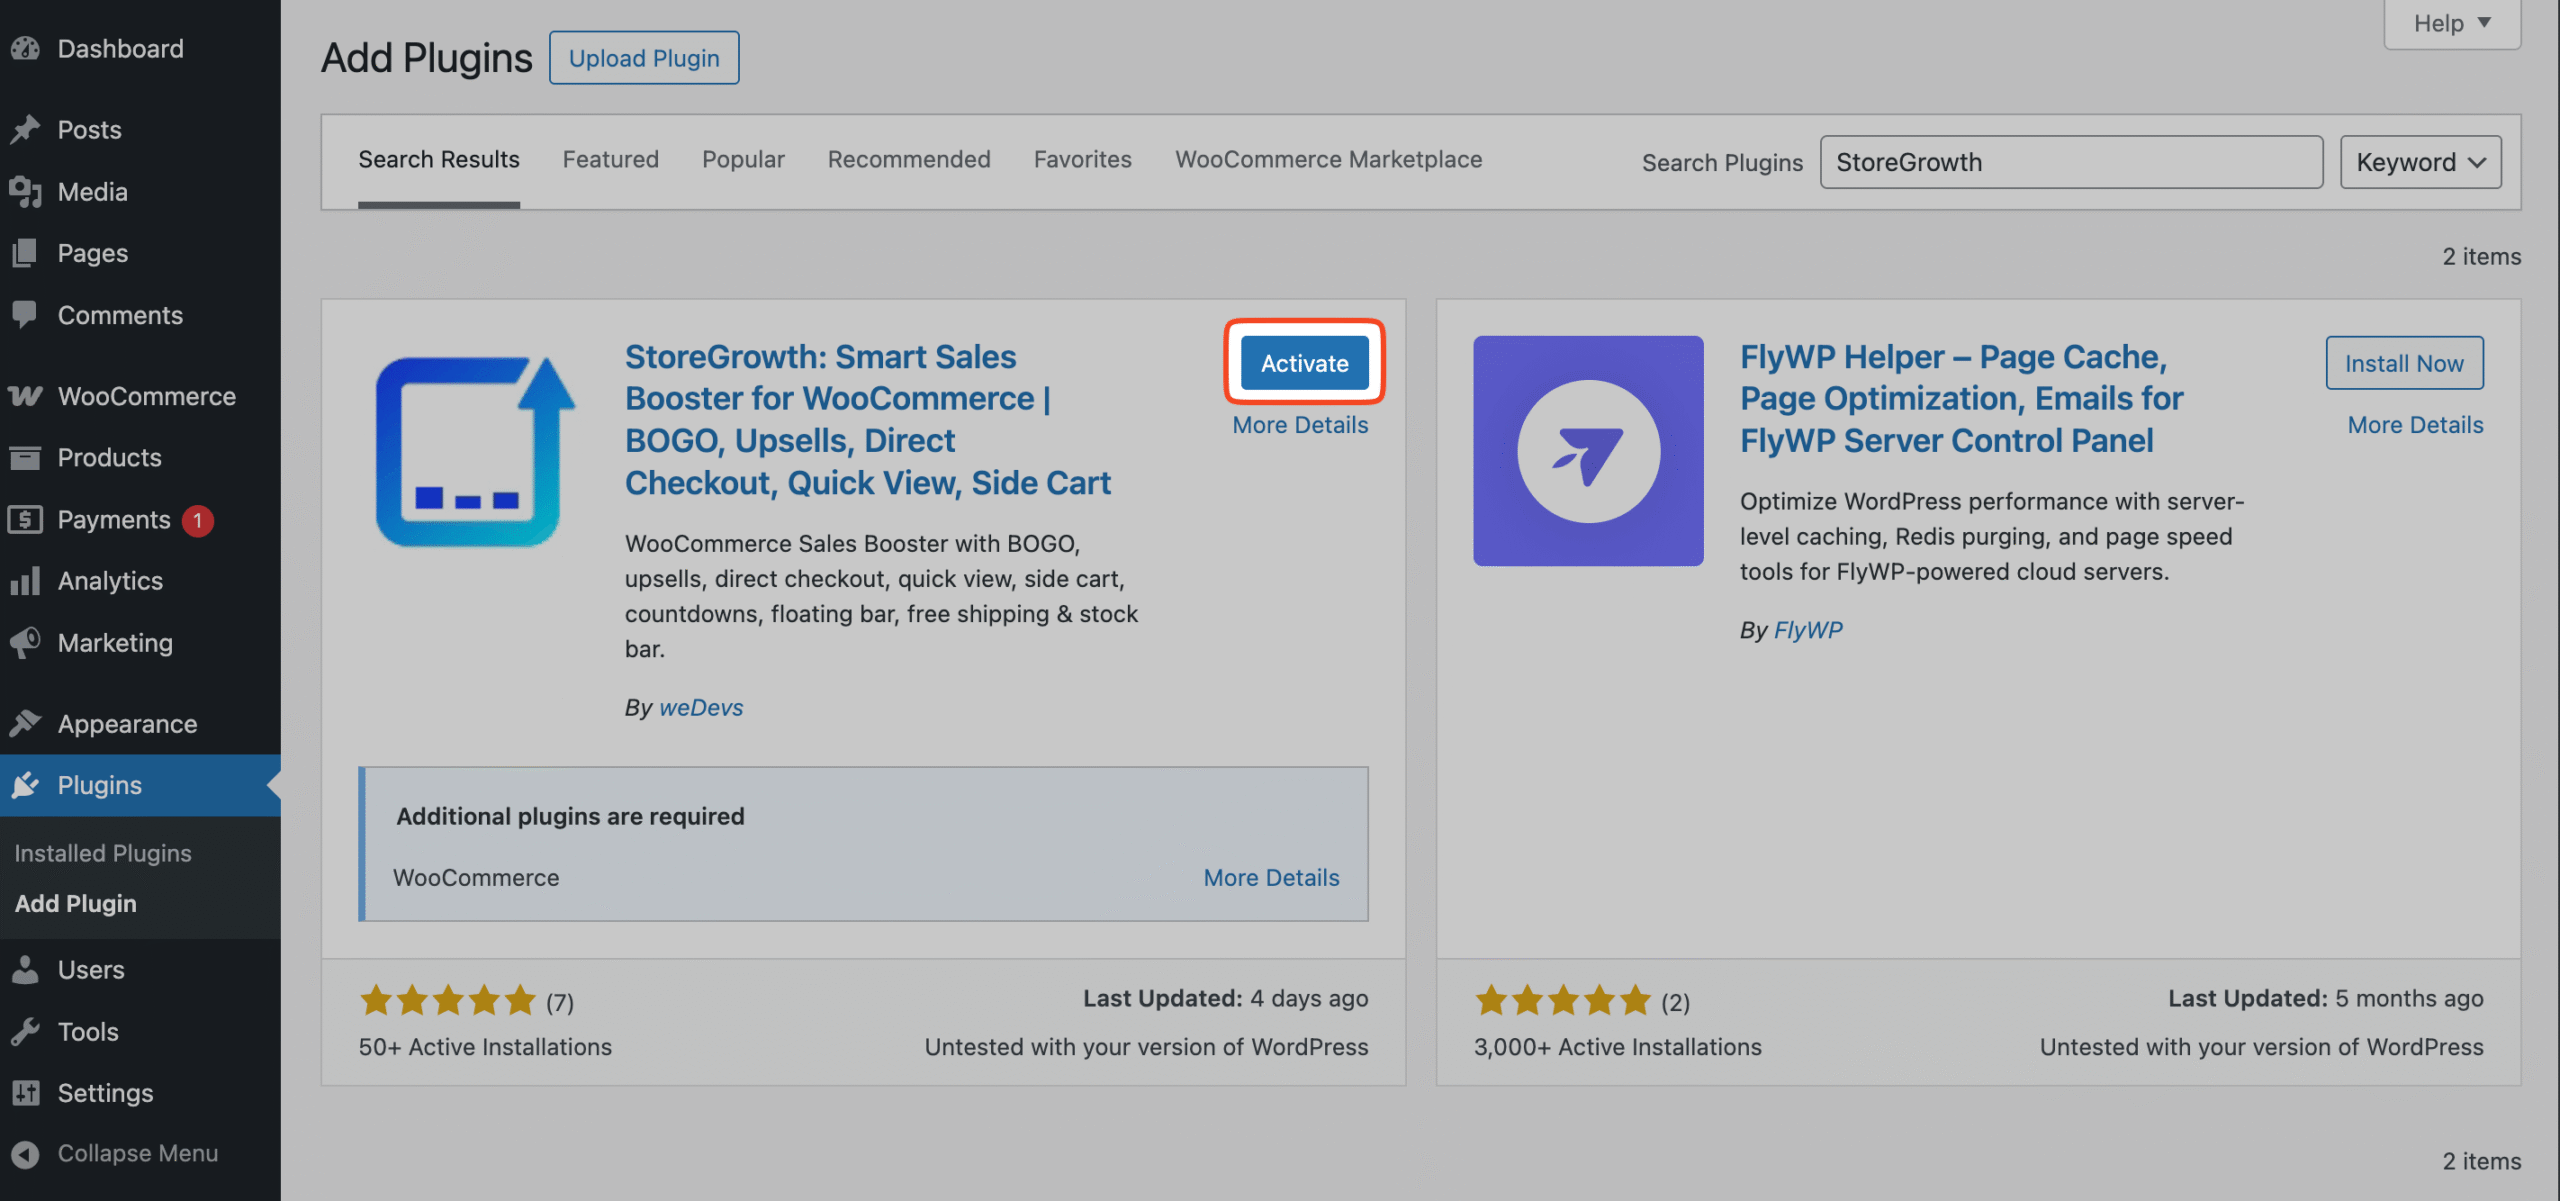
- After the installation finishes, click the Activate button.
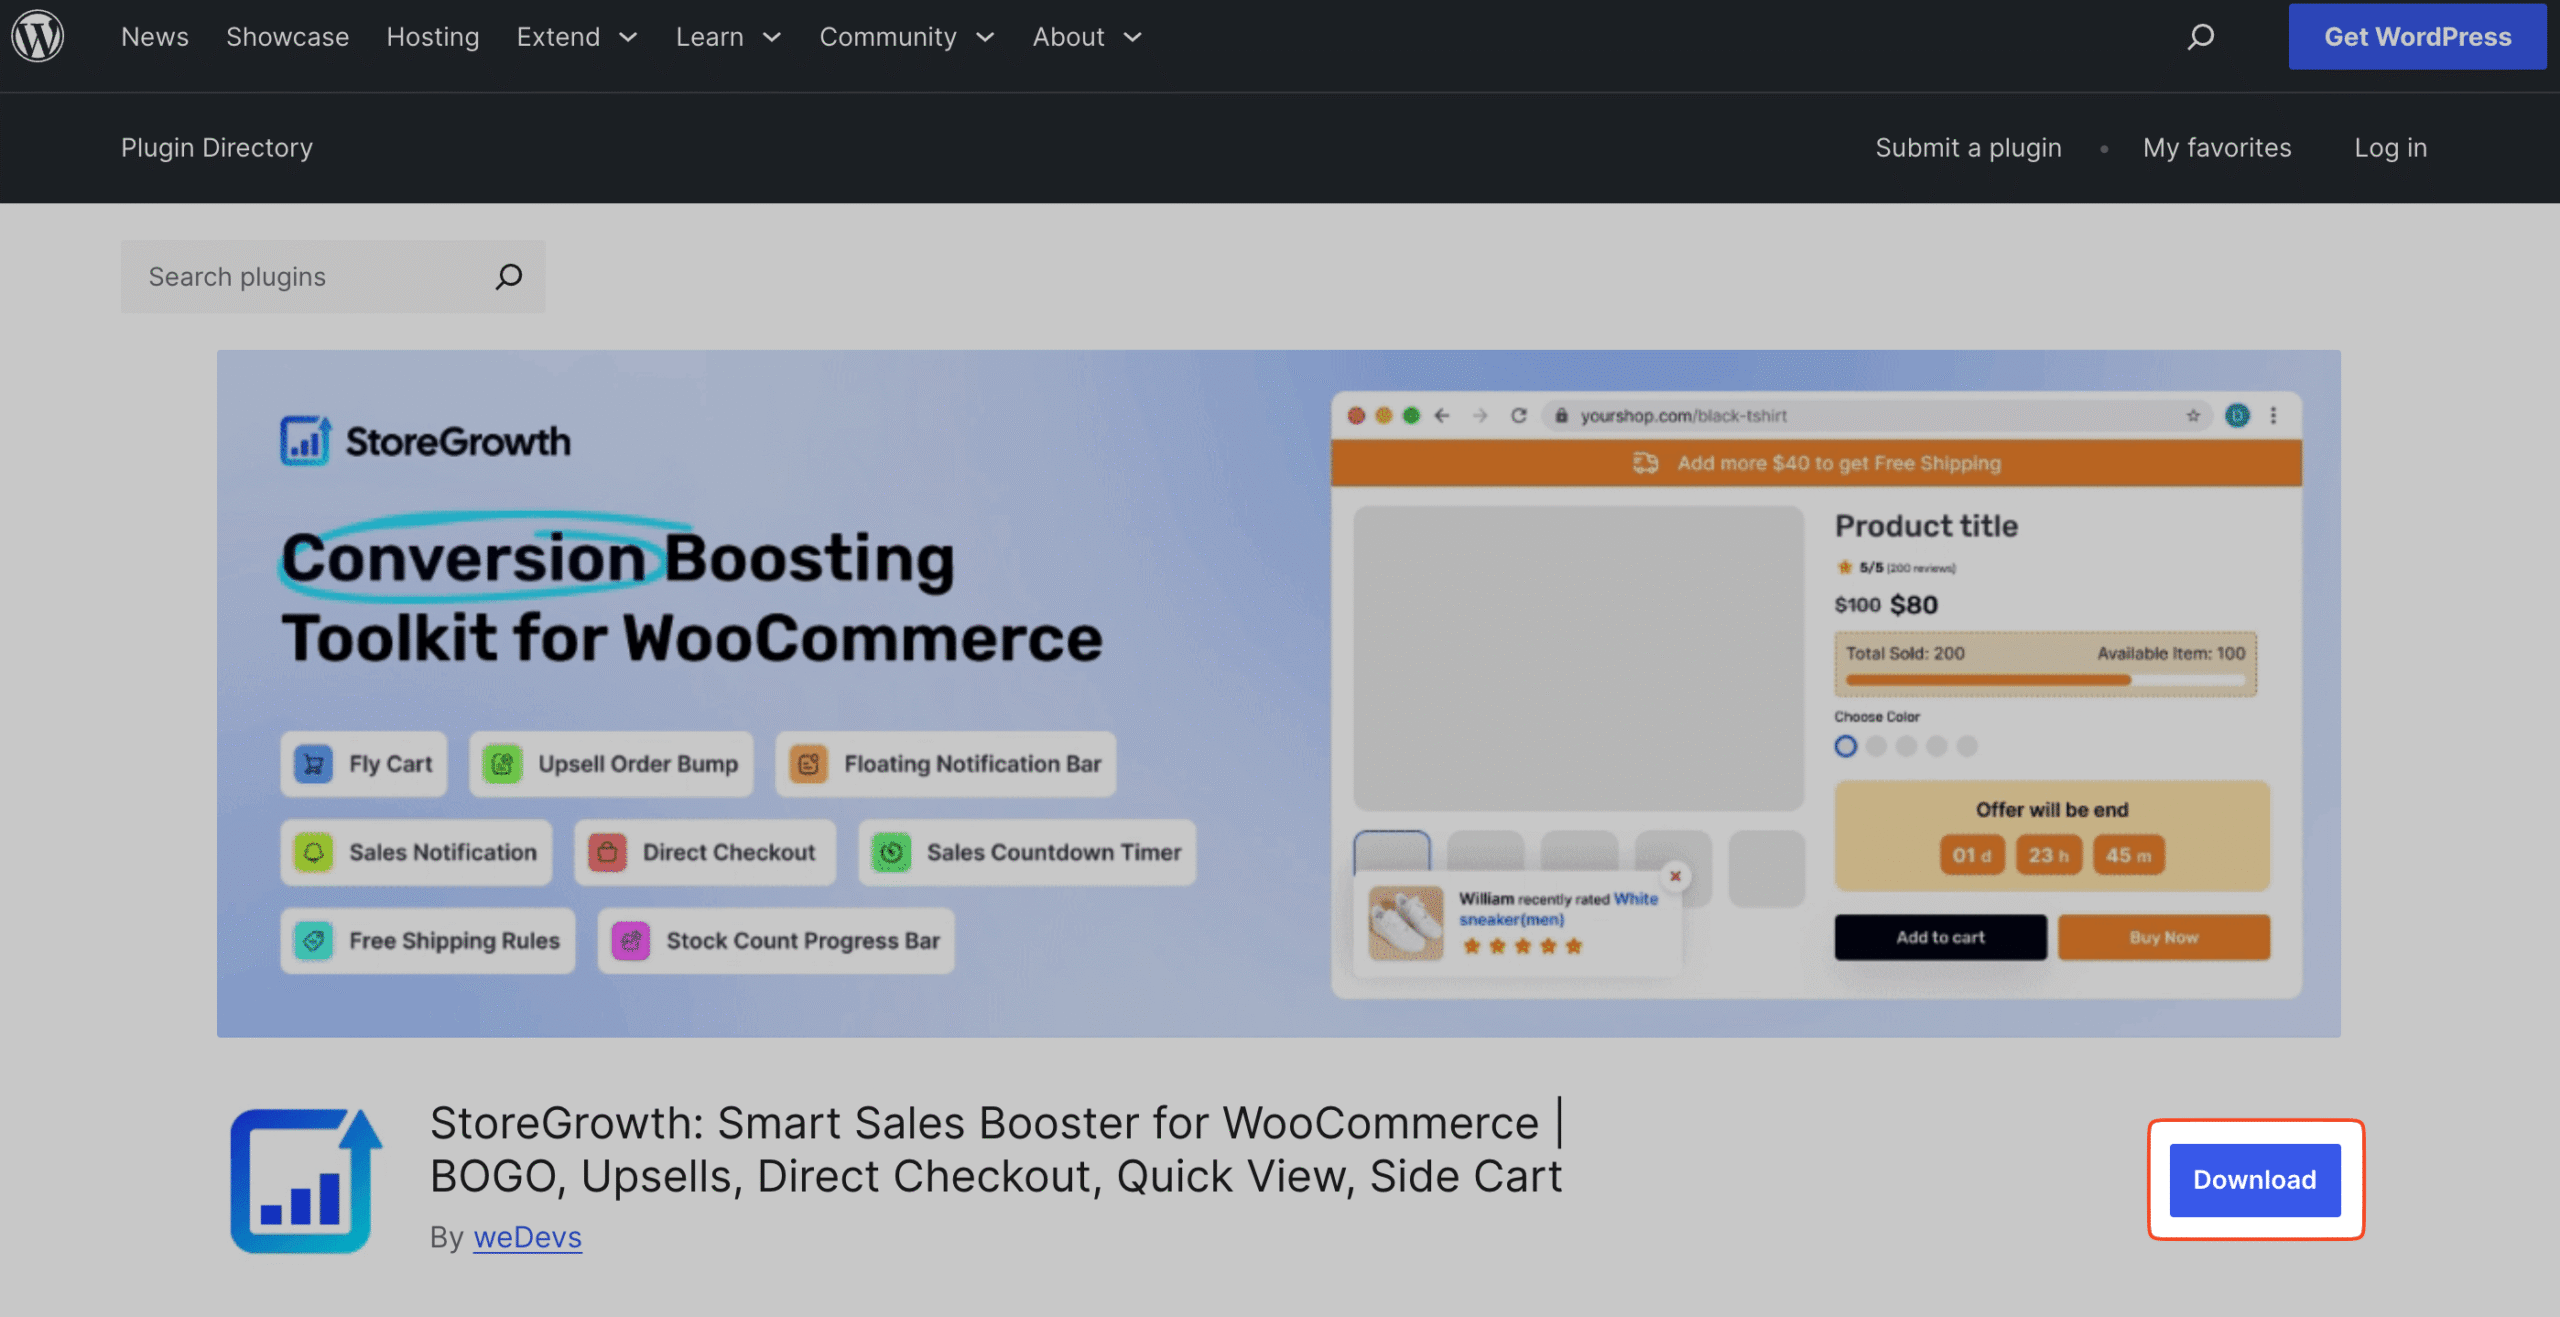
Method 2: Upload the Plugin Manually
This method is useful if you prefer to download the plugin files first before uploading them to your site.
- Navigate to the official WordPress Plugin repository page and search for “StoreGrowth”.
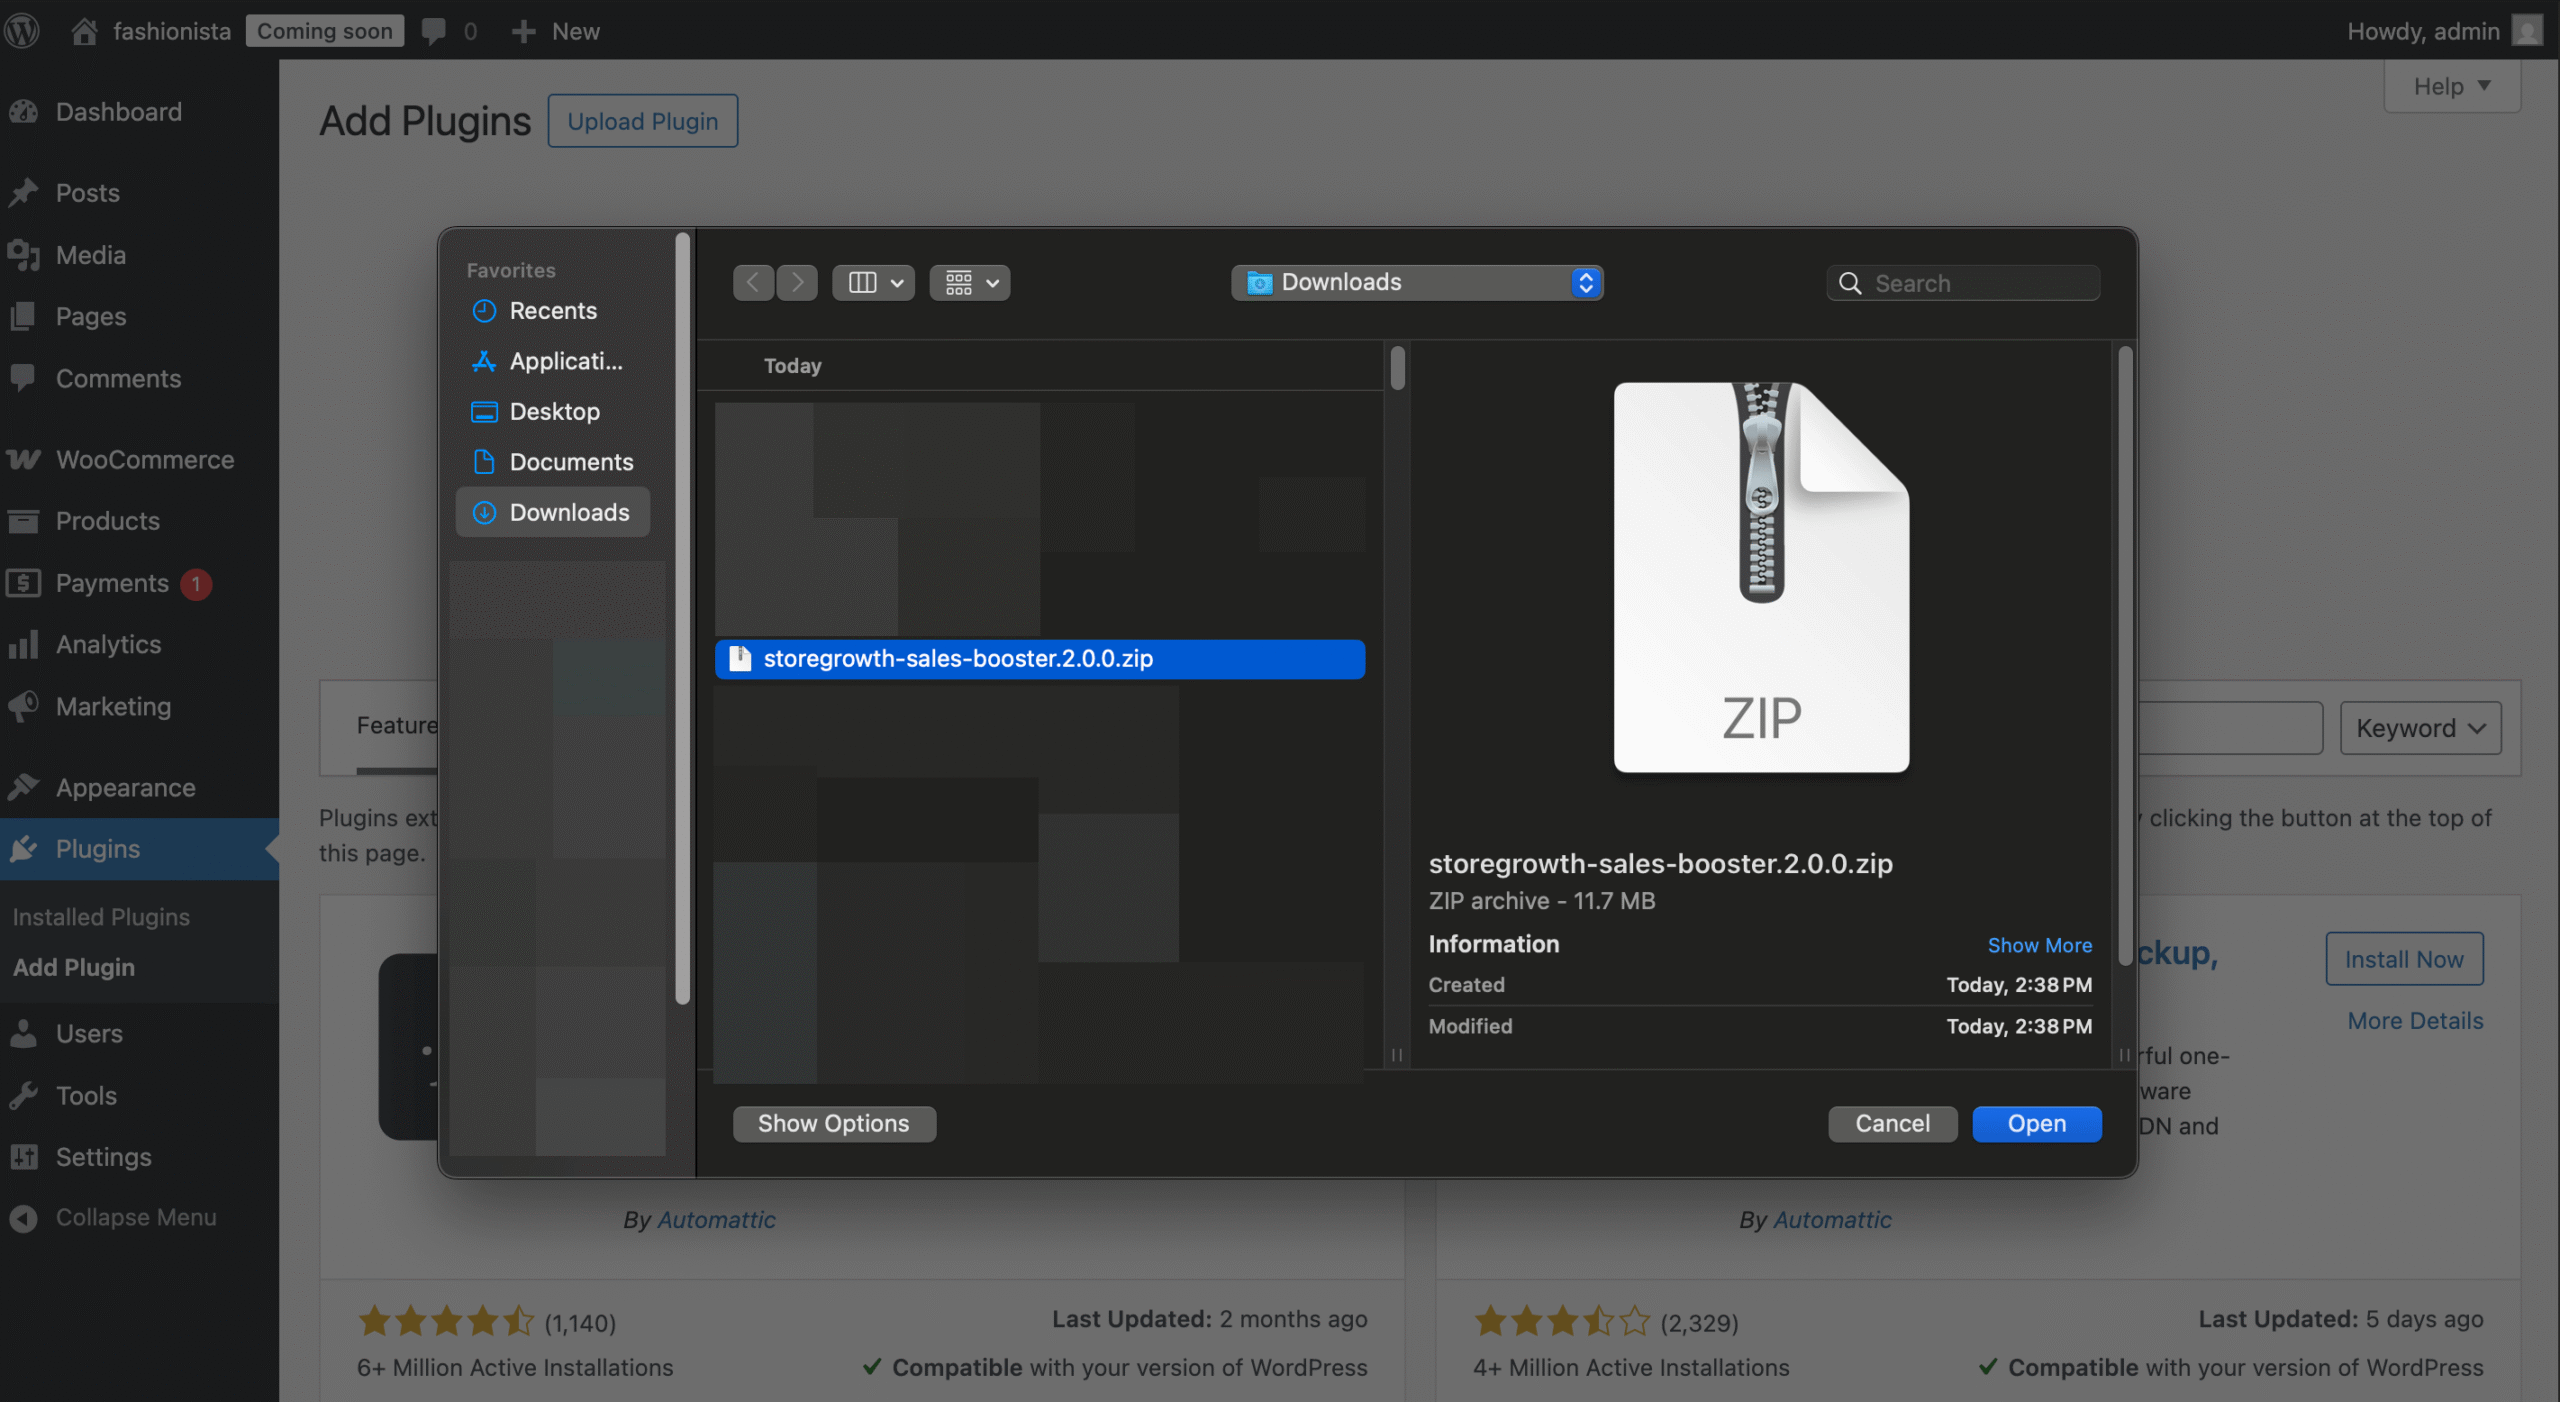
- Download the plugin, which will save a
storegrowth-sales-booster.zipfile to your computer.
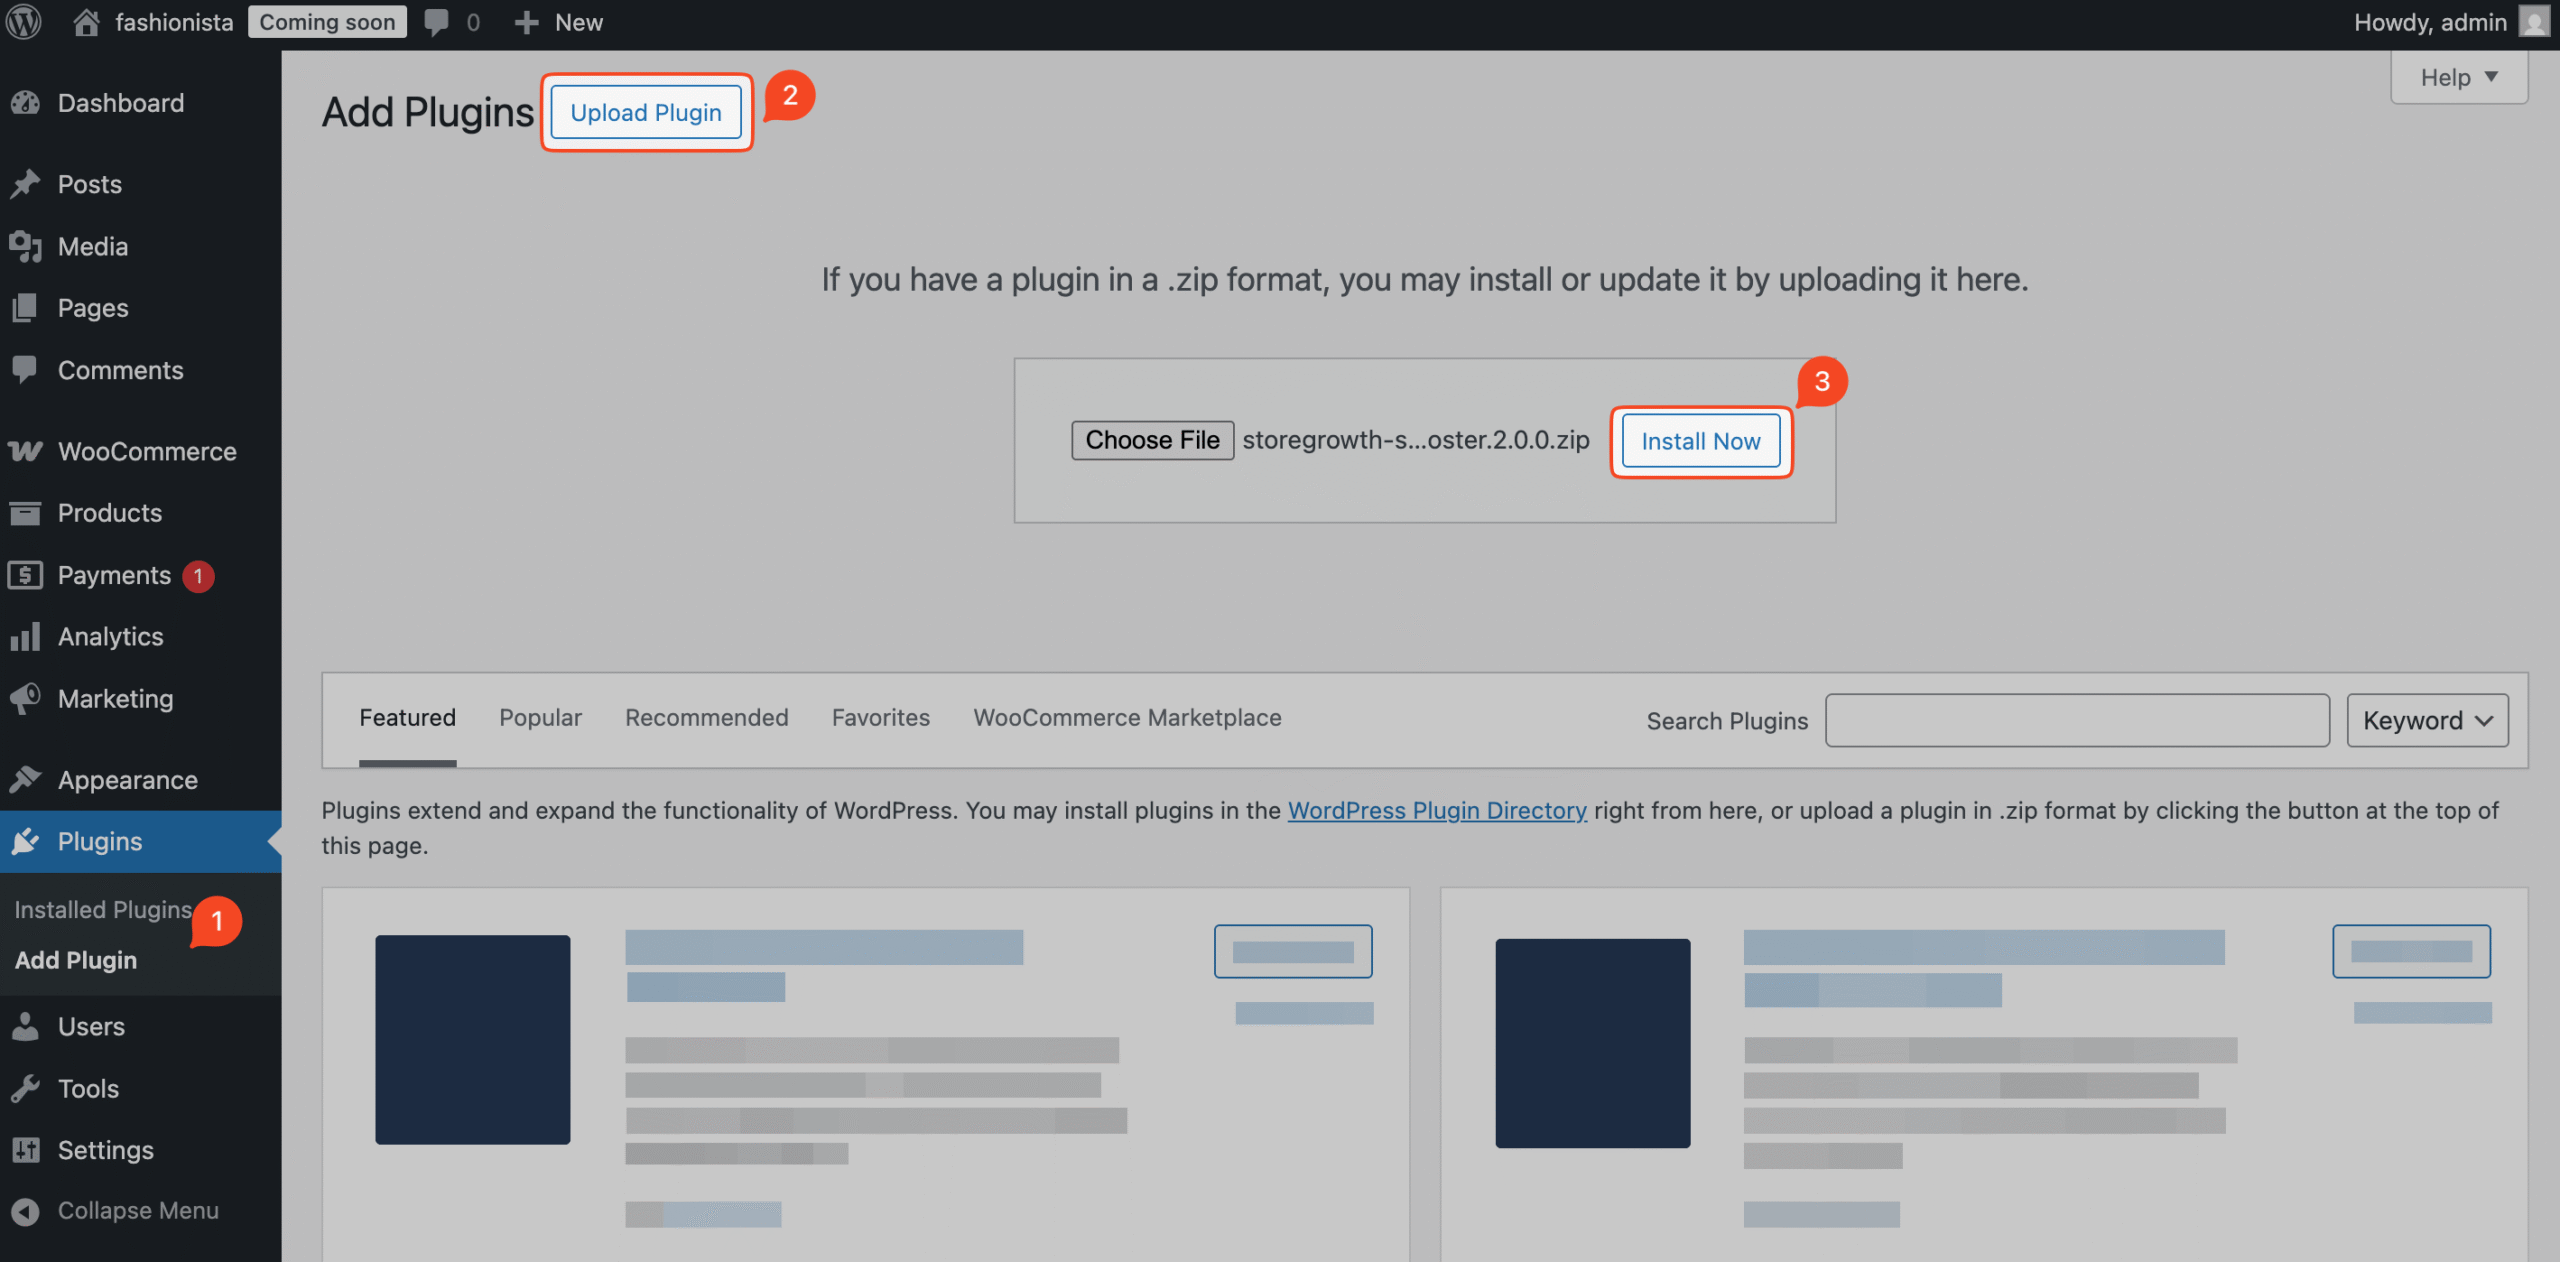
- In your WordPress dashboard, navigate to Plugins » Add Plugin and click the Upload Plugin button at the top of the page.
- Click Choose File and select the
.zipfile you downloaded.
- Click Install Now, and once the installation is complete, click Activate Plugin.
Upon successful activation, a new StoreGrowth menu item will appear in your WordPress dashboard. This is where you will access all of StoreGrowth’s settings and modules.