

This section provides a detailed guide on how to manage the individual features within StoreGrowth. The plugin is built with a modular design, which allows you to activate only the tools you need.
This approach is highly beneficial as it keeps your website lightweight by not loading unnecessary code, which helps maintain optimal performance. It also provides a cleaner, more focused admin experience by only showing settings for the features you are actively using.
Navigating to the Modules Page
To begin managing your modules, you first need to access the main StoreGrowth dashboard.
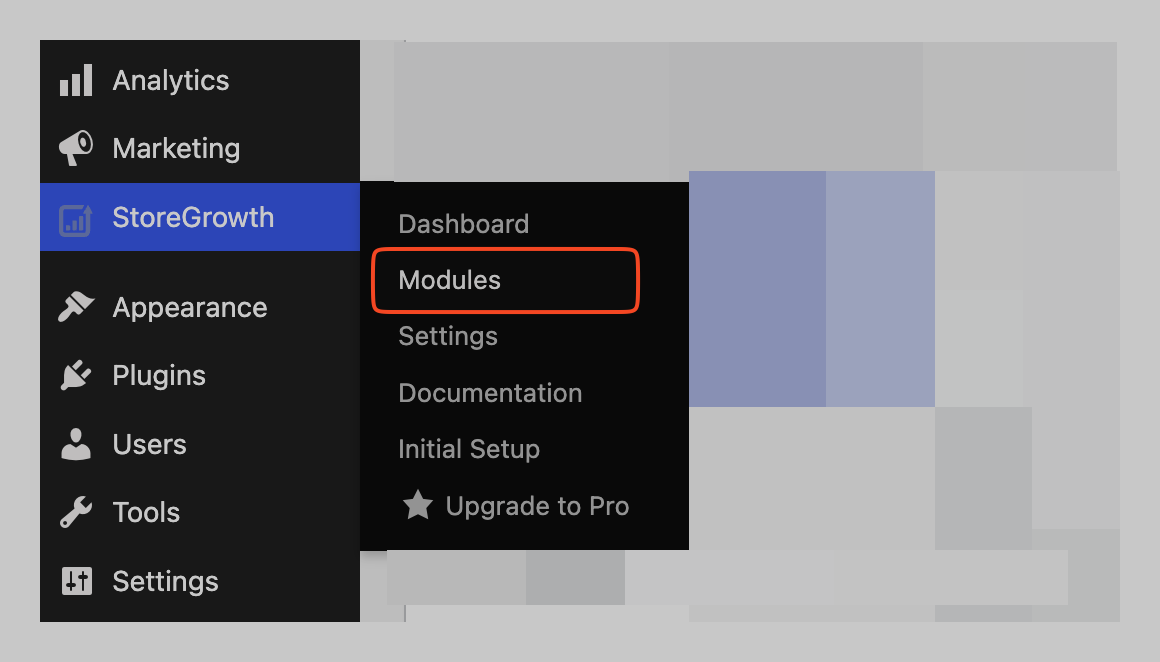
- From your WordPress admin panel, locate the StoreGrowth menu item on the left-hand sidebar.
- Click on Modules. This will take you to the main dashboard where all modules are listed.
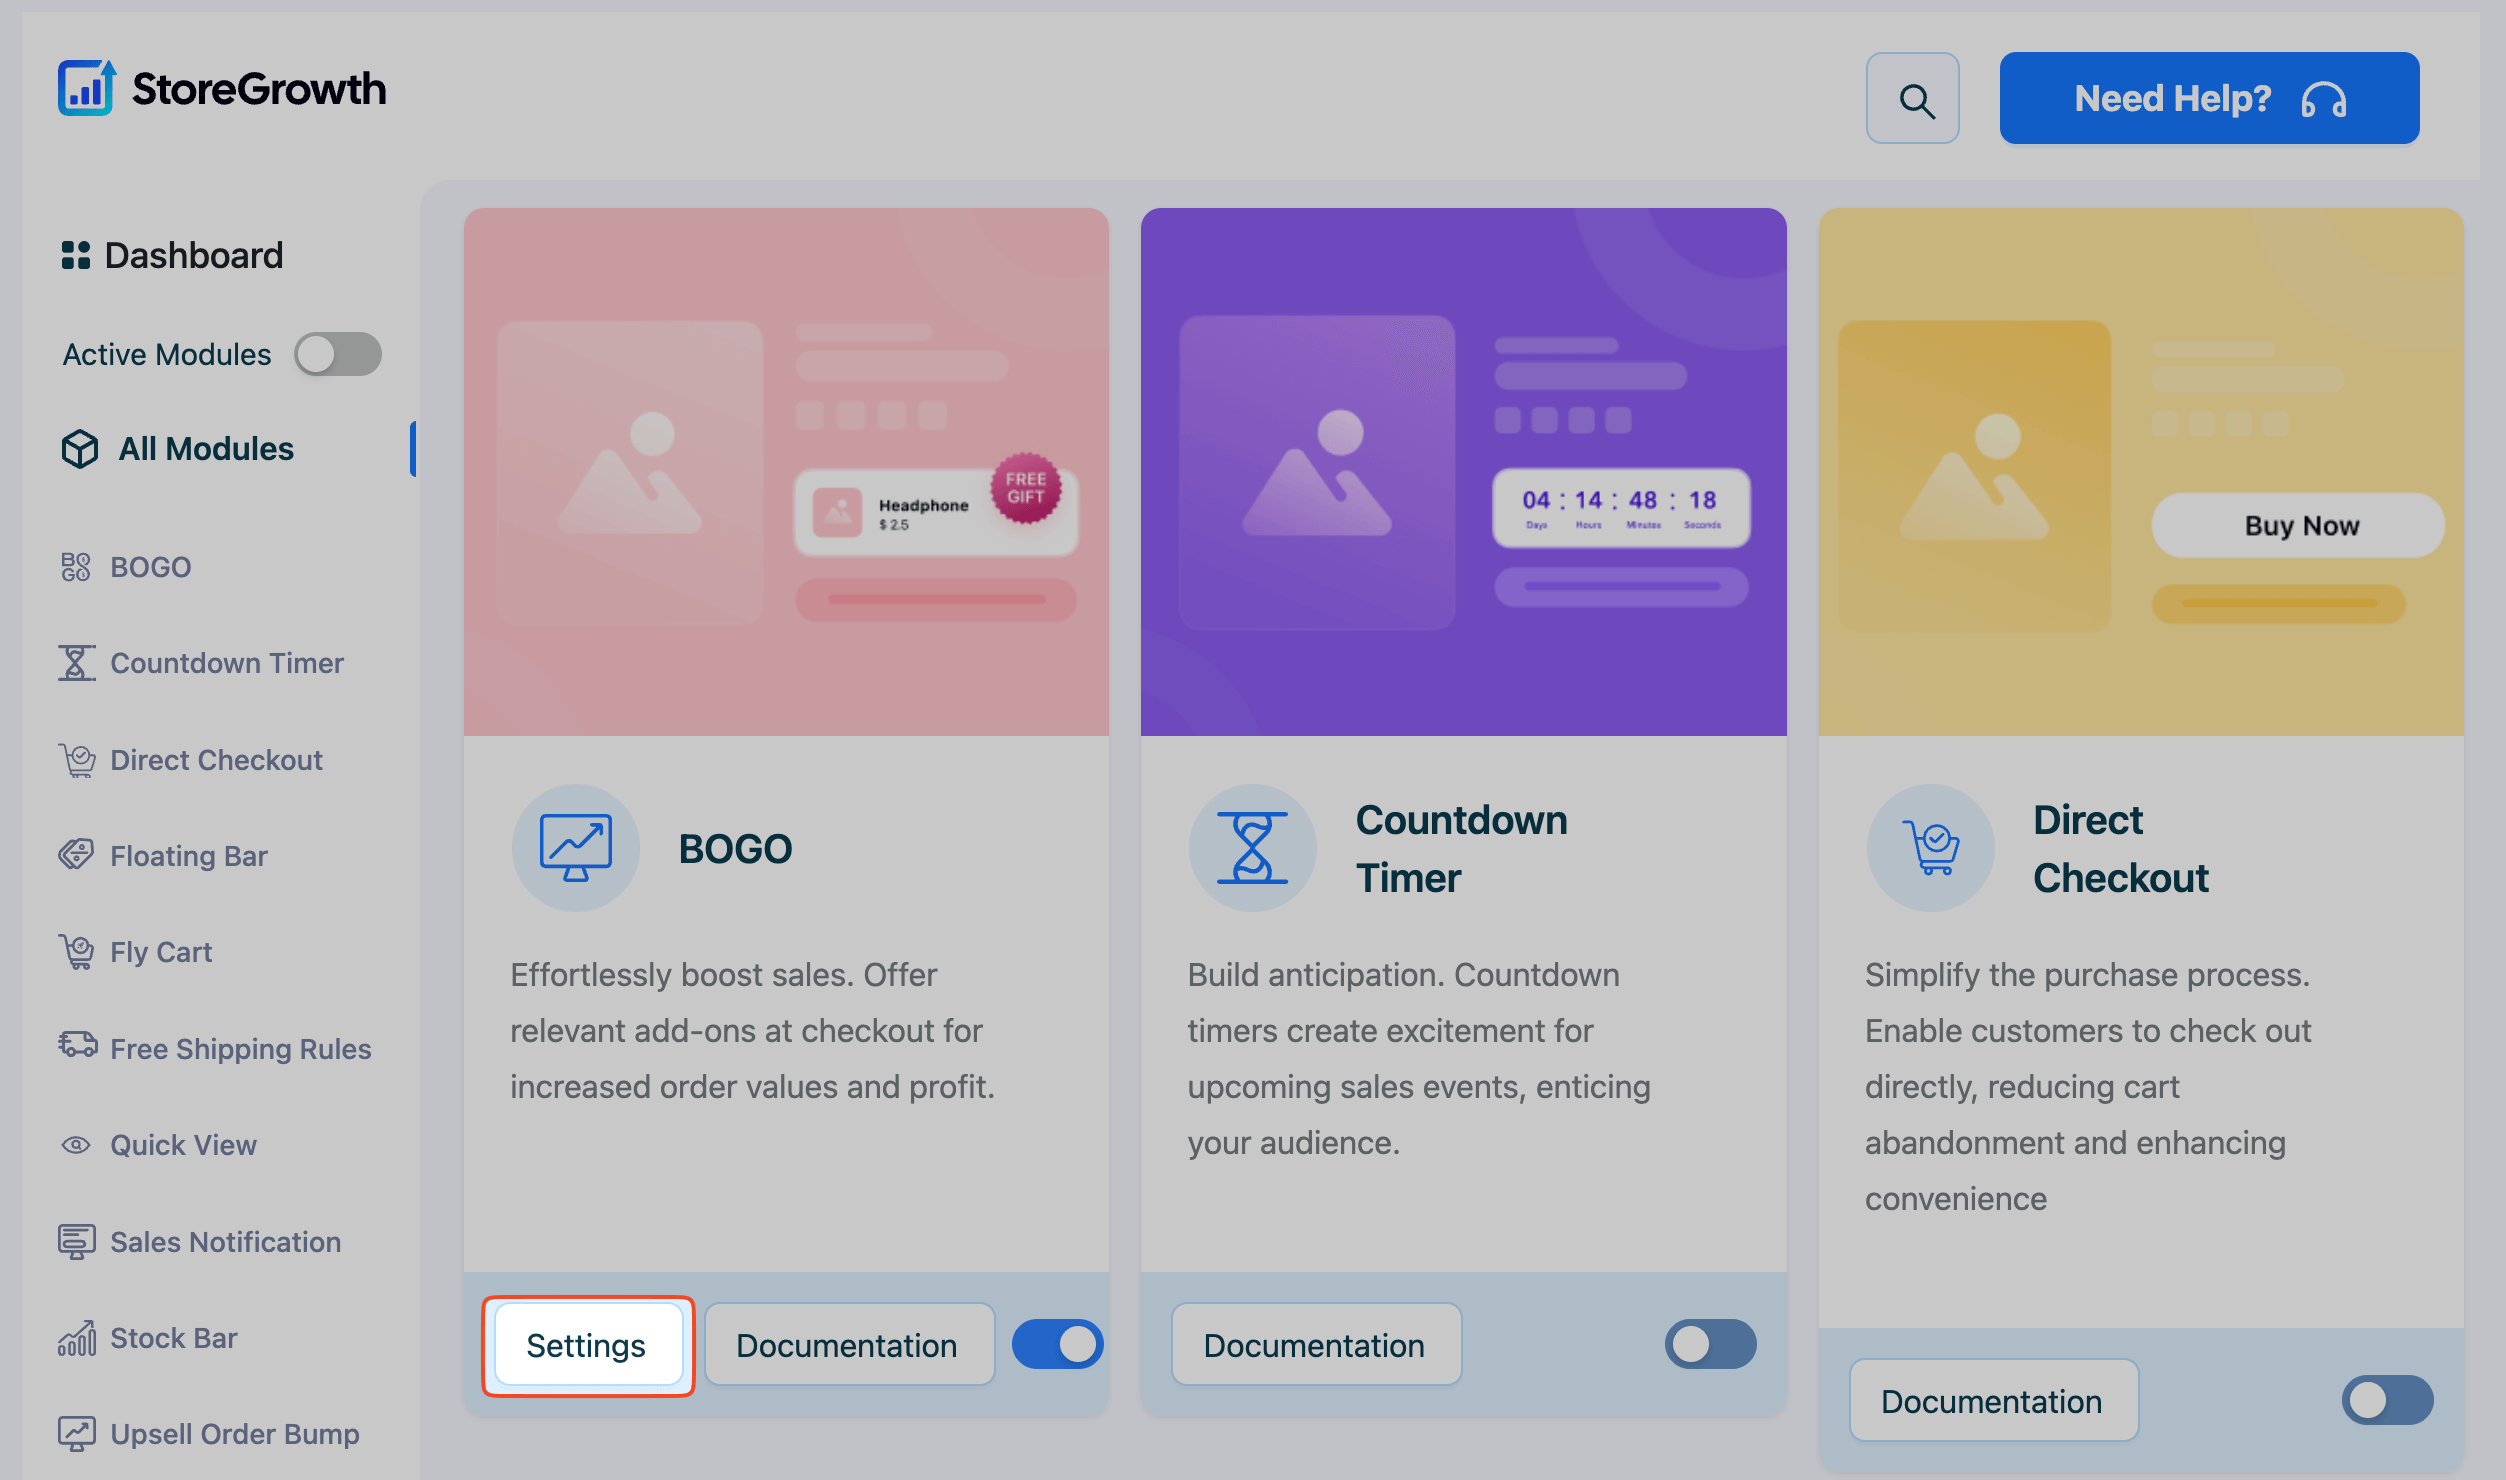
Understanding the Modules Dashboard
The Modules dashboard gives you a complete overview of all the sales-boosting tools available in StoreGrowth.
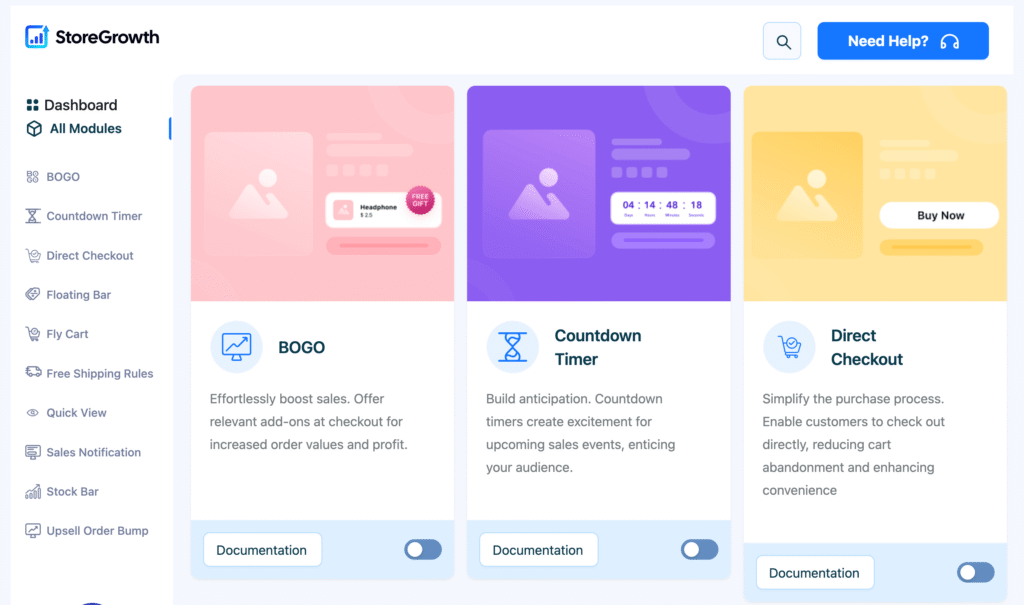
Each module is typically presented as an information card or a list item that includes:
- Module Name: The name of the feature (e.g., Fly Cart, BOGO, Countdown Timer).
- Status Toggle: A switch that allows you to activate or deactivate the module with a single click.
- Documentation Button: A link that takes you directly to the detailed documentation for that specific module.
How to Activate a Module
Activating a module will enable its functionality on your storefront and add its specific settings to your admin menu. You can do this in two ways:
- By activating the toggle switch
- Clicking on the Module name in the left sidebar
Let’s have a deeper look into this.
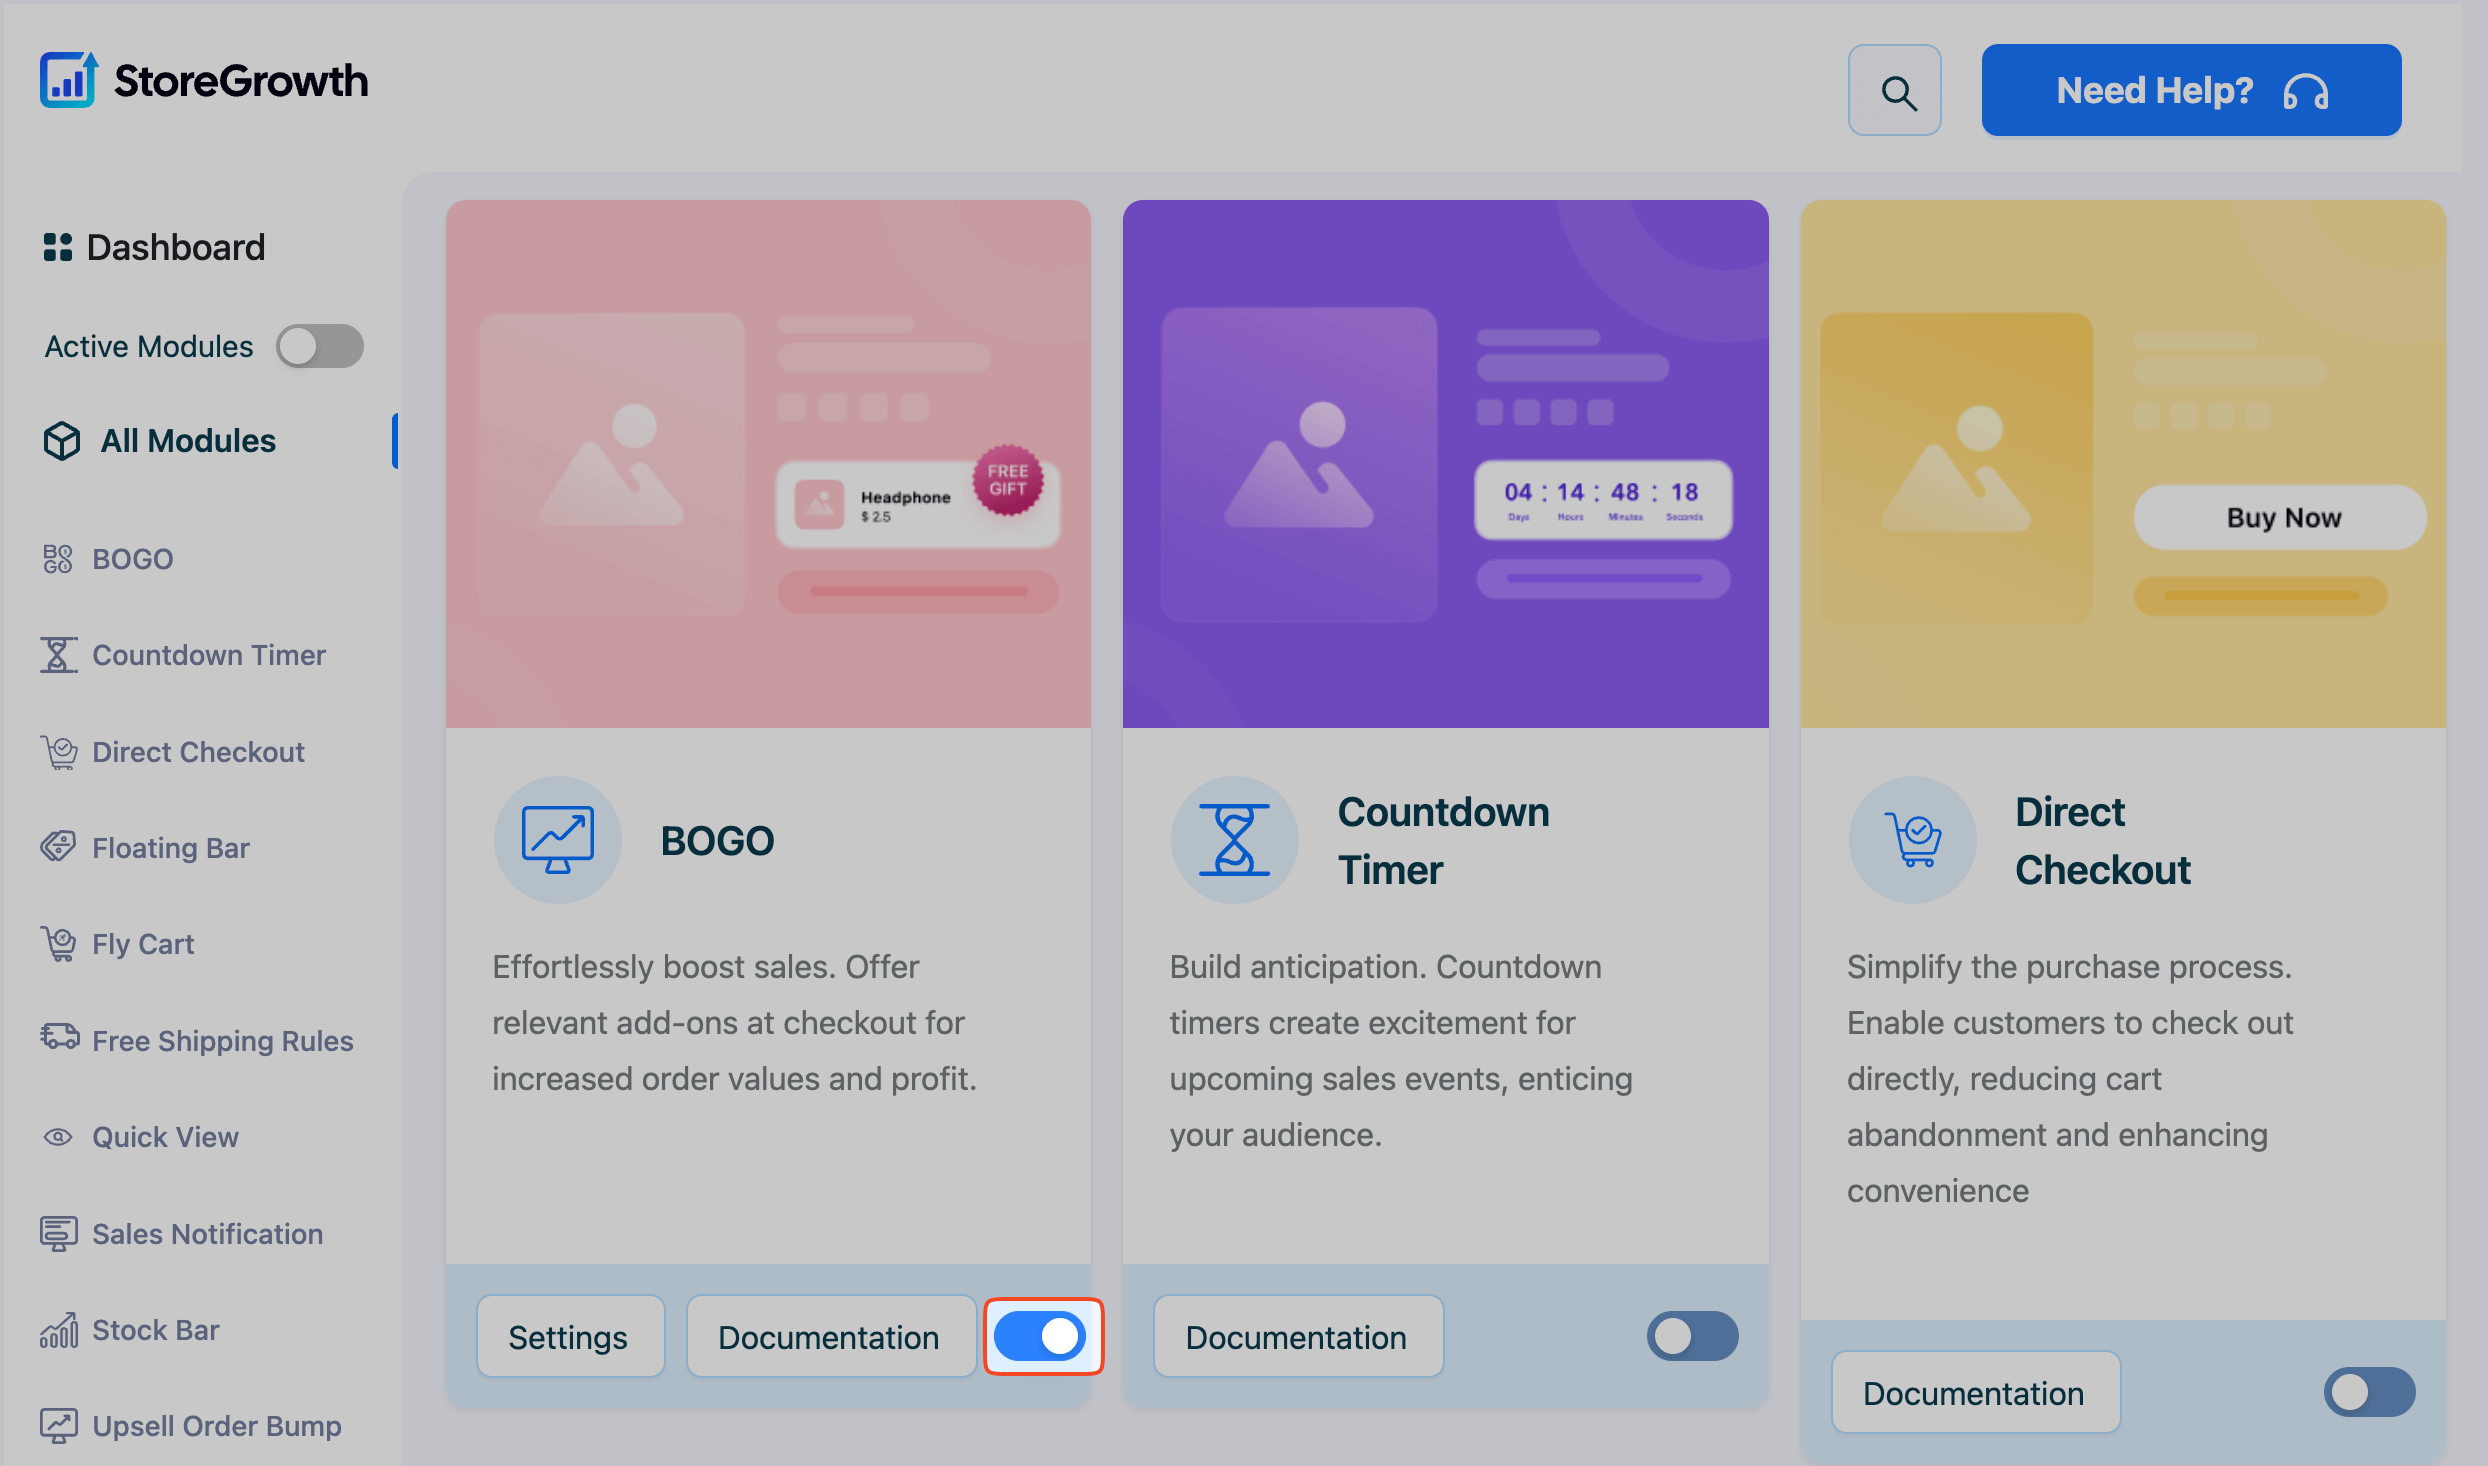
Method 1: Toggle On/Off
- On the StoreGrowth dashboard, find the module you want to use.
- Click the toggle switch next to ‘its name ‘Documentation’ to move it to the “On” or “Enabled” position.
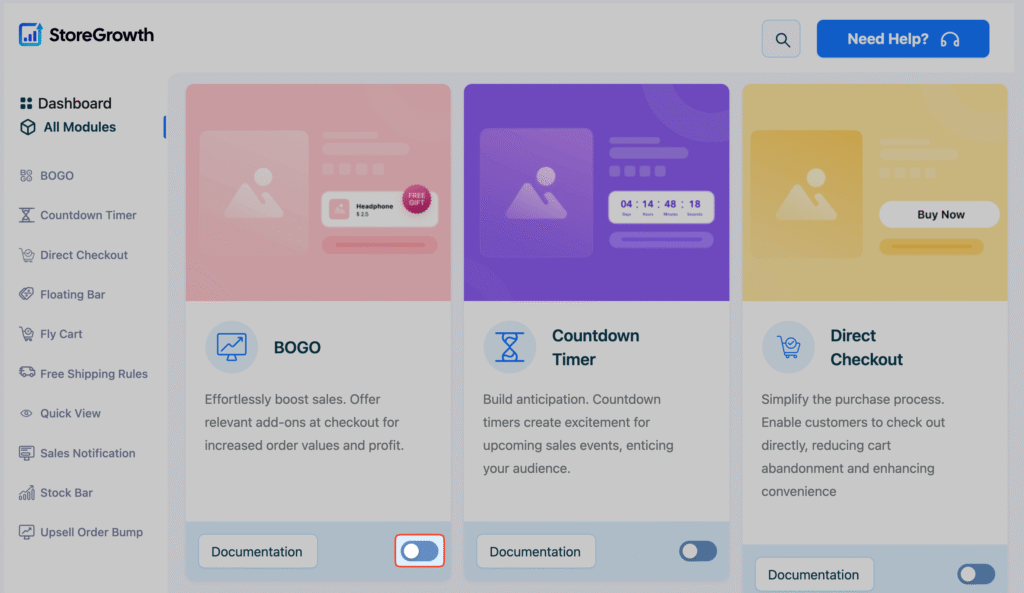
Once a module is activated, its features become live on your site. For further customization, a dedicated settings page for that module will now be accessible under the StoreGrowth menu.
Method 2: Clicking on individual module
You can also activate the modules by simply clicking on the module name on the left hand sidebar.
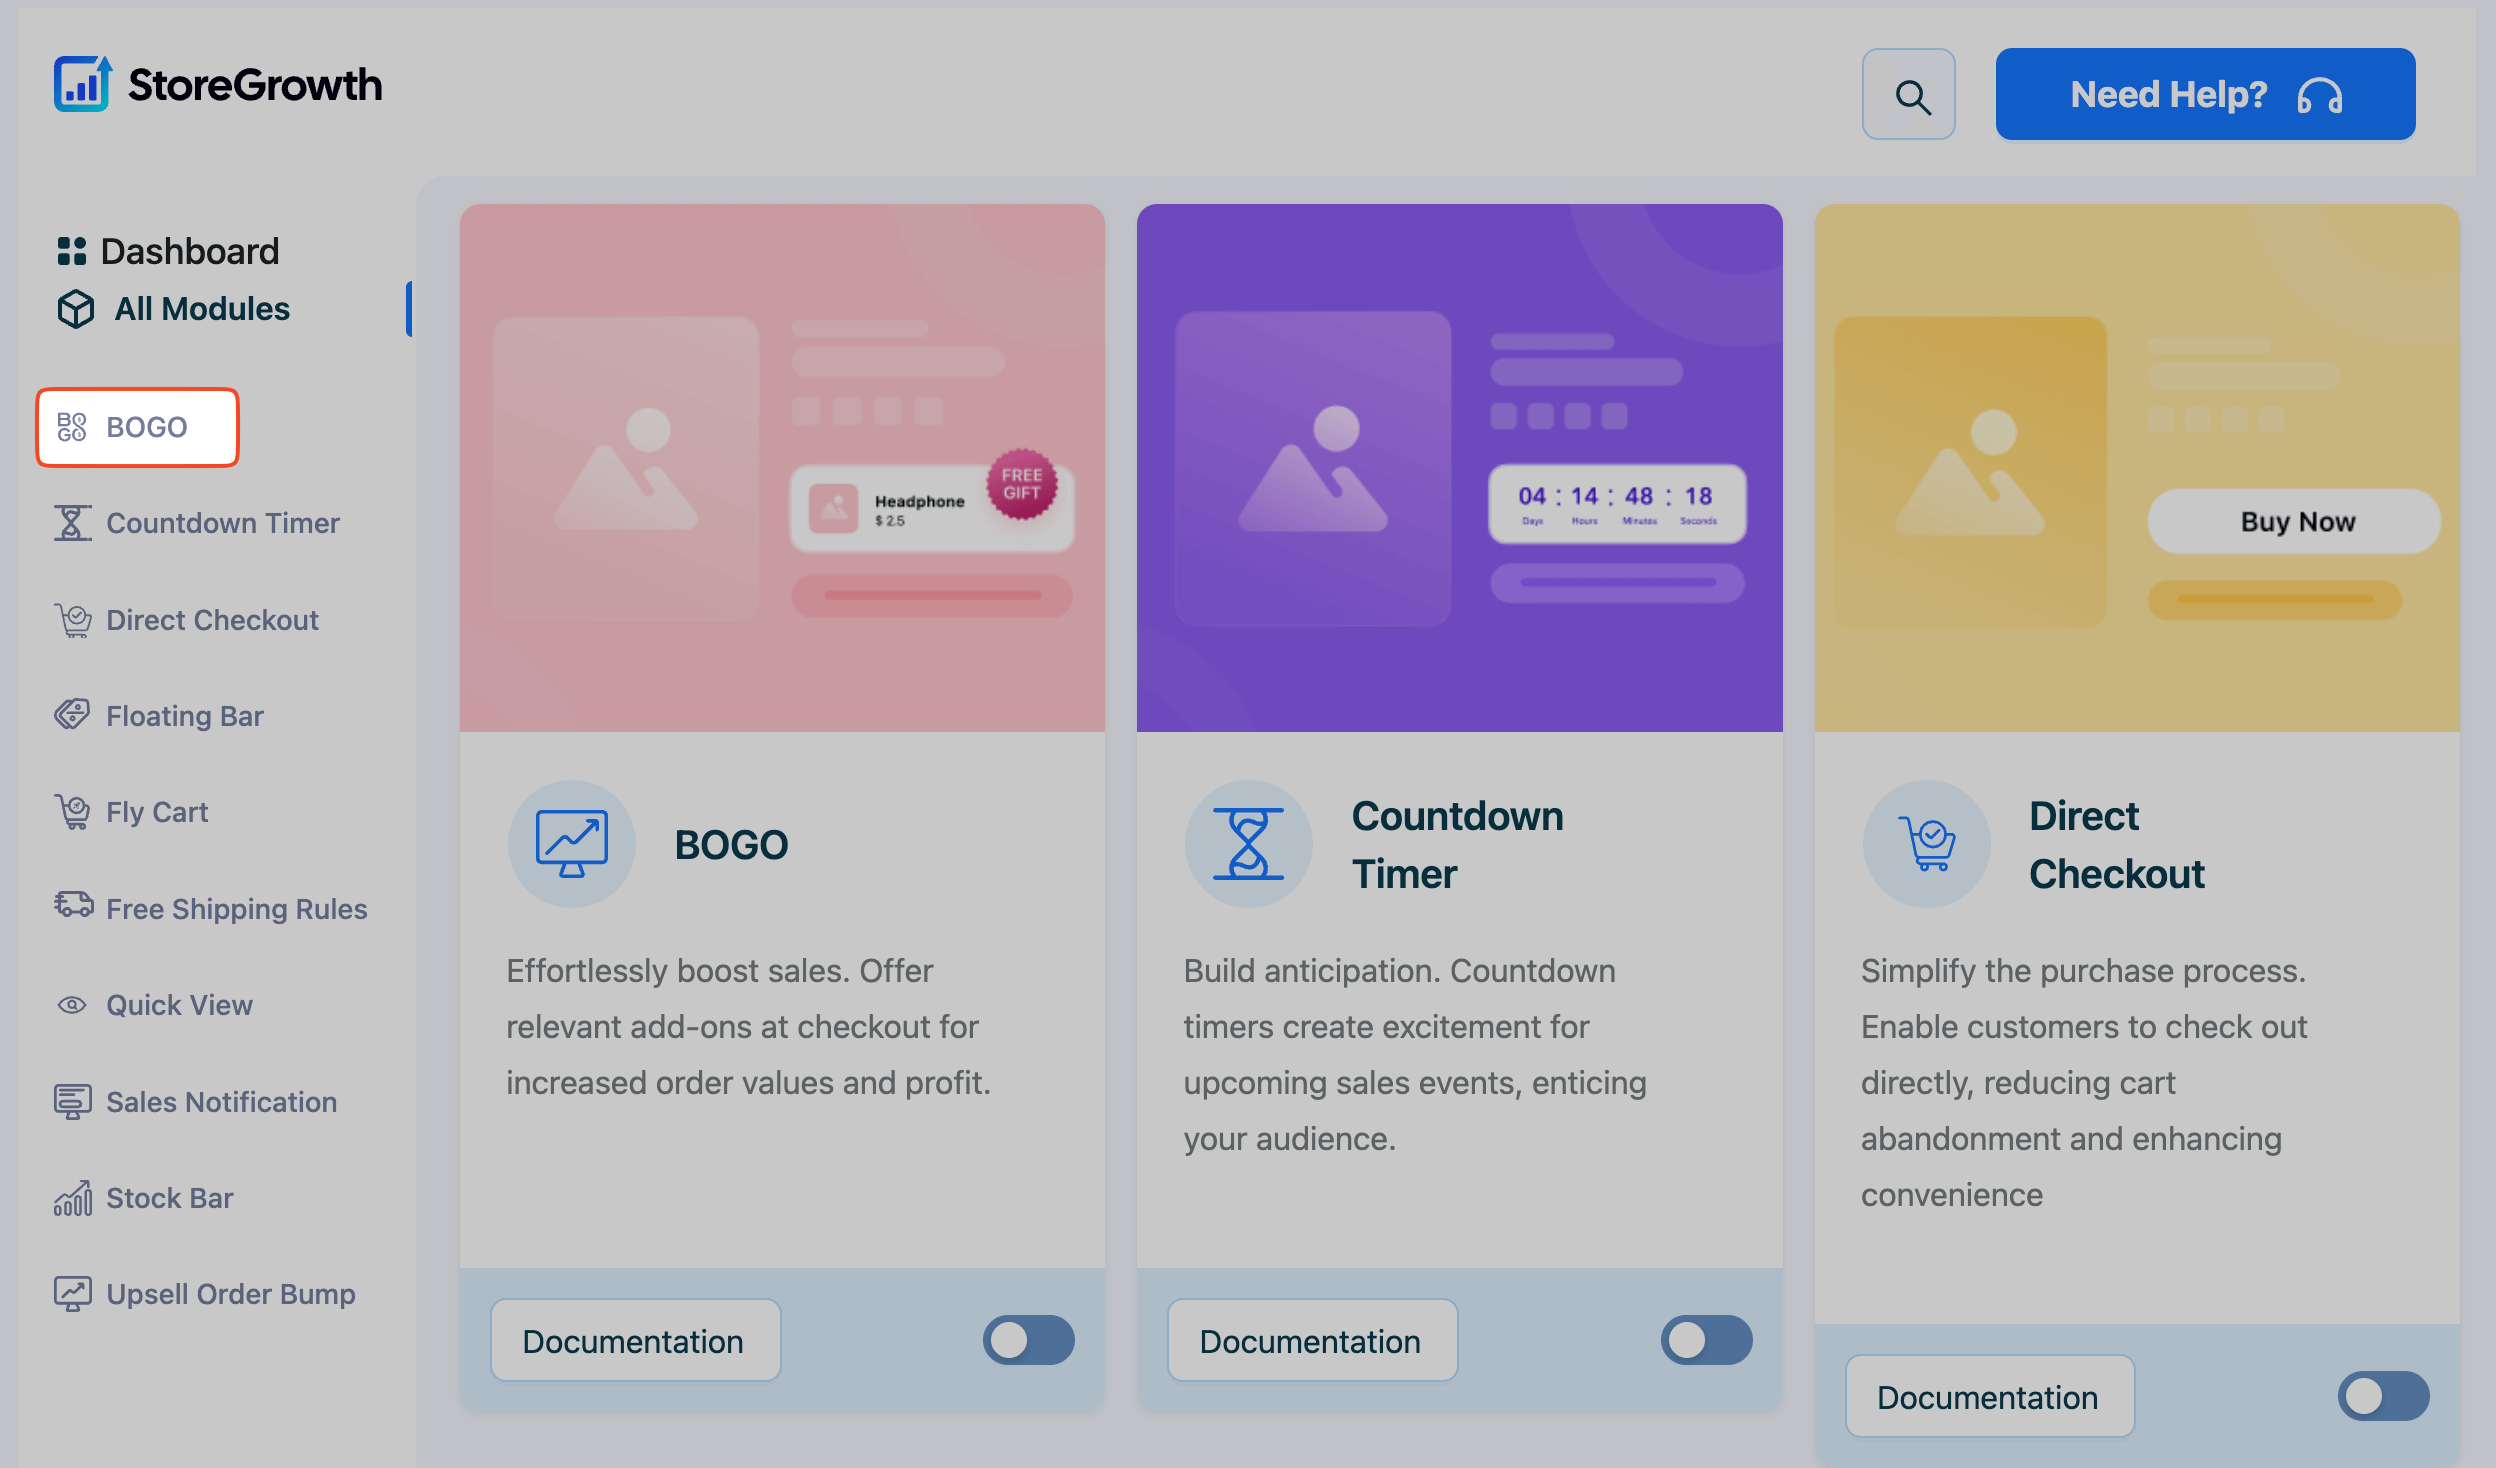
If you click on your desired module, a modal will pop up asking you to activate the module.
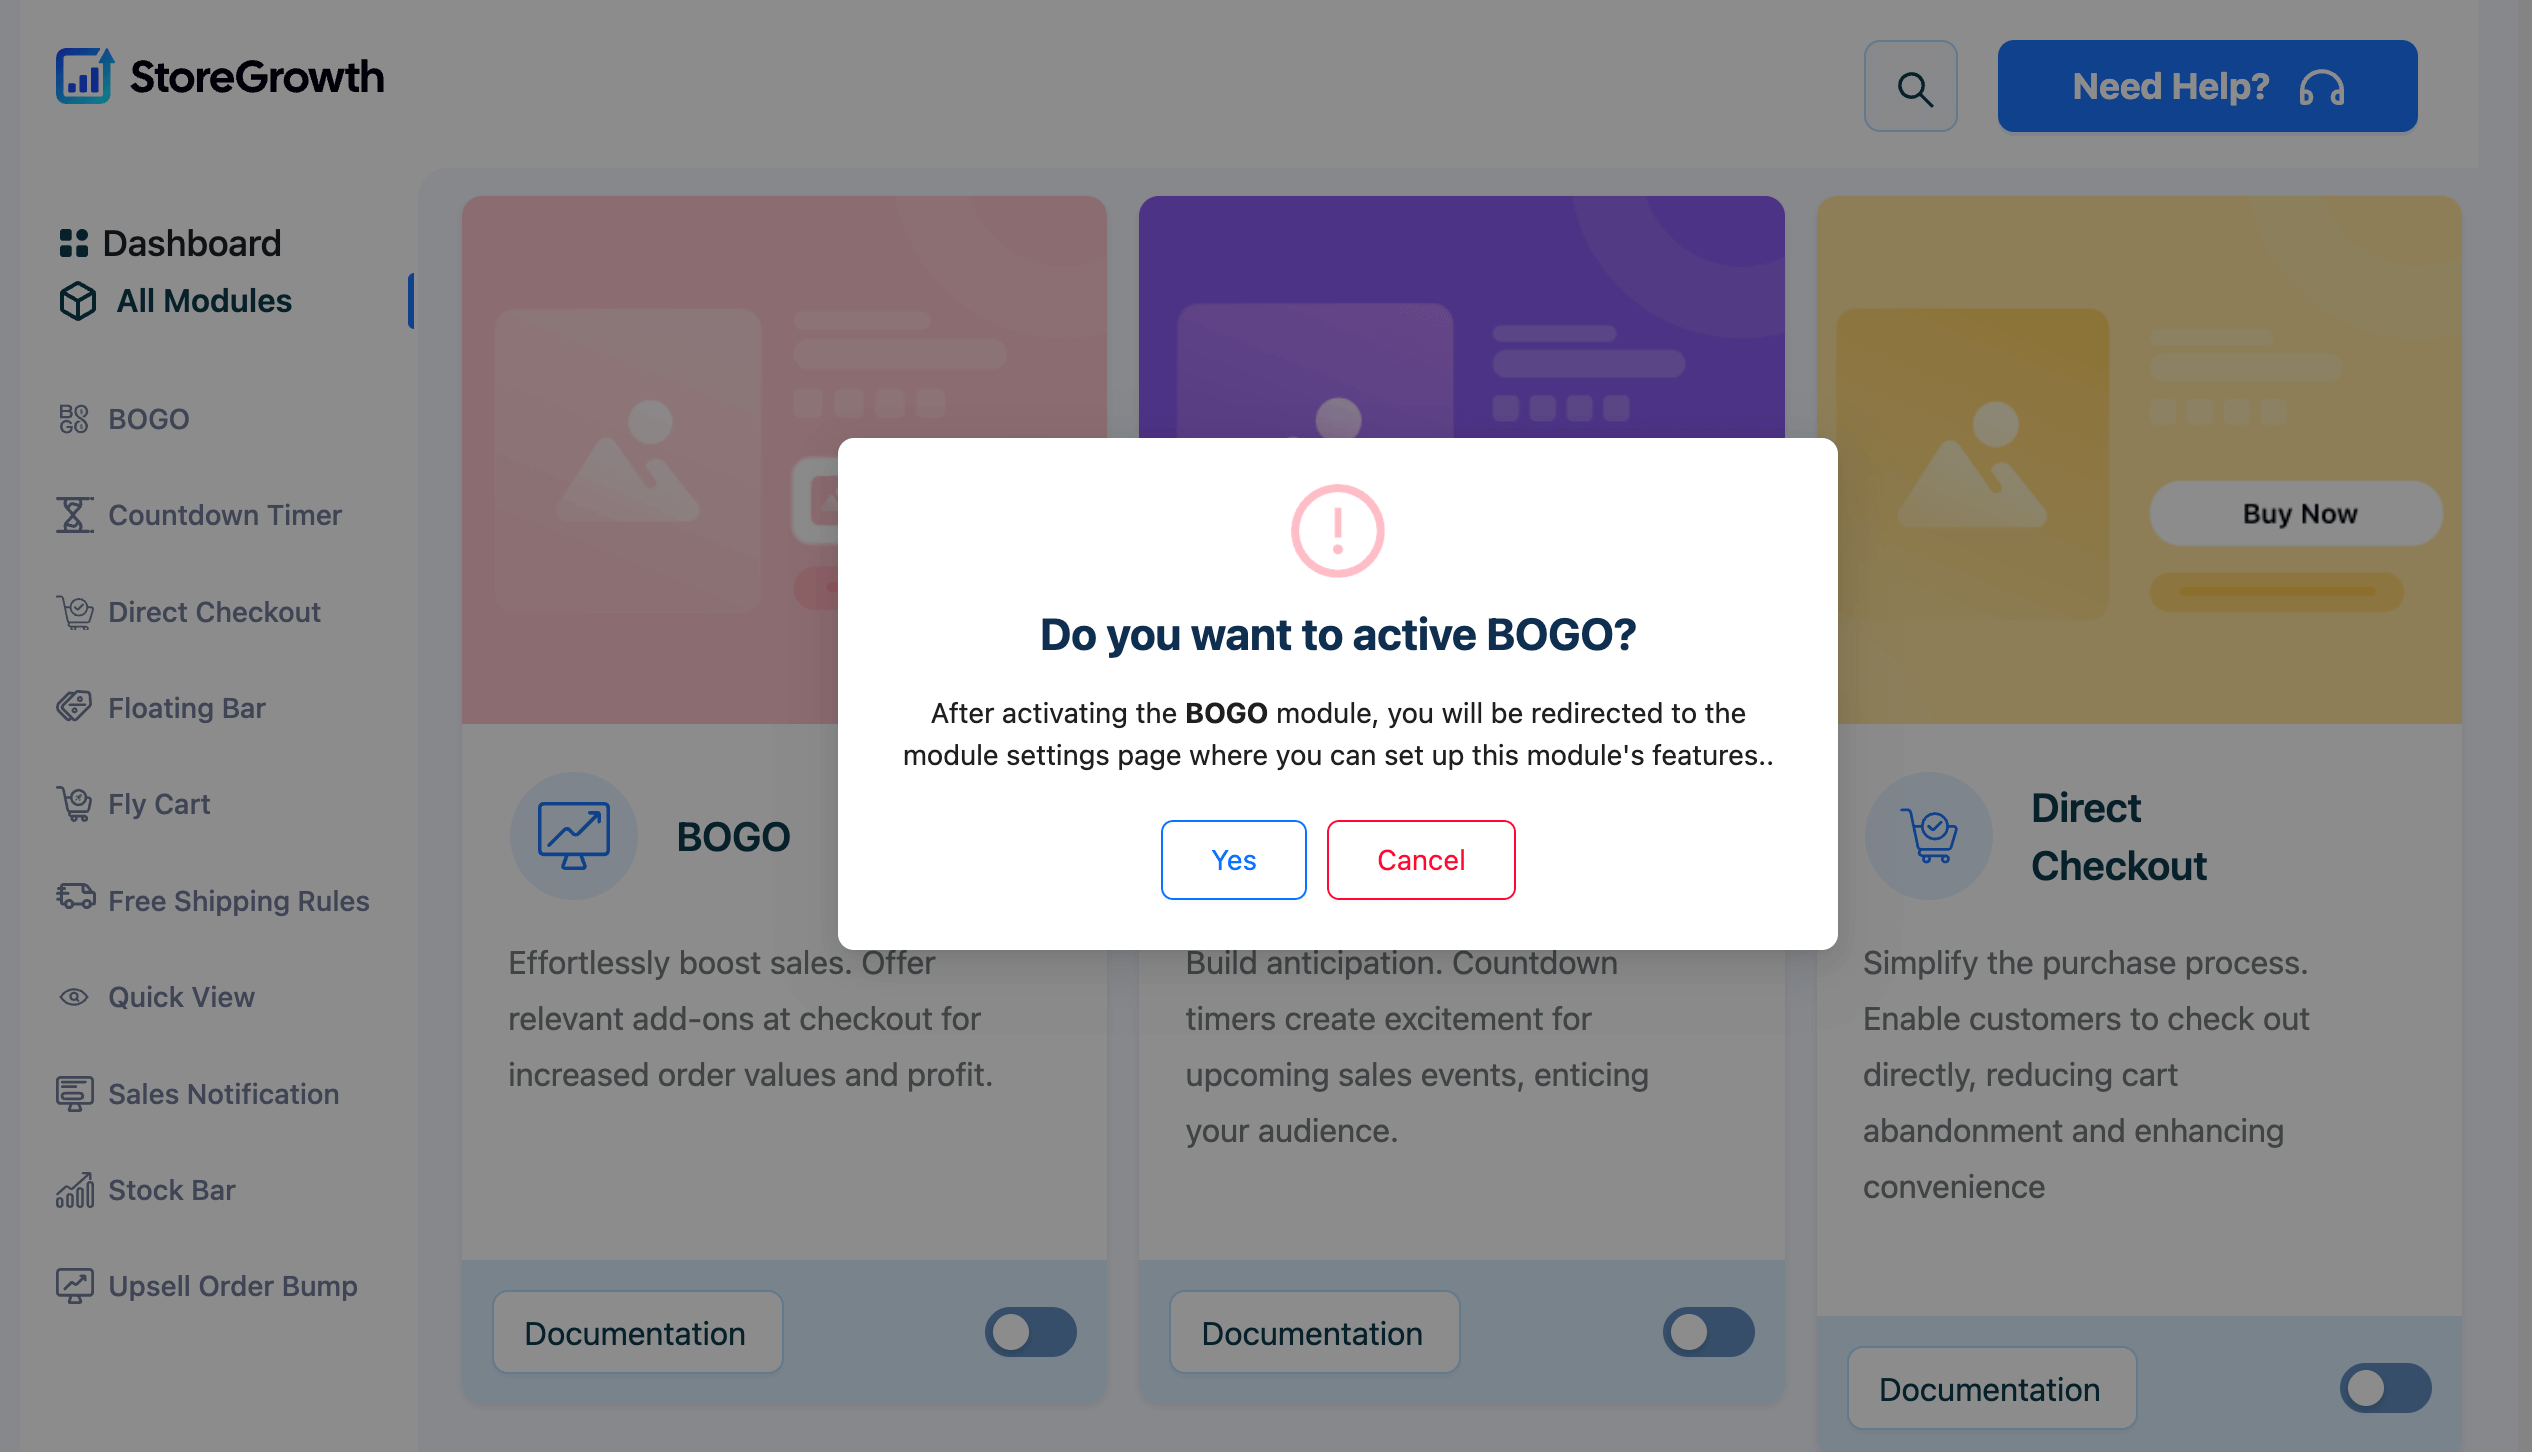
Simply click on Yes and the module will be activated.
How to Deactivate a Module
If you are not using a particular feature, you can easily deactivate it to ensure your site remains optimized. There are two ways to do this:
Method 1: From the Modules Dashboard
This is the quickest way to turn a module on or off.
- Return to the main StoreGrowth dashboard.
- Locate the module you wish to disable.
- Click the toggle switch to move it to the “Off” or “Disabled” position.
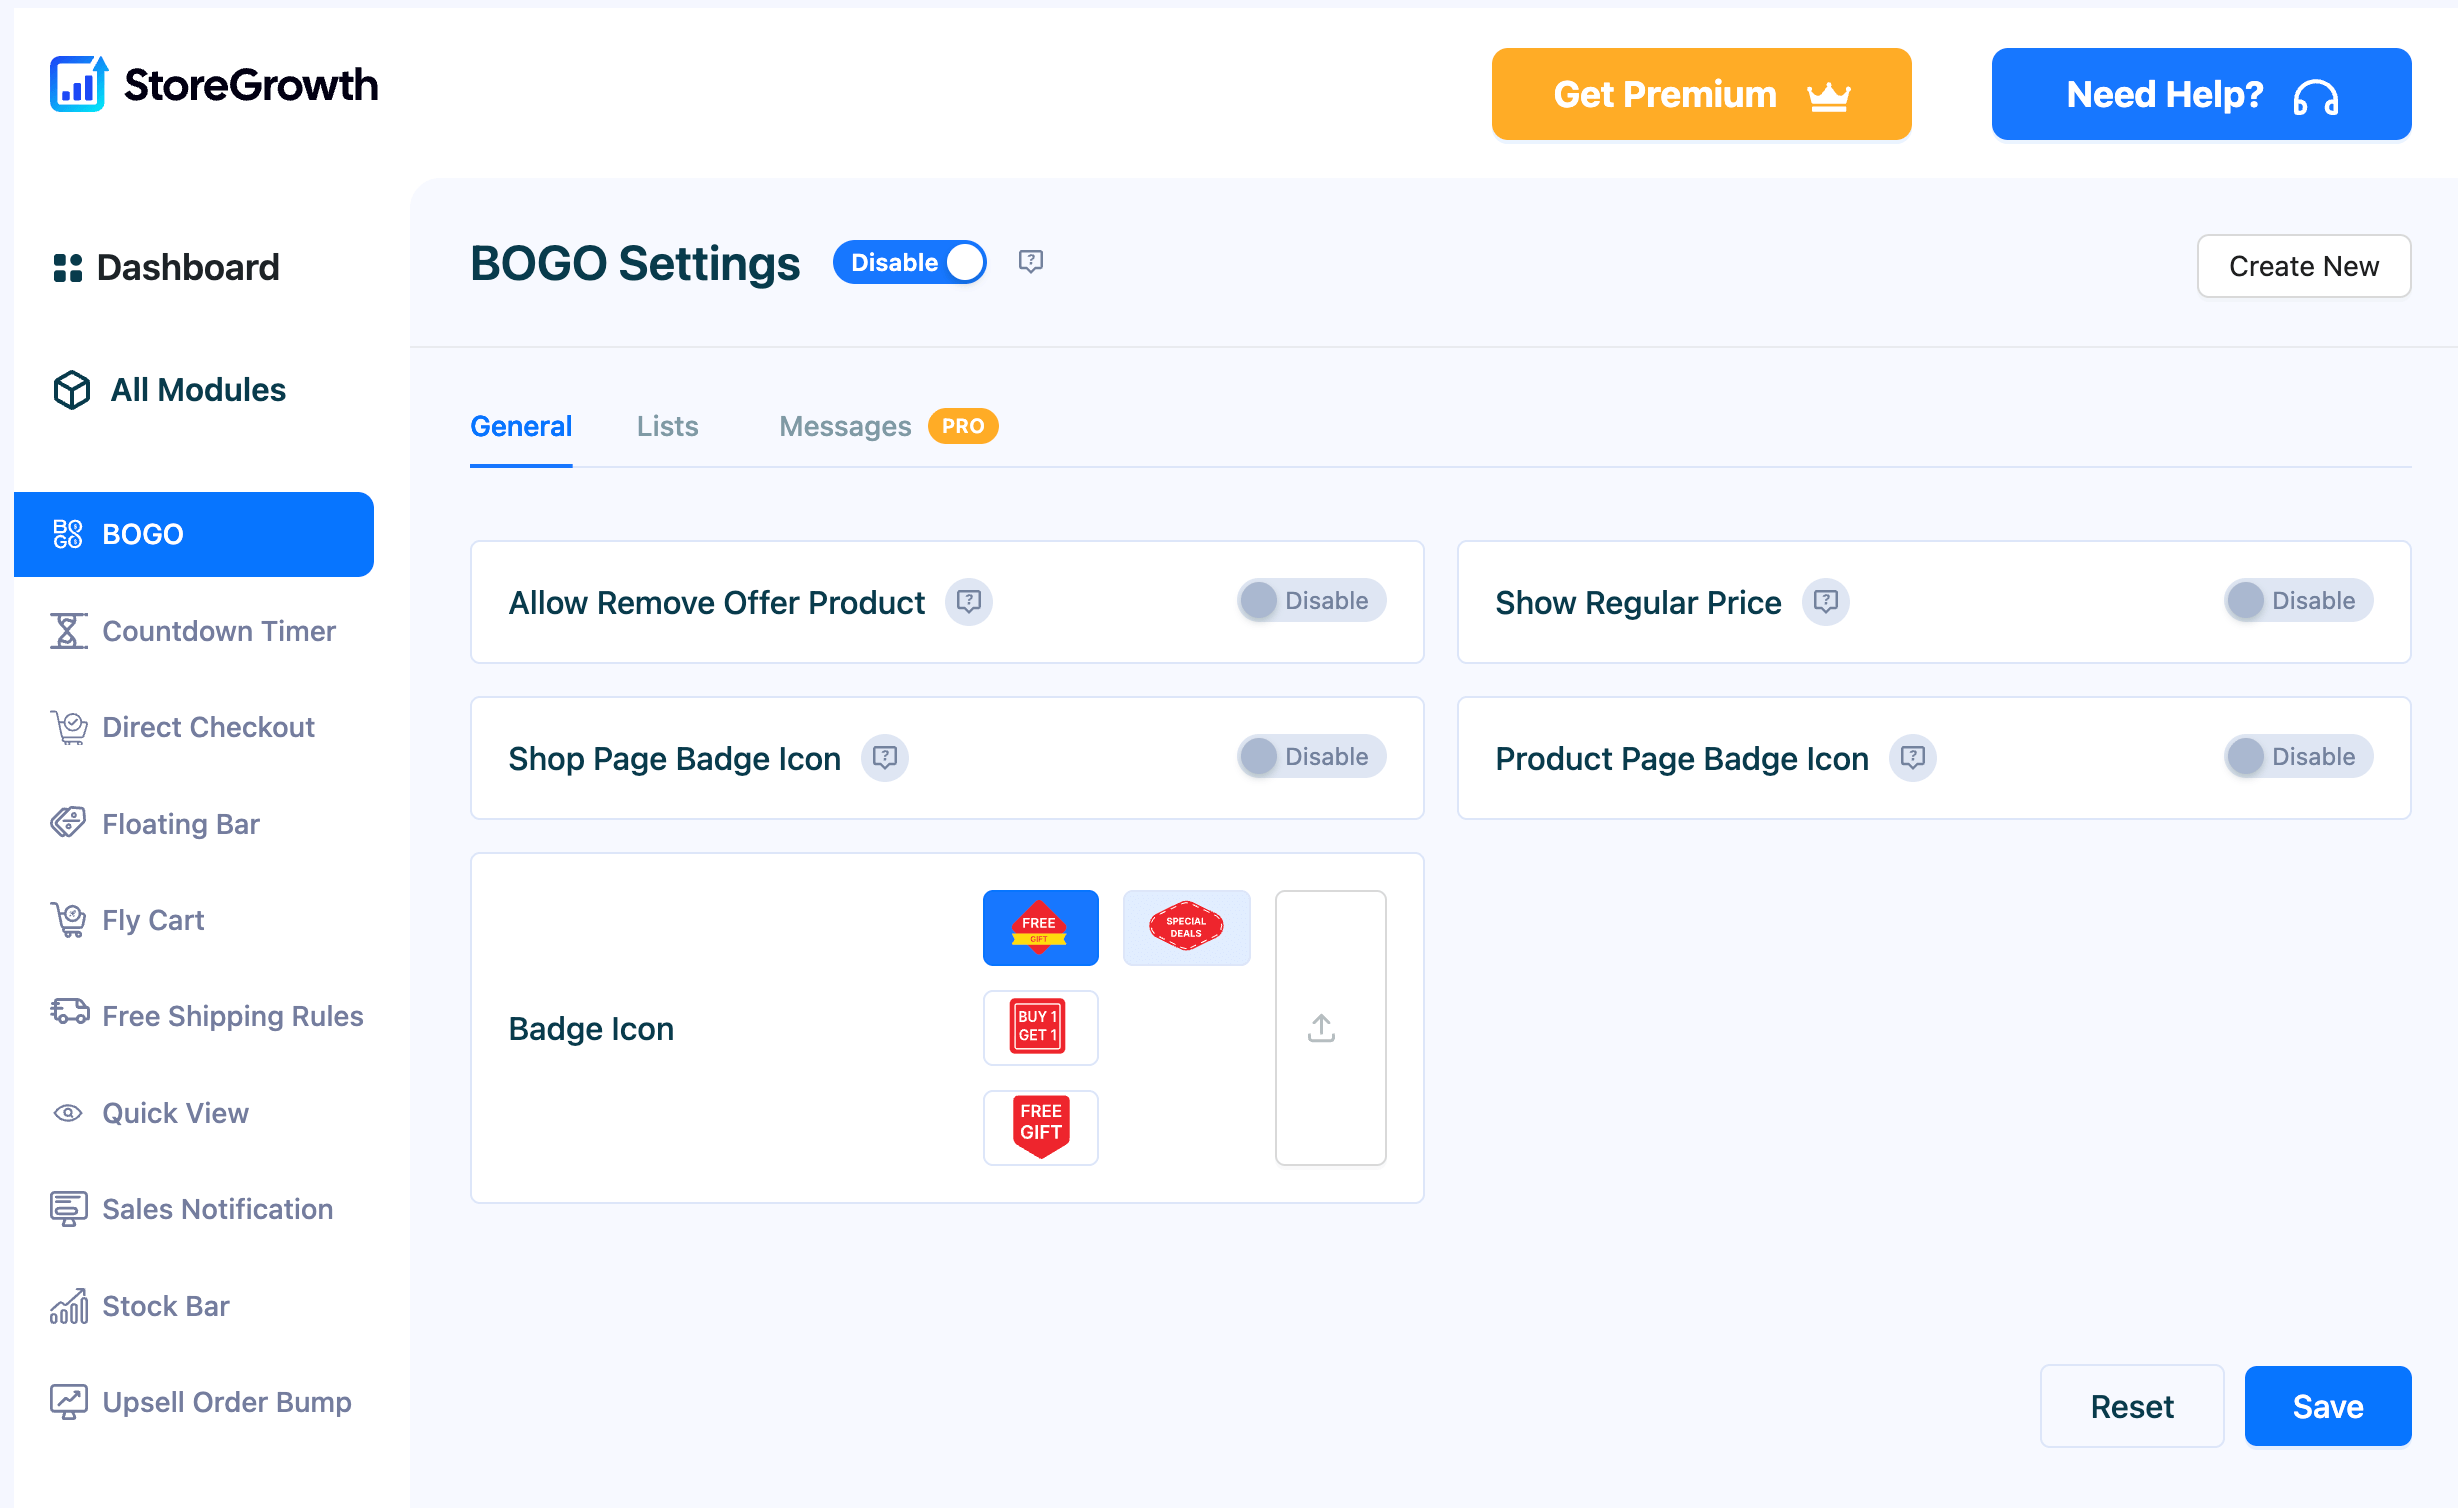
Method 2: From the Module’s Settings Page
You can also deactivate a module from within its individual settings page.
- On the StoreGrowth dashboard, find the module you want to configure and click on its “Settings” button.
- On the settings page for that specific module, you will find a toggle switch, typically next to the module’s name at the top.
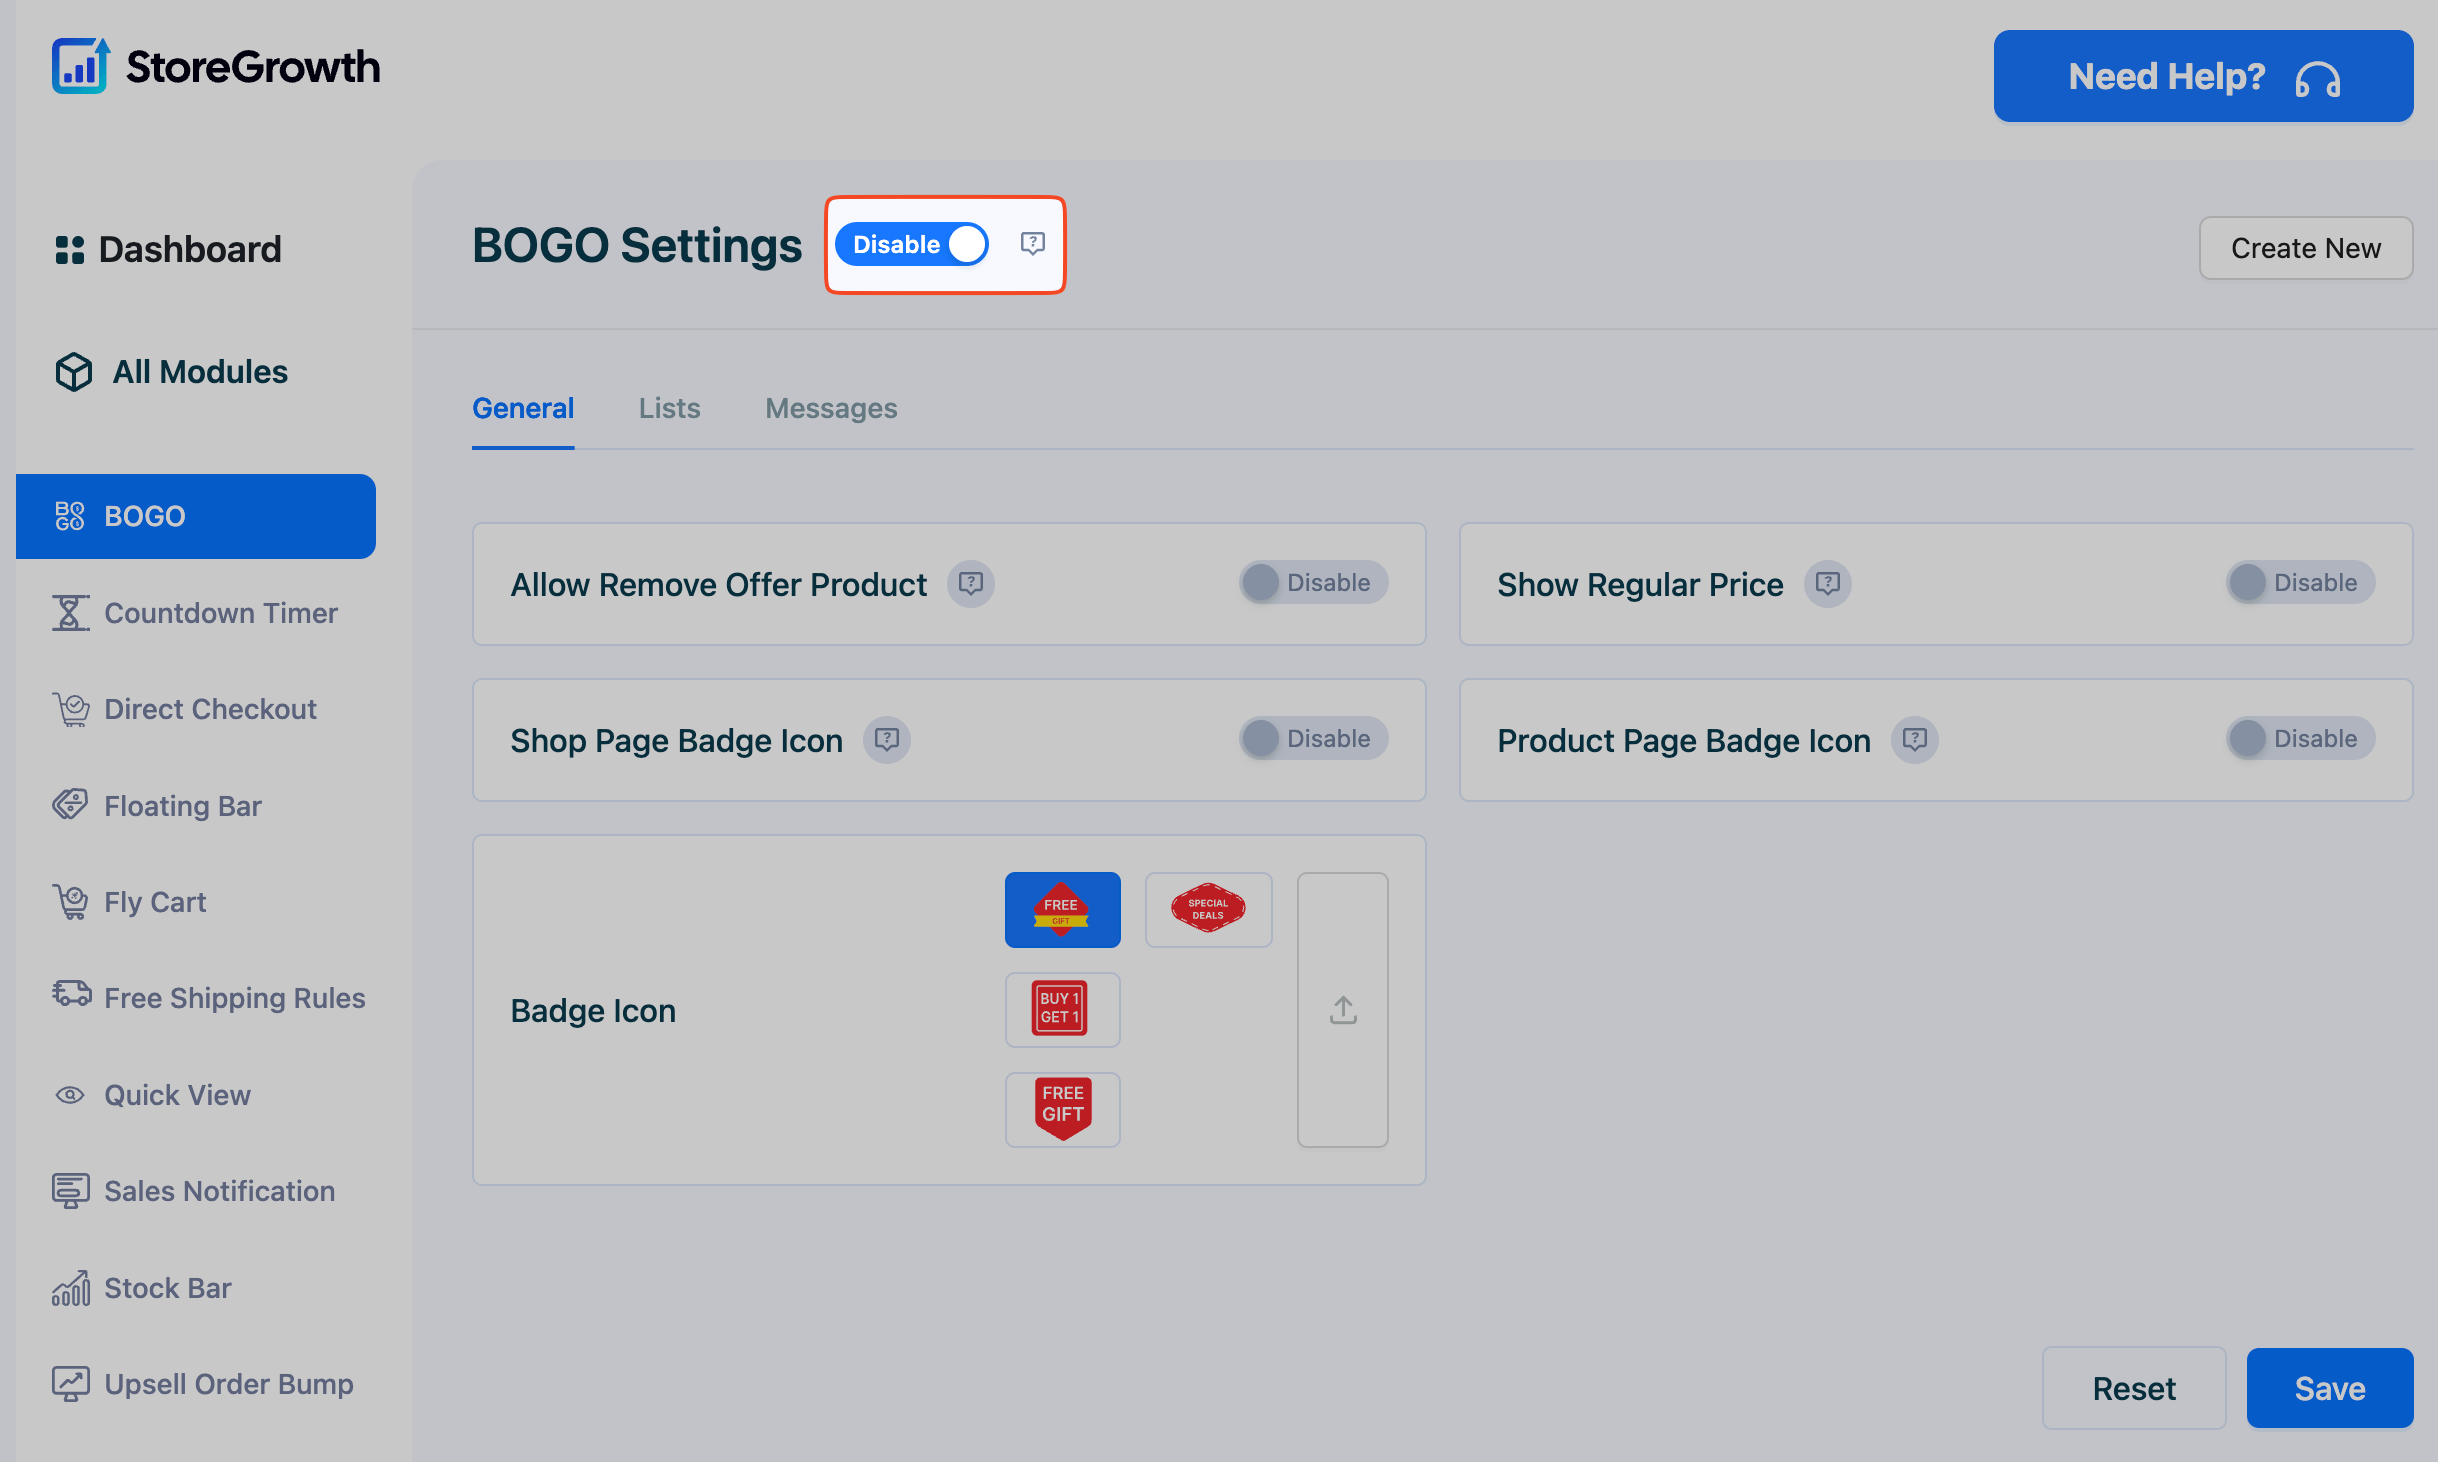
- Click the toggle to disable the module.
Deactivating a module by either method removes its functionality from your website and hides its settings page from the admin menu. This prevents any unnecessary scripts from that module from being loaded, contributing to better site performance.
By selectively activating only the modules you need, you can perfectly tailor StoreGrowth to your marketing strategy while keeping your store fast and easy to manage.